Every time!
Every gosh-damn time!
It’s always about Bob?
What’s Bob thinking? What does Bob want? Who is our Bob?
So…who the hell is Bob?
A pivotal part of marketing is working out who your customer is. This can be done a few ways but it usually ends up in building a customer persona, often named Bob.
Building a customer persona, can be a tactical way to guide your business in developing and selling the right products. Knowing what drives your customer, how they feel, think and do certain things can give you the strategic edge when it comes to competing in a crowded marketplace.
So, doing this should be easy right?
Just take a look at who’s buying your stuff. Boom Done.
But it goes a little further than that.
So…how do you do it?
In the past you might have had to hire a research team, assemble a panel and run workshops. But we’re not livin’ in 1990 no more. IBM Personality Insights gives you exactly that, with a few lines of code, you’re able to create a customer (or any other type of stakeholder) profile.
This post steps you through how to do just that…and how to visualise (and interpret) the result. If you’re ready to get the edge, get going on Step 1.
Want to download the code and follow along?
1. Create a Service
The first step to working with Personality Insights is to create an account with IBM Cloud. This allows you to access the API and work with different IBM products. Including the Personality Insights API. If you don’t have an IBMid setup already check out the post on building an image classifier to get the lowdown on grabbing one.
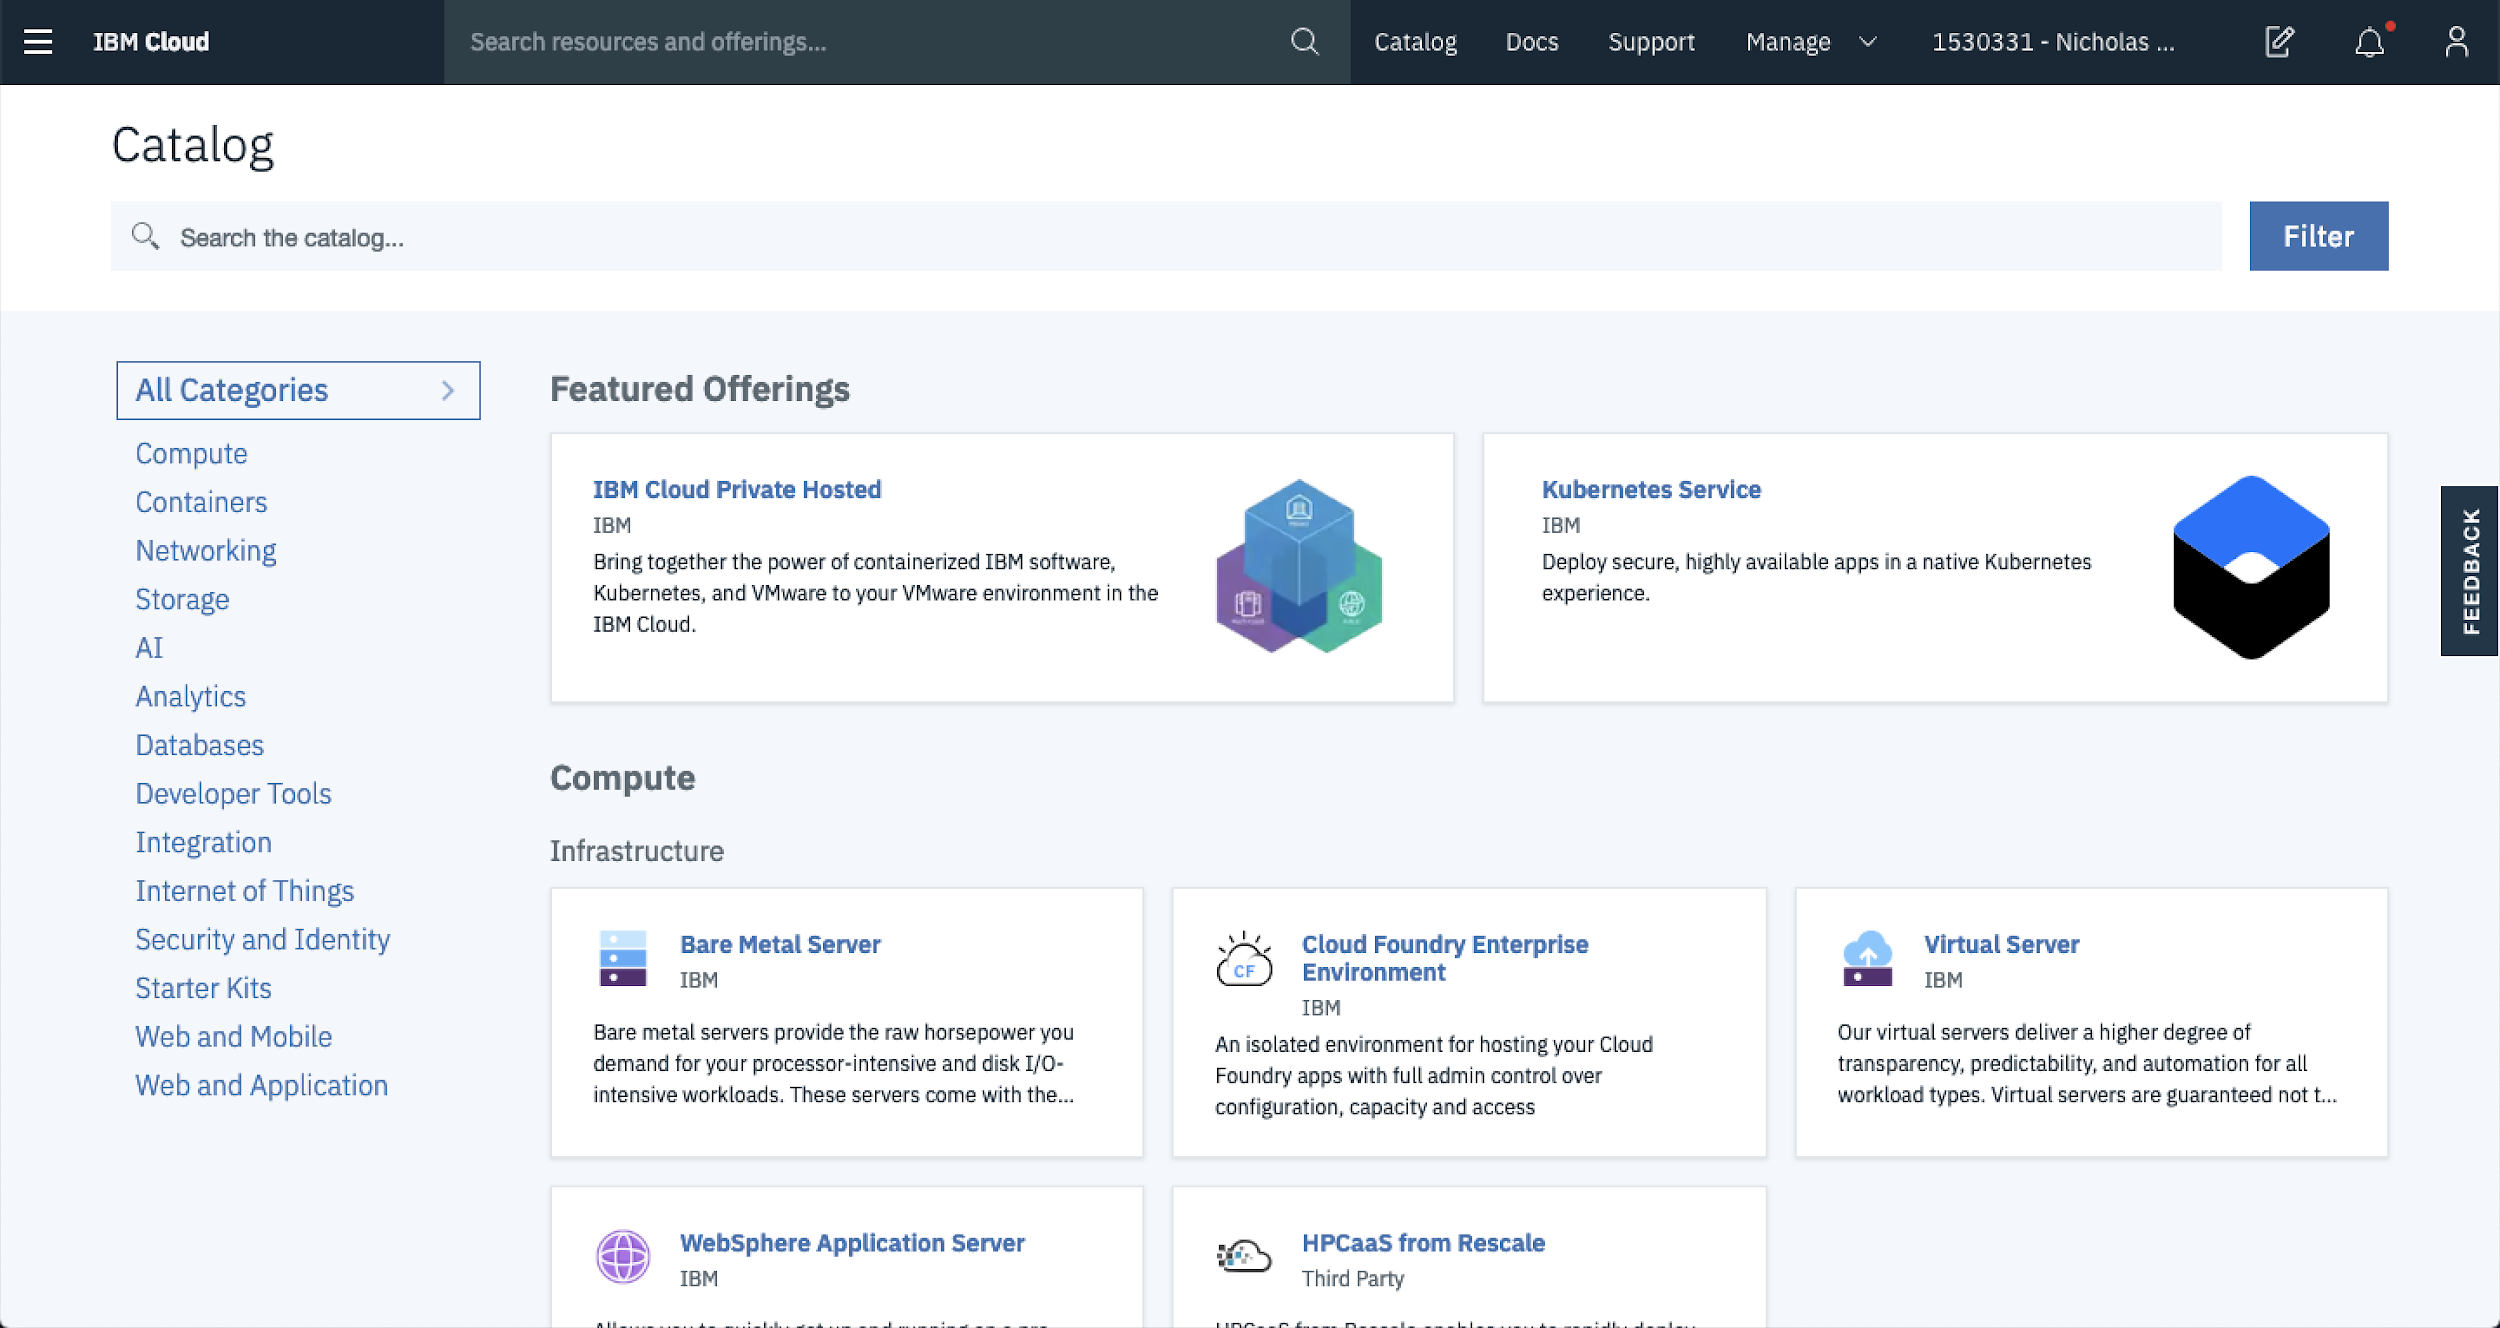
To create a service, head on over to the IBM Cloud catalog.
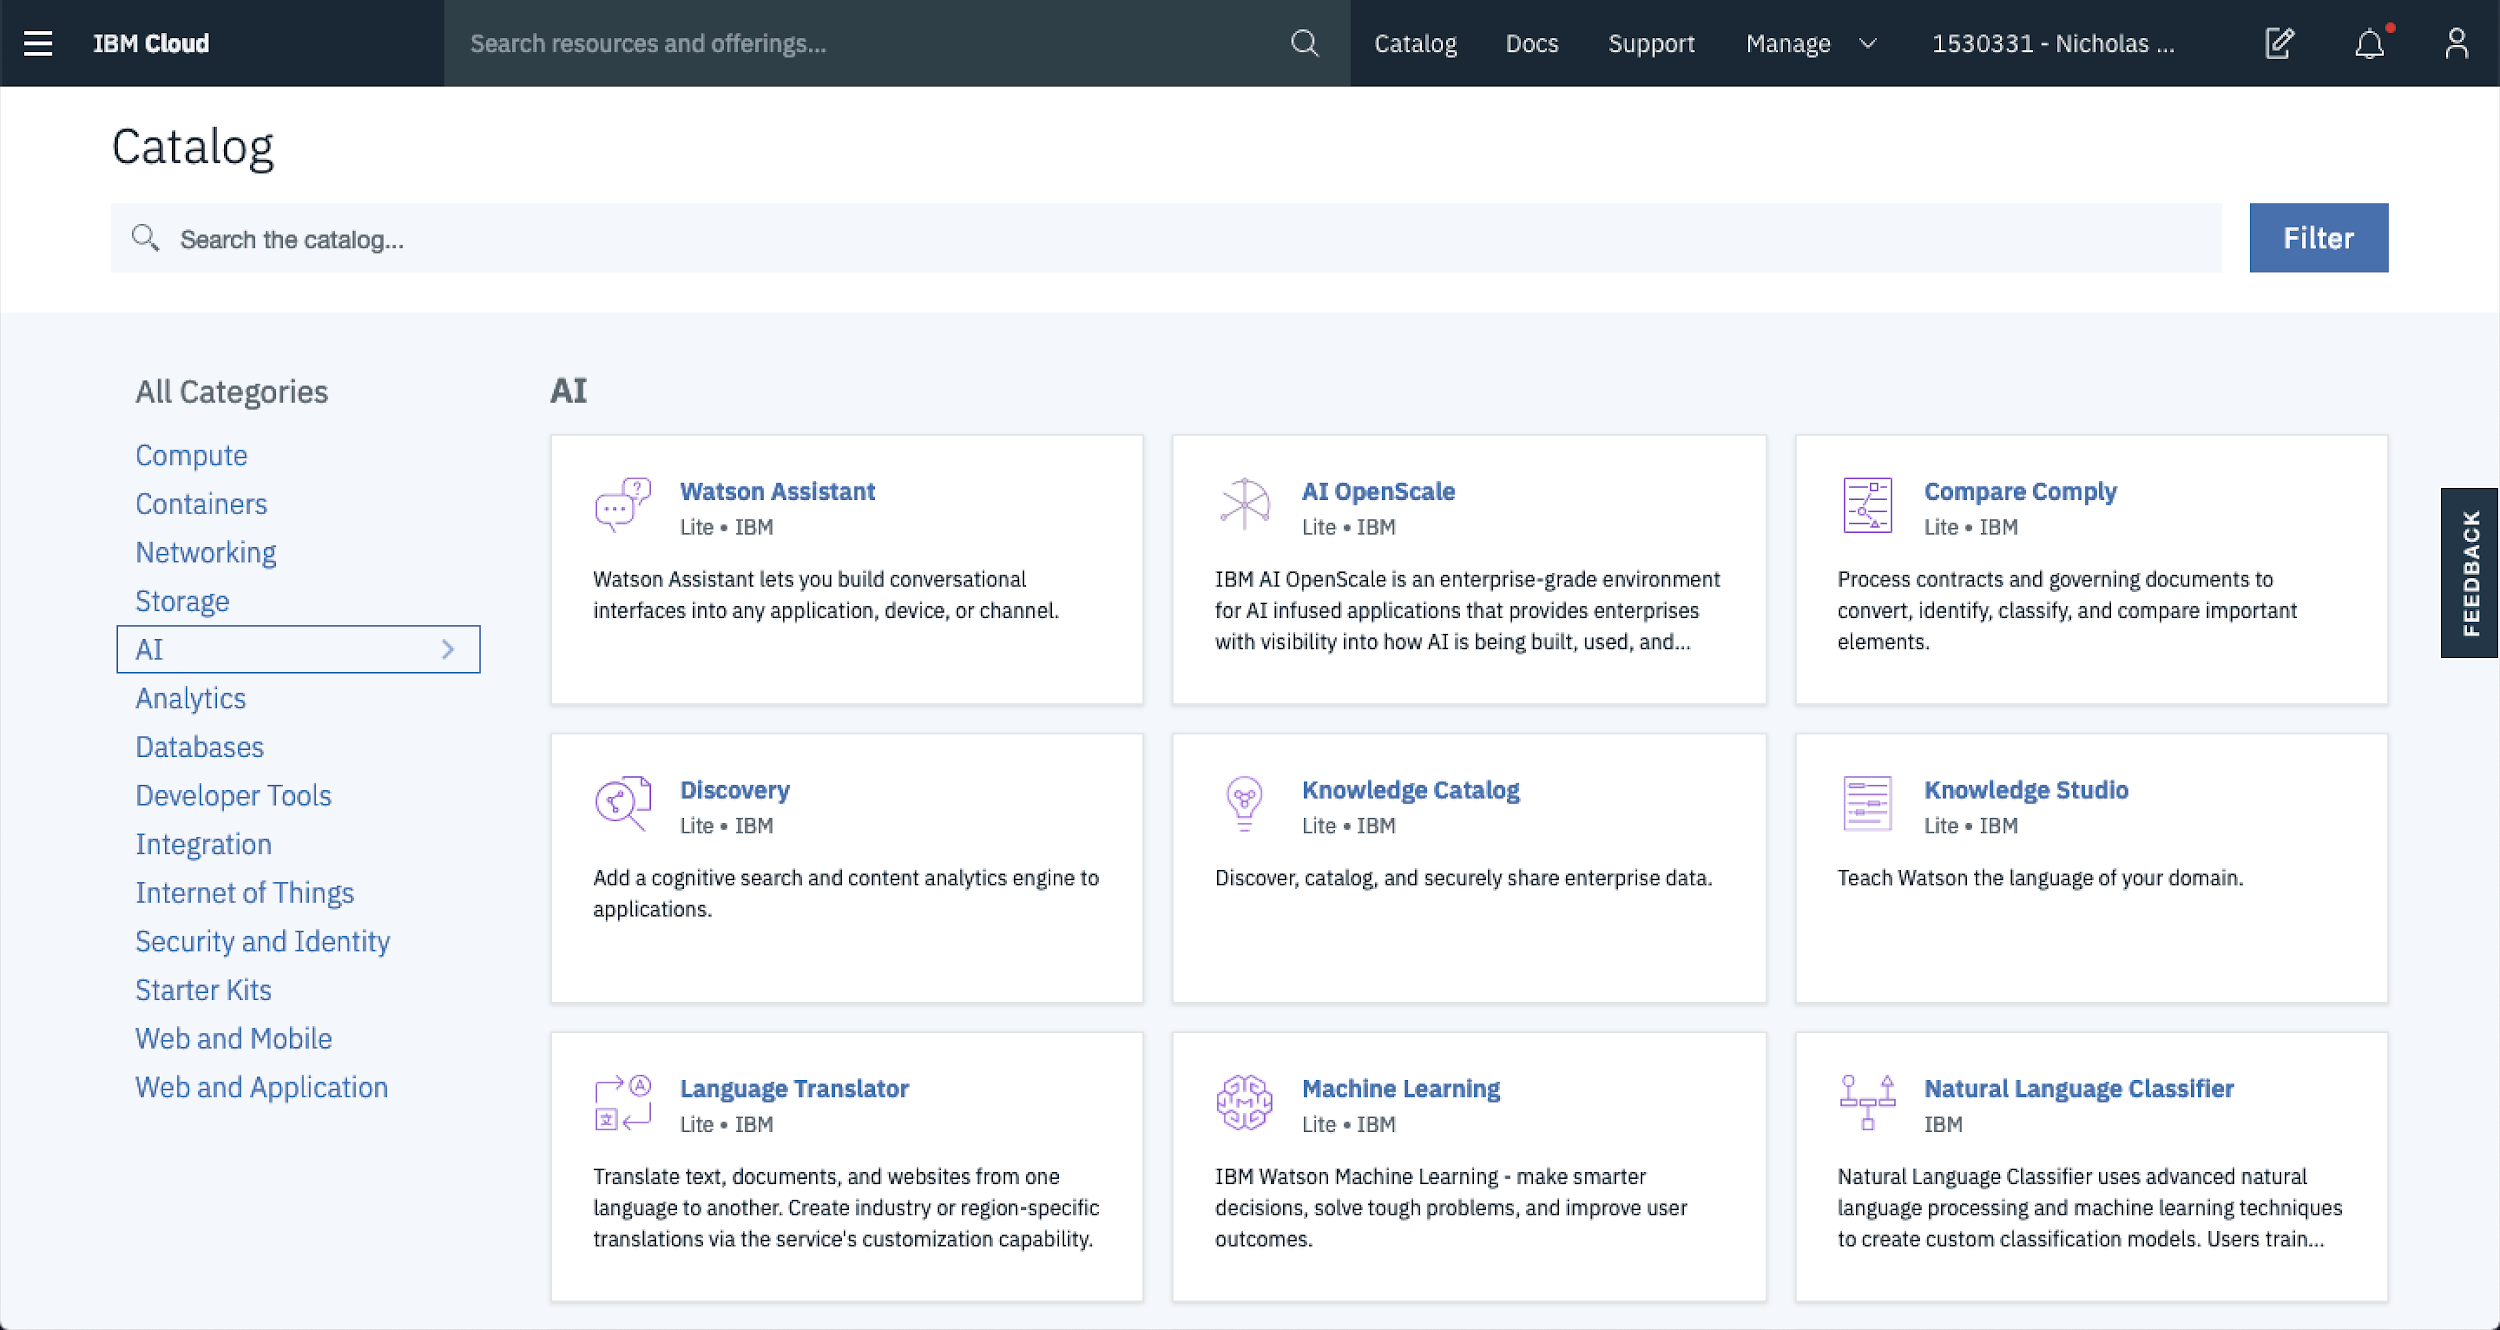
Then select the AI category from the category list on the right side of the page.
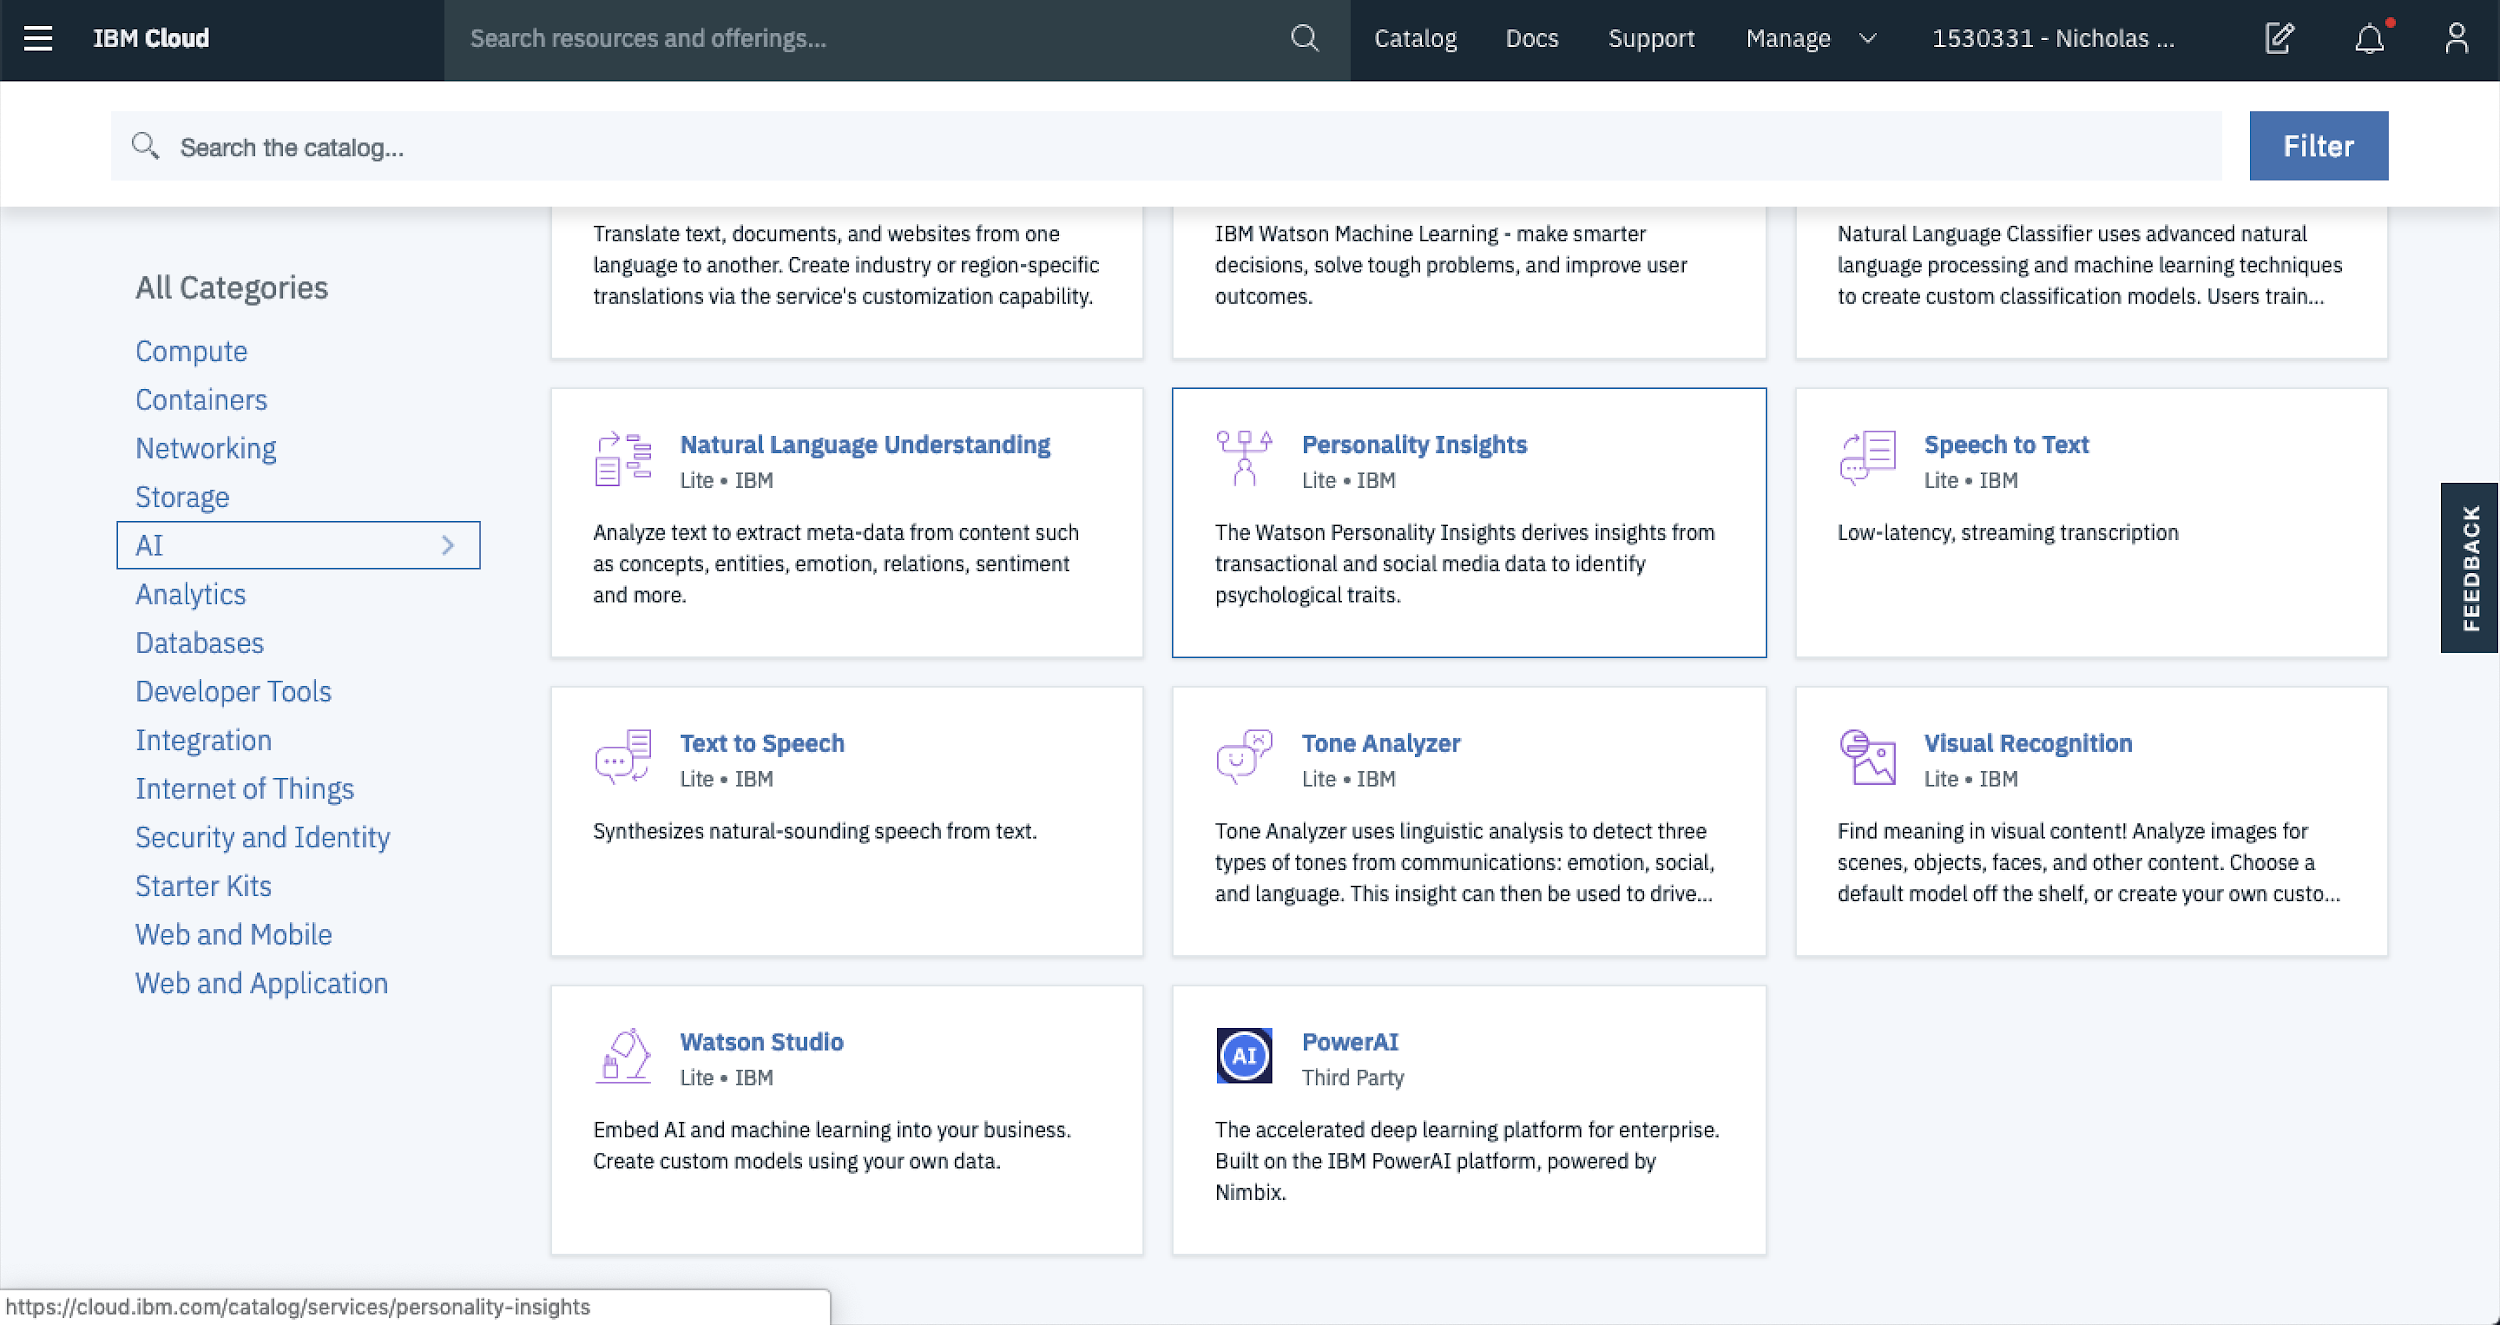
And, finally, scroll down to the Watson Personality Insights service, click to begin.
Update the name of the service to something that’s meaningful for you. (N.B. I’ve changed the service name to Personality Insights Blogging Demo). 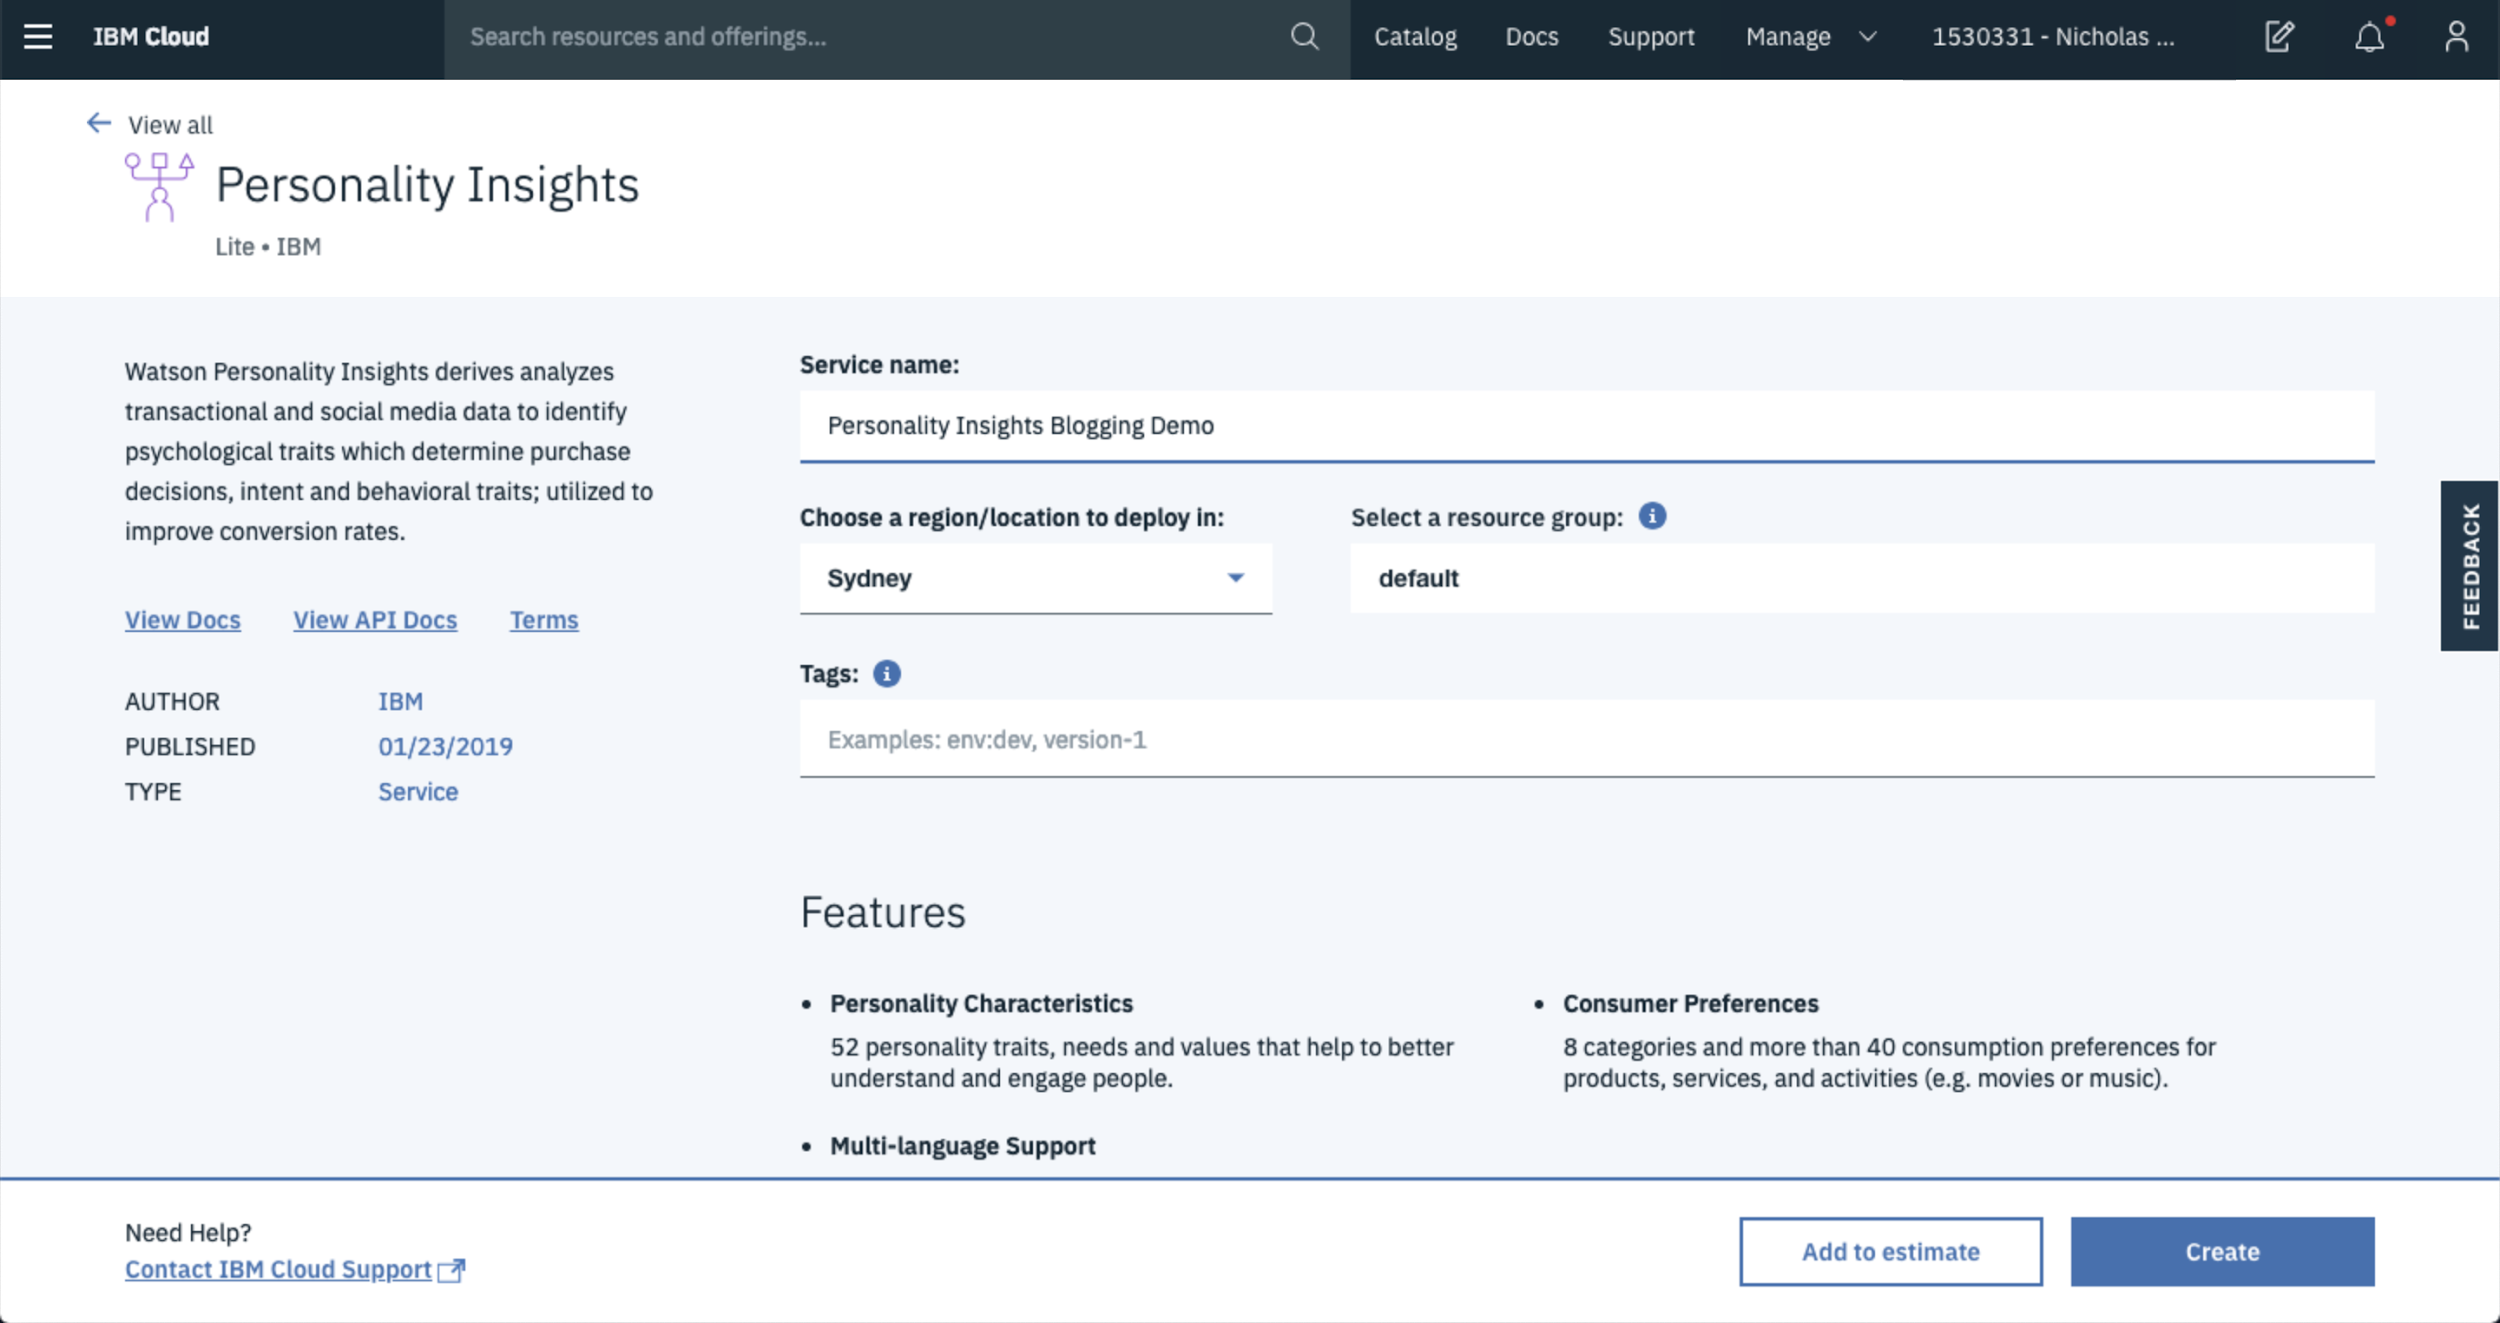
From this same area, you can also change the server location that you’d like to deploy from as well as the resource group. These will normally default to settings that will work for you, so if you’re happy with the region and resource group, scroll on down to select your service tier.
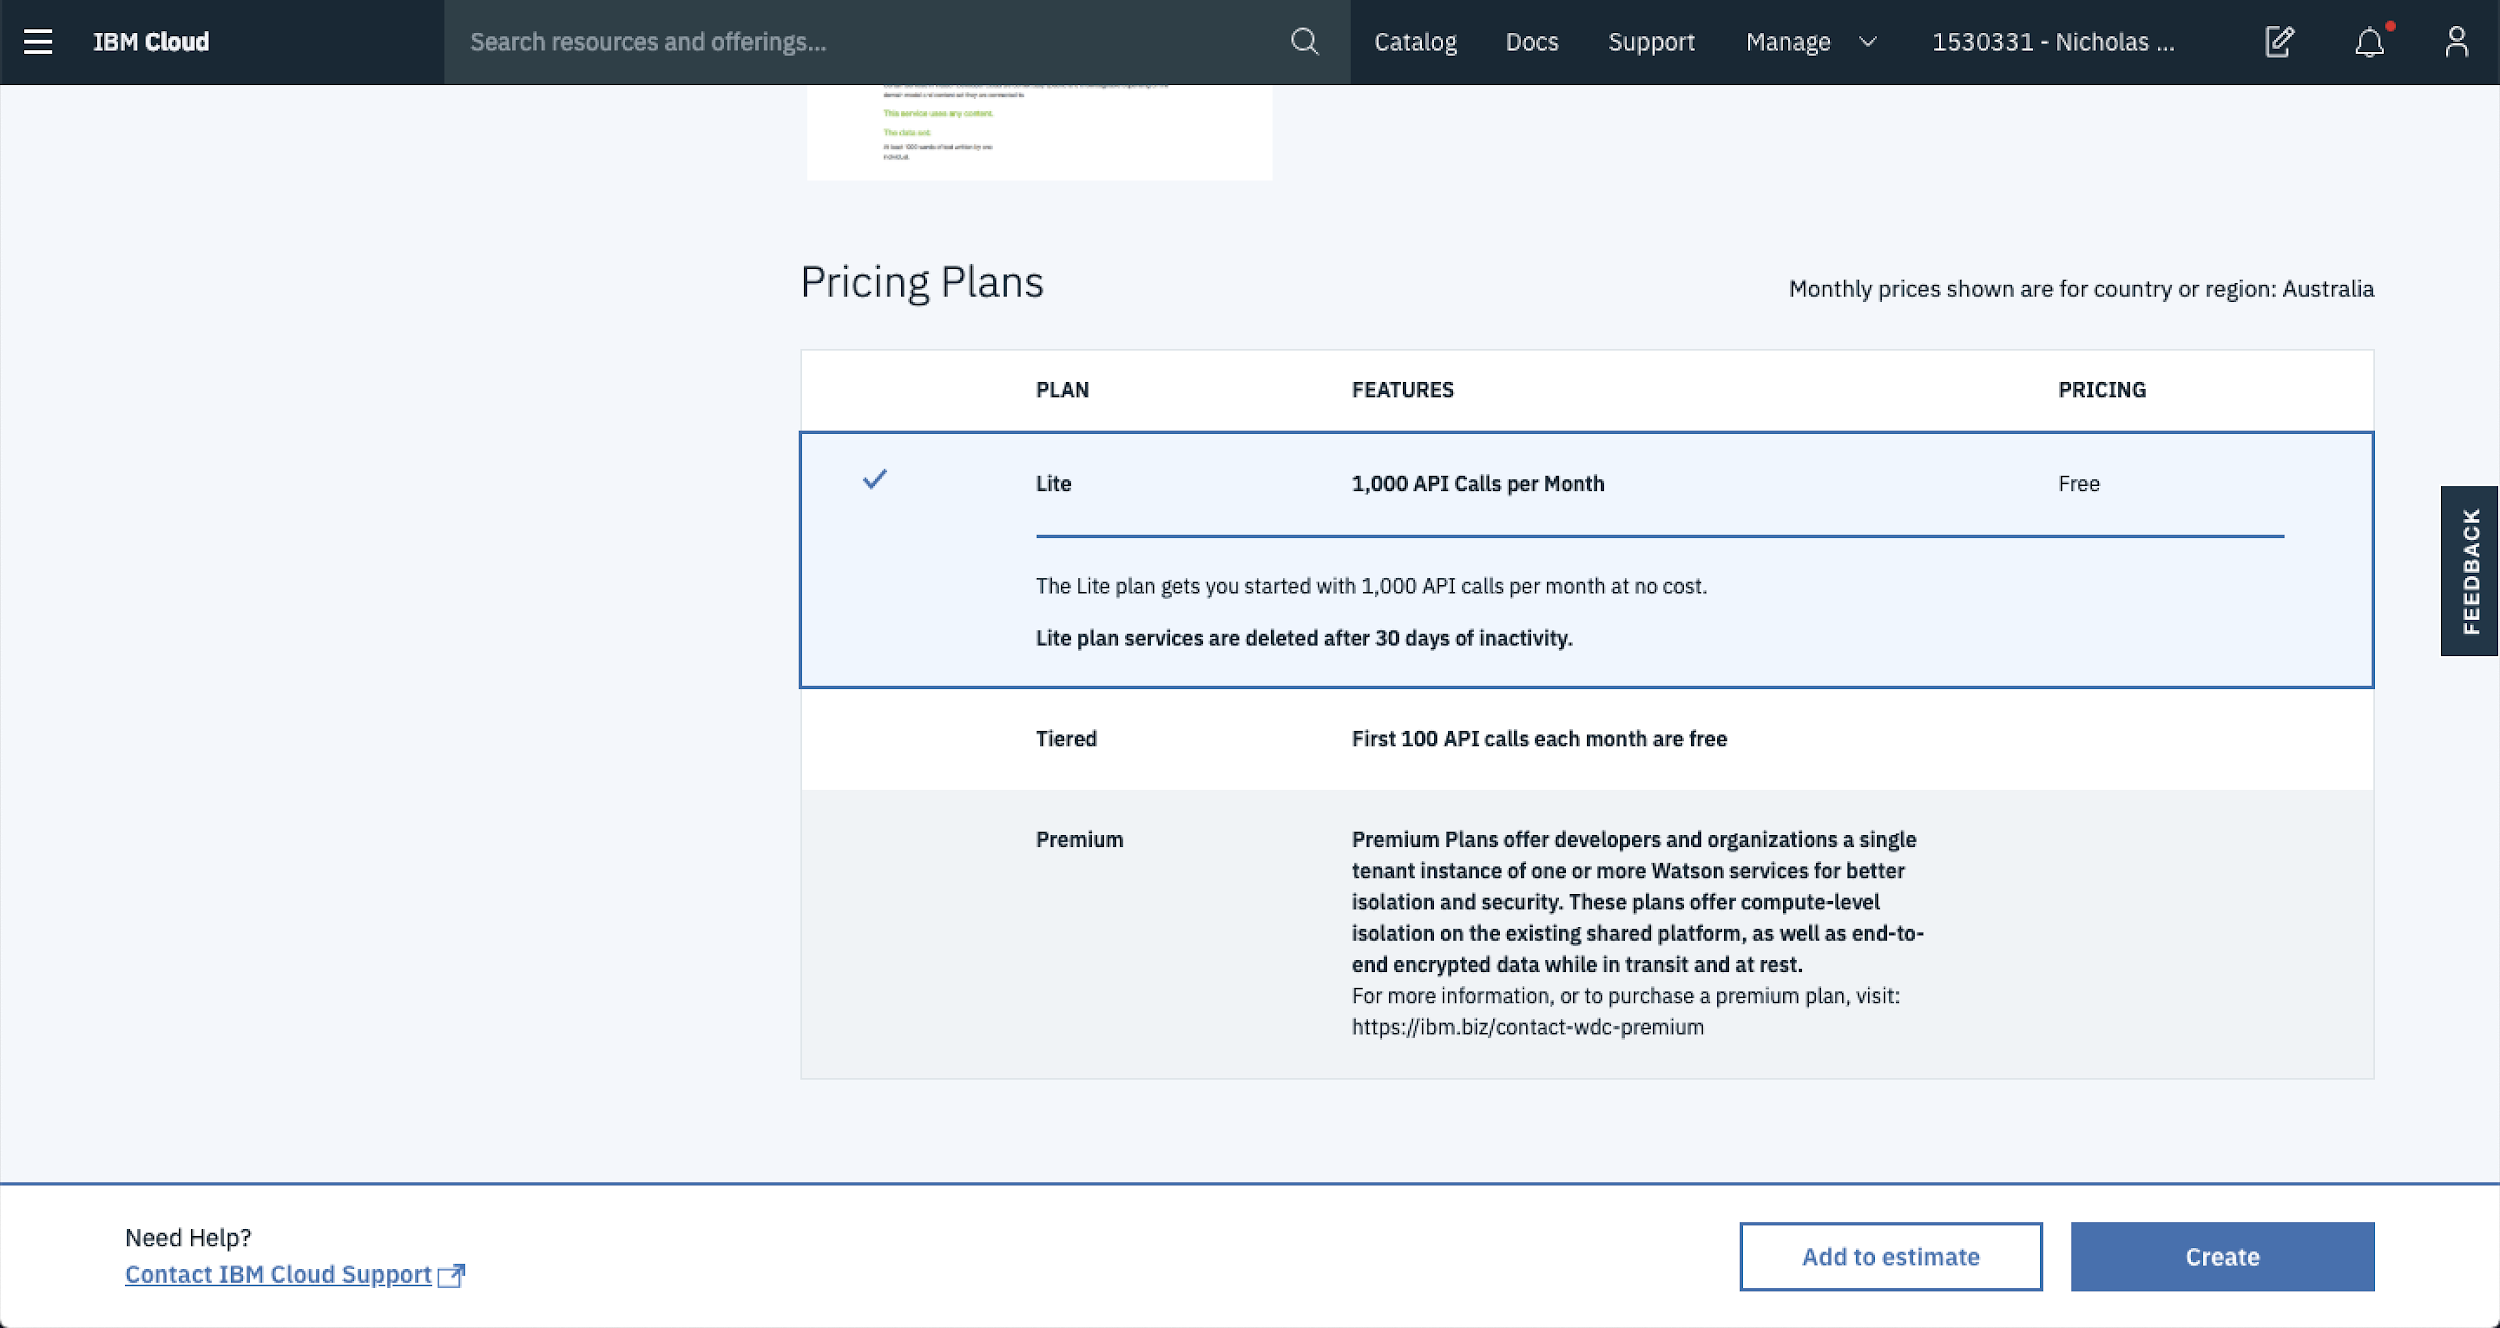
As of writing this, there are three tiers that you can select from; Lite, Tiered and Premium. The Lite tier is free up to 1000 API requests, the other two incur charges. For now the Lite tier is more than enough to get started. Hit the Lite tier and select create.
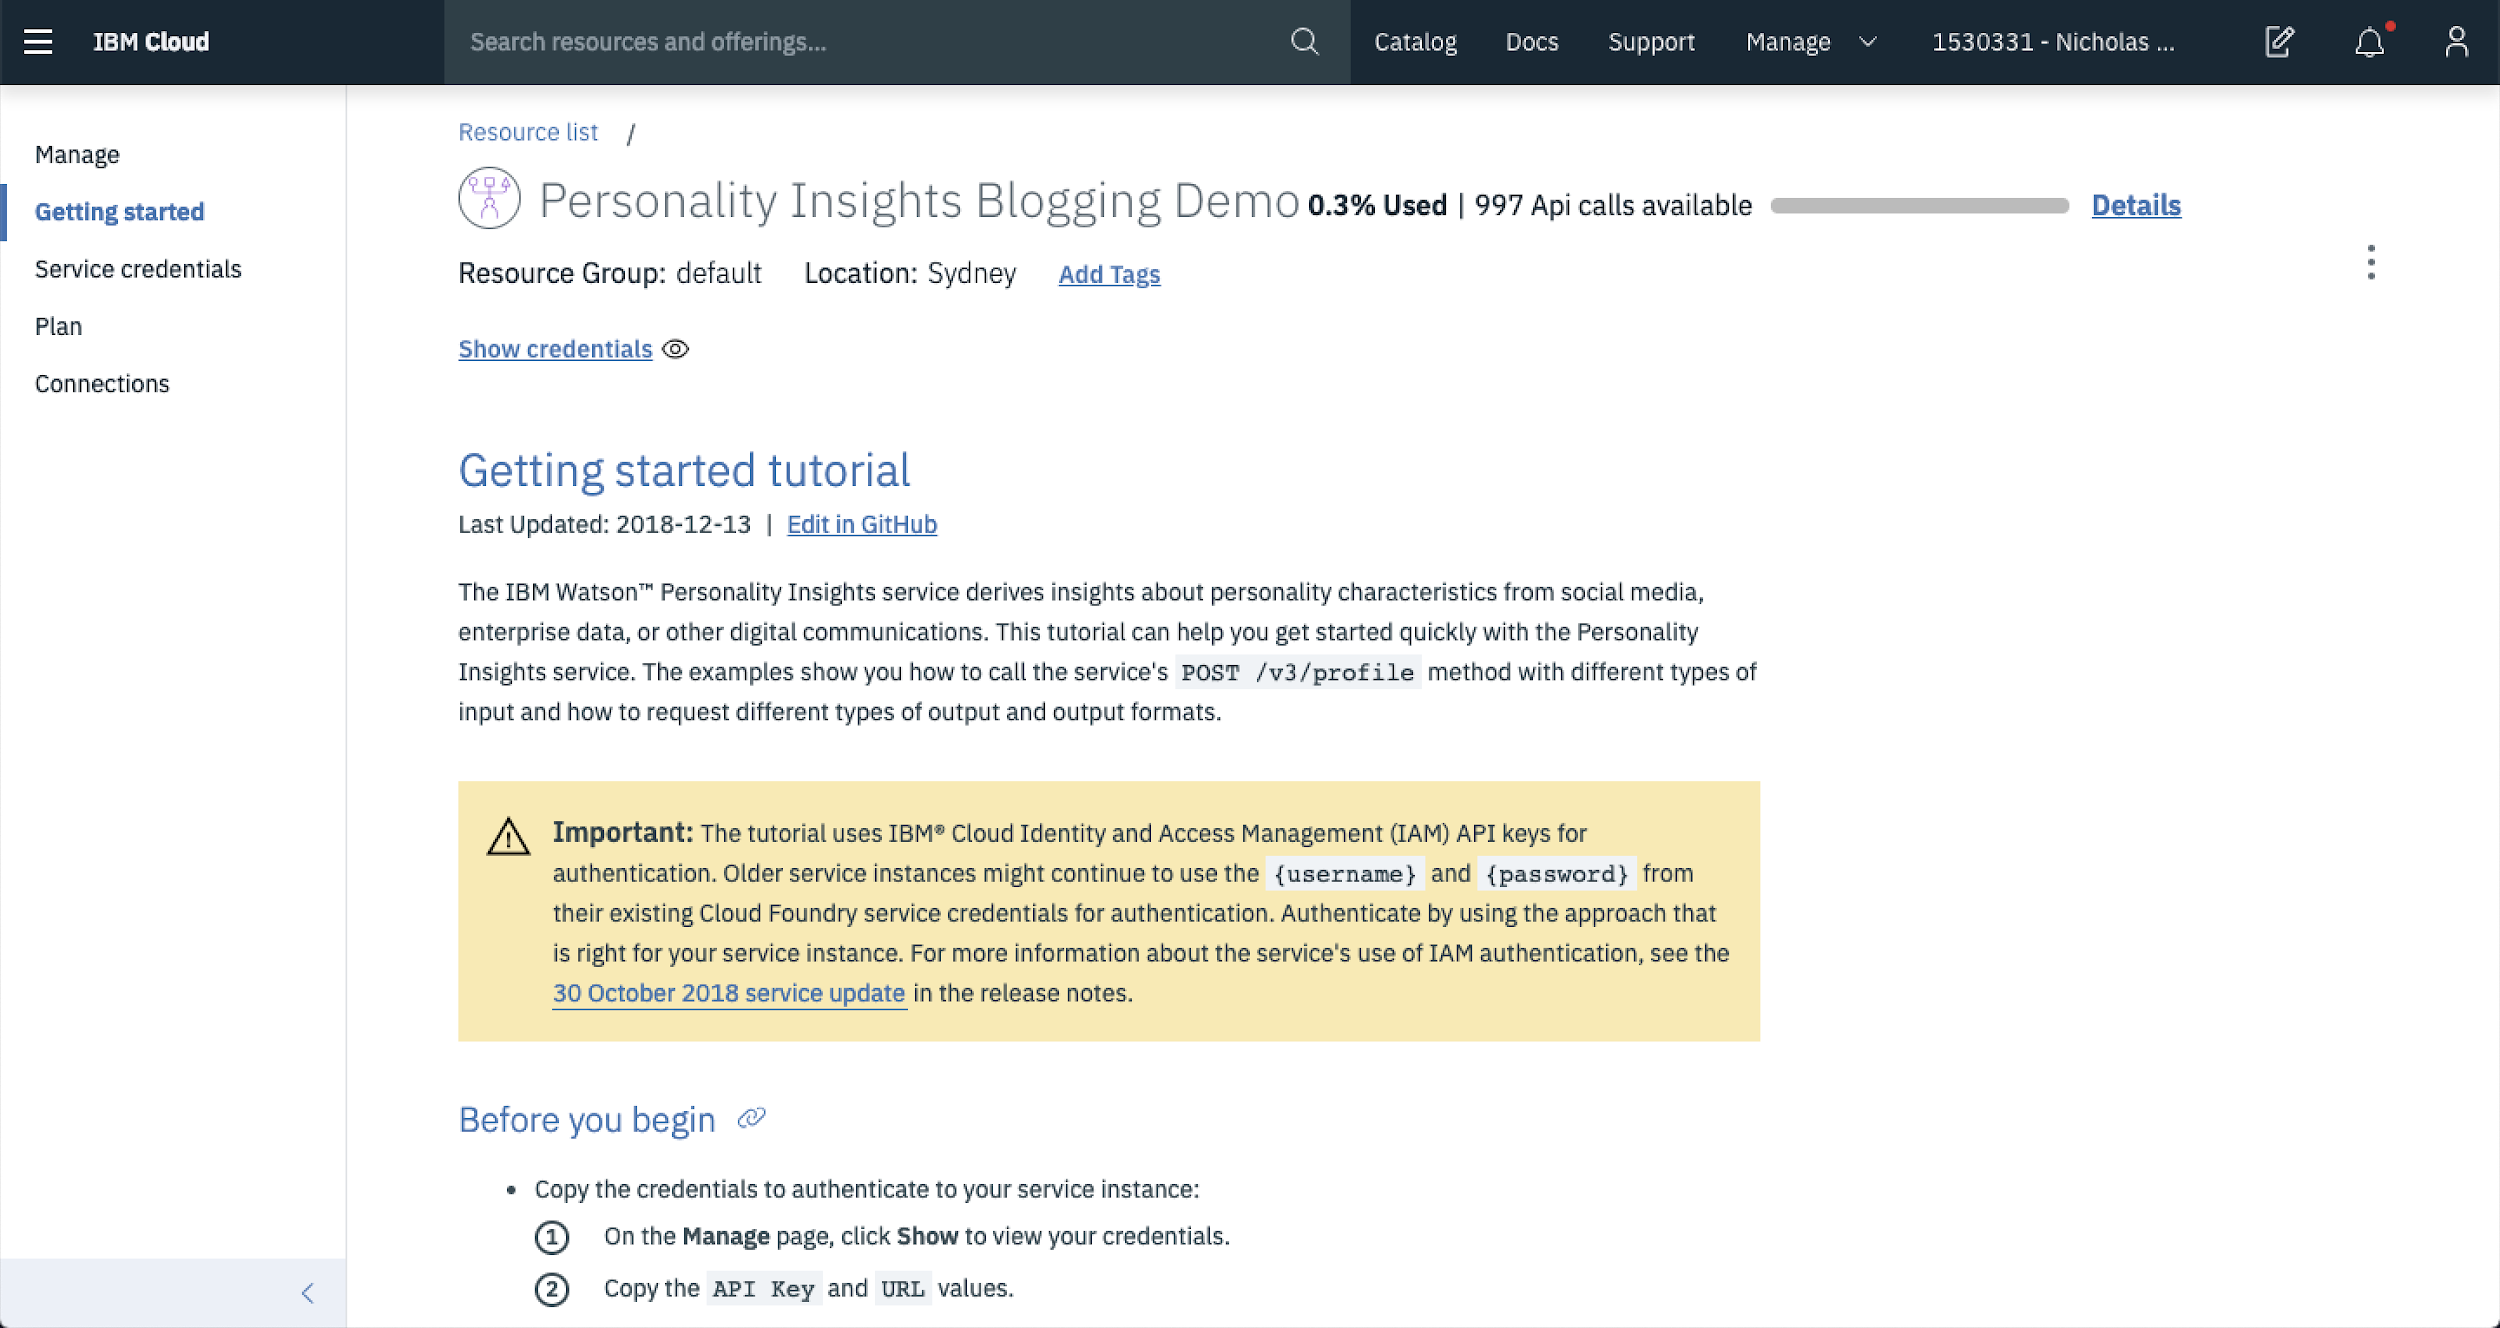
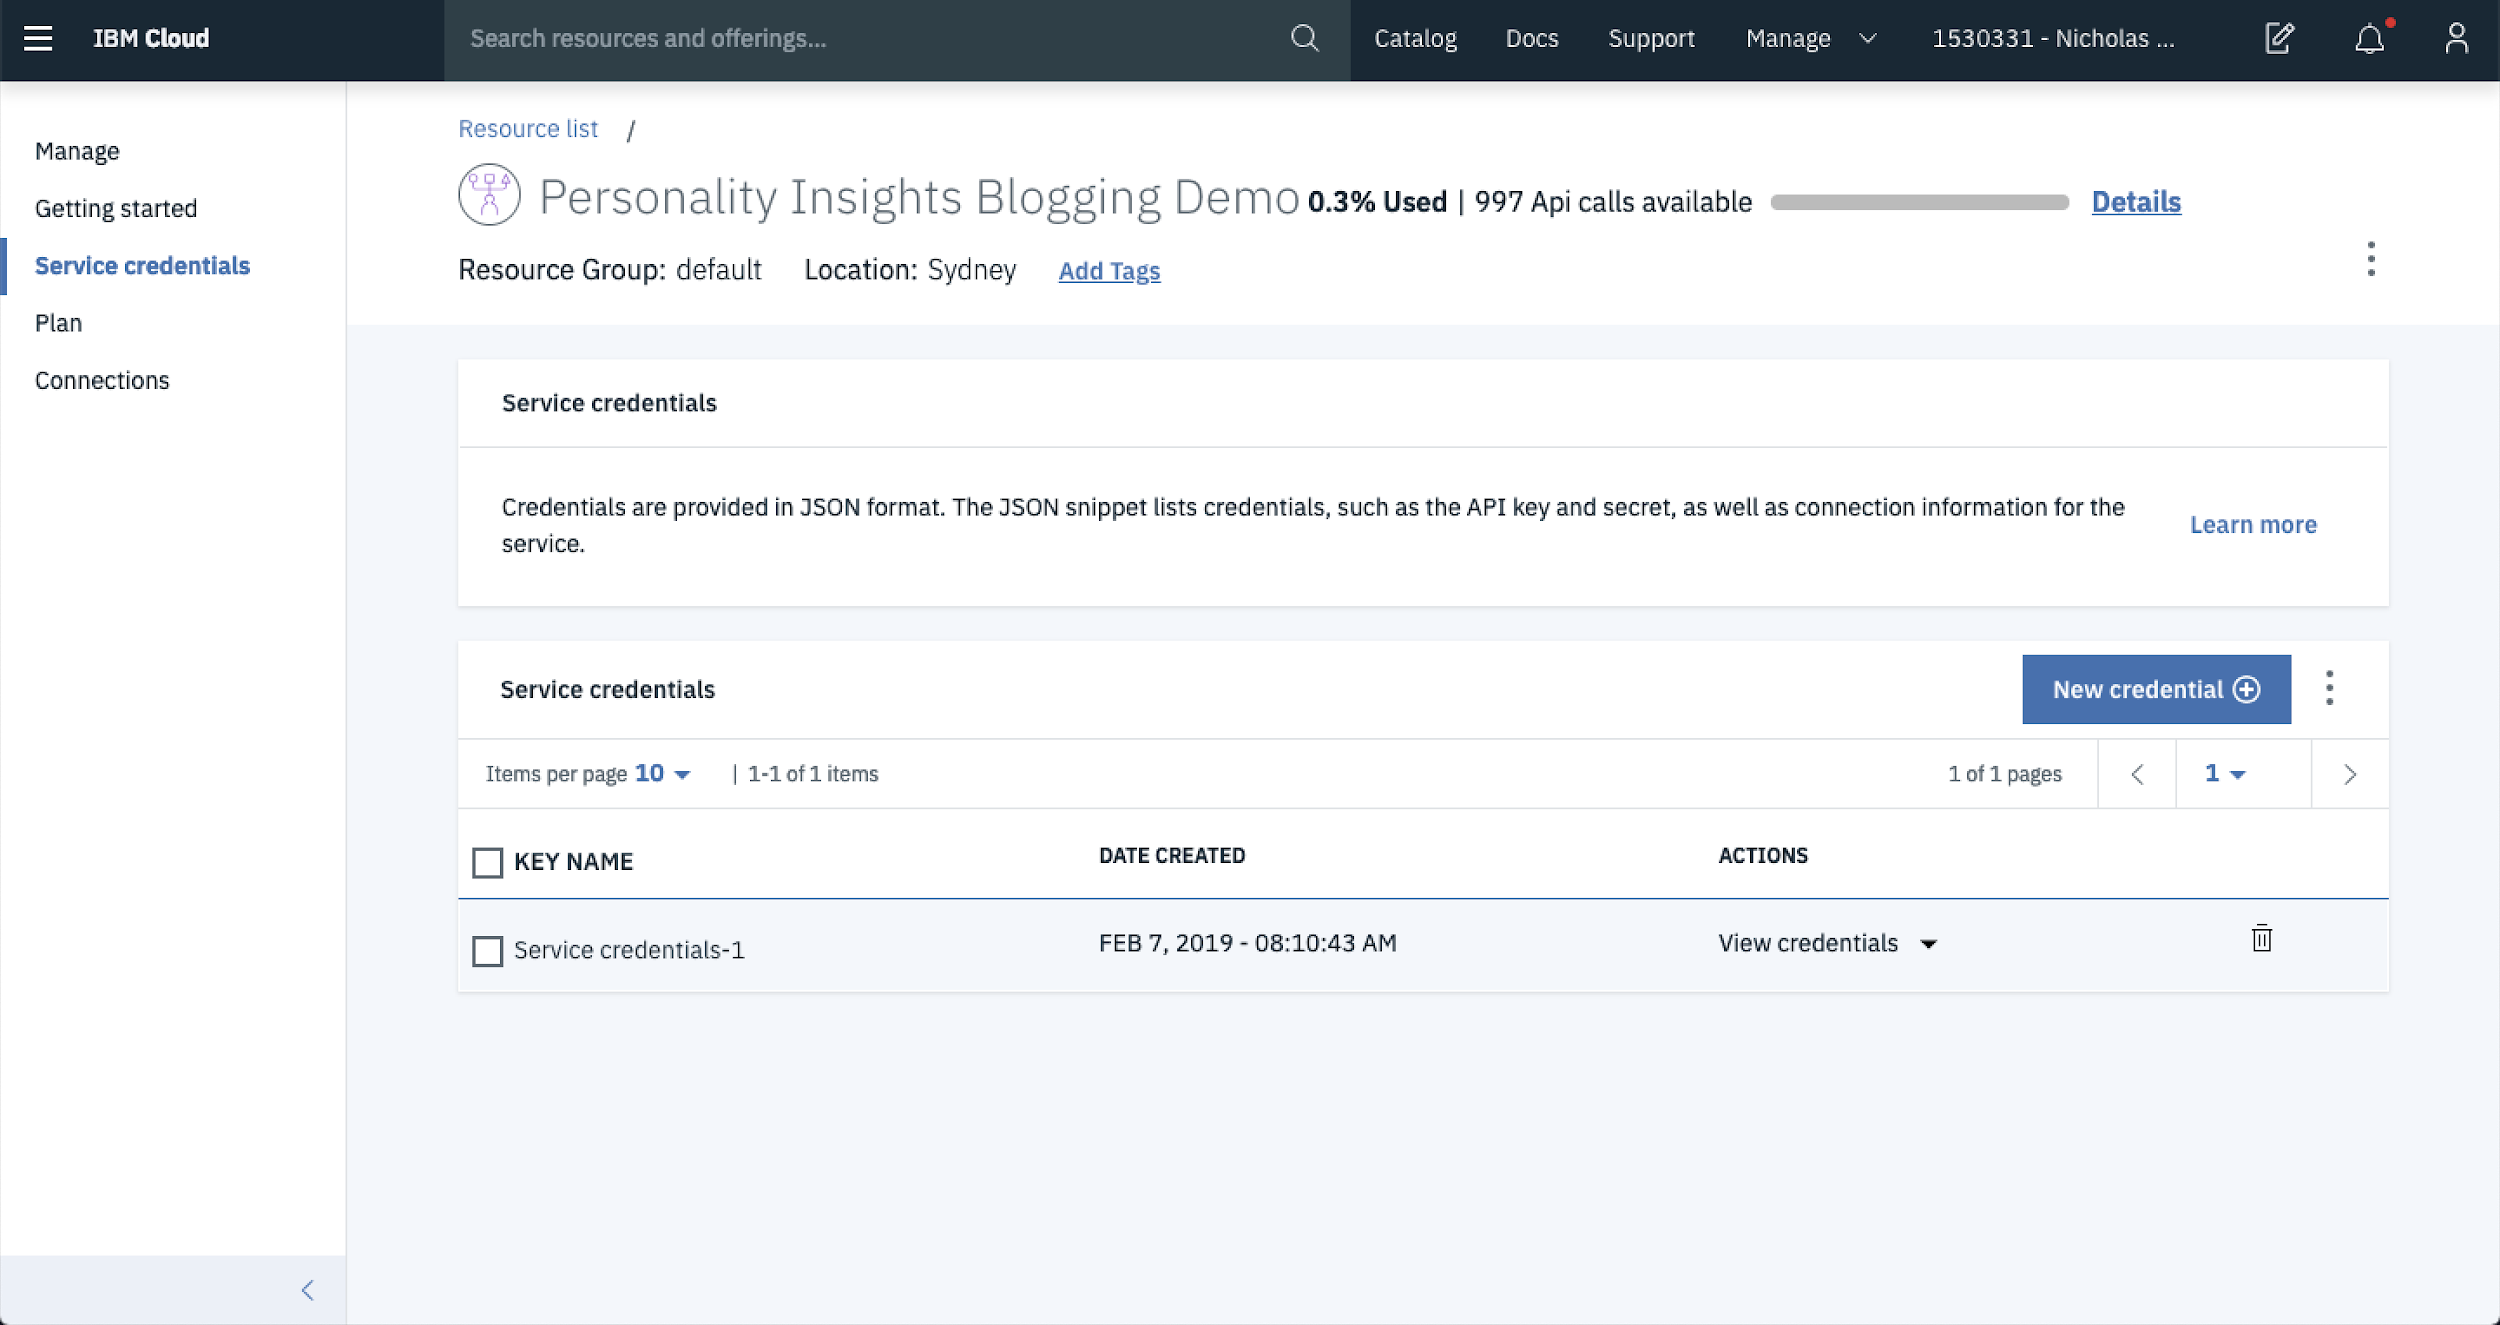
Once the service is created you’ll be automatically redirected to the Service Page. This is like your landing page for all things to do with your new service. Its from here that we’ll create credentials for step 2.
2. Generate API Credentials and Install watson developer cloud
A large number of the IBM cloud products use token-based IAM authentication to authenticate API requests. Lucky for you, this one is no different. In order to generate API credentials, from the service page hit Service Credentials.
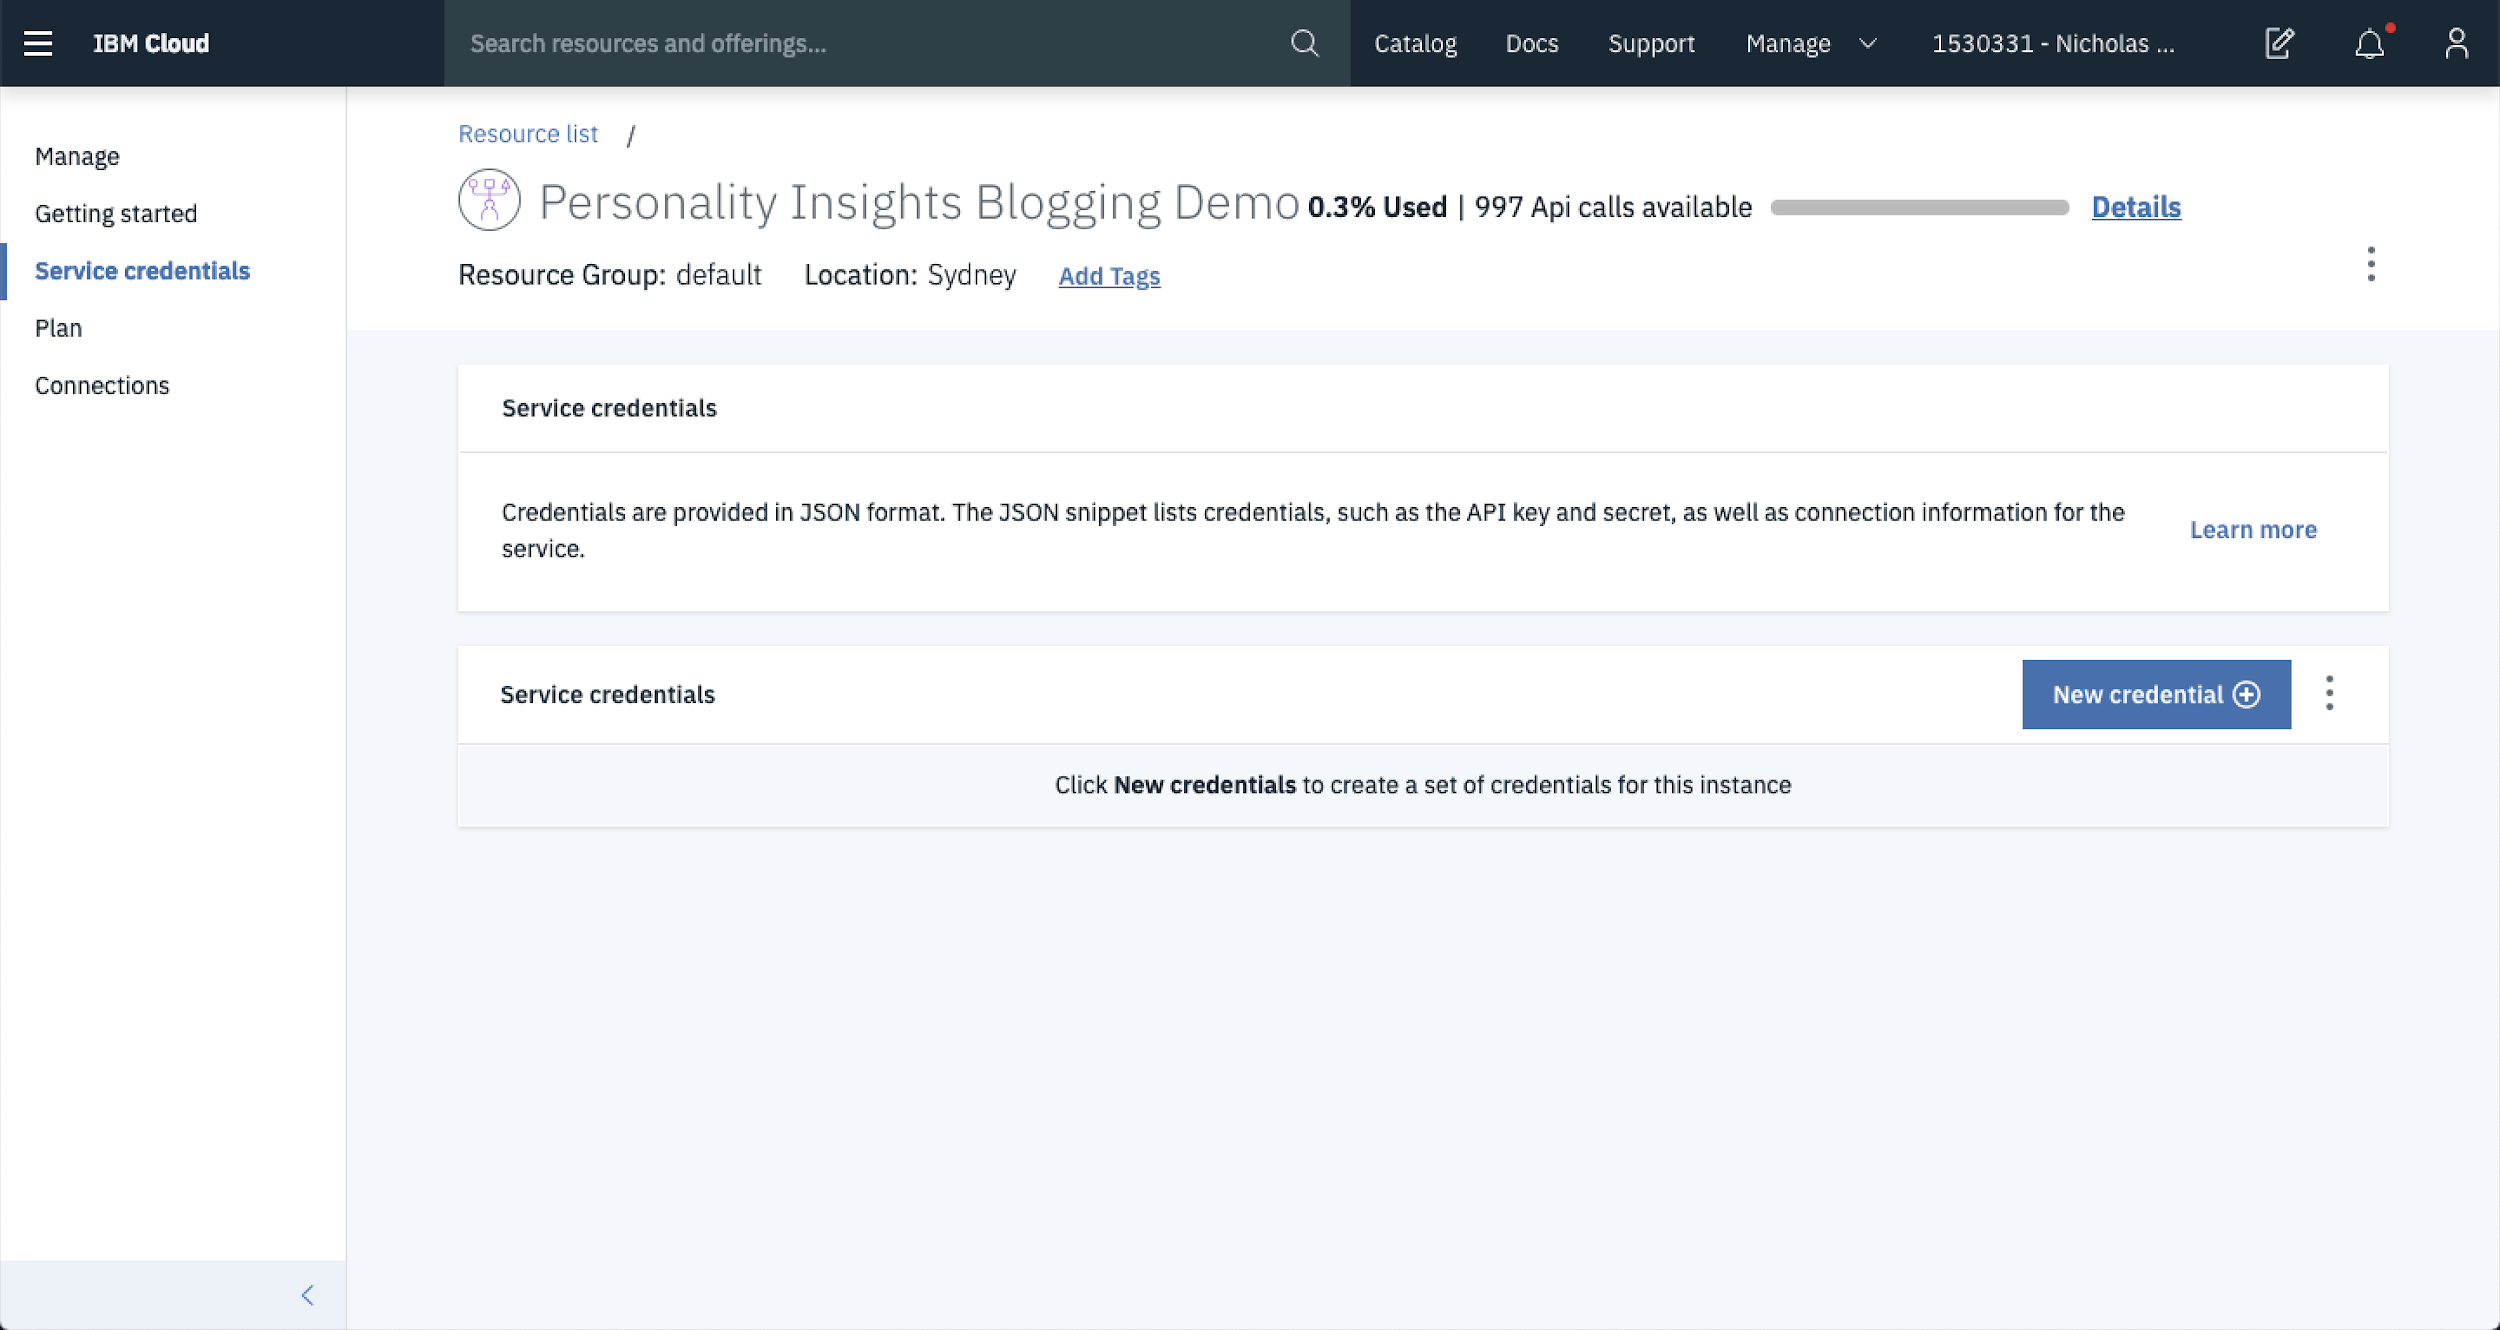
Then select New Credentials….a popup modal will appear.
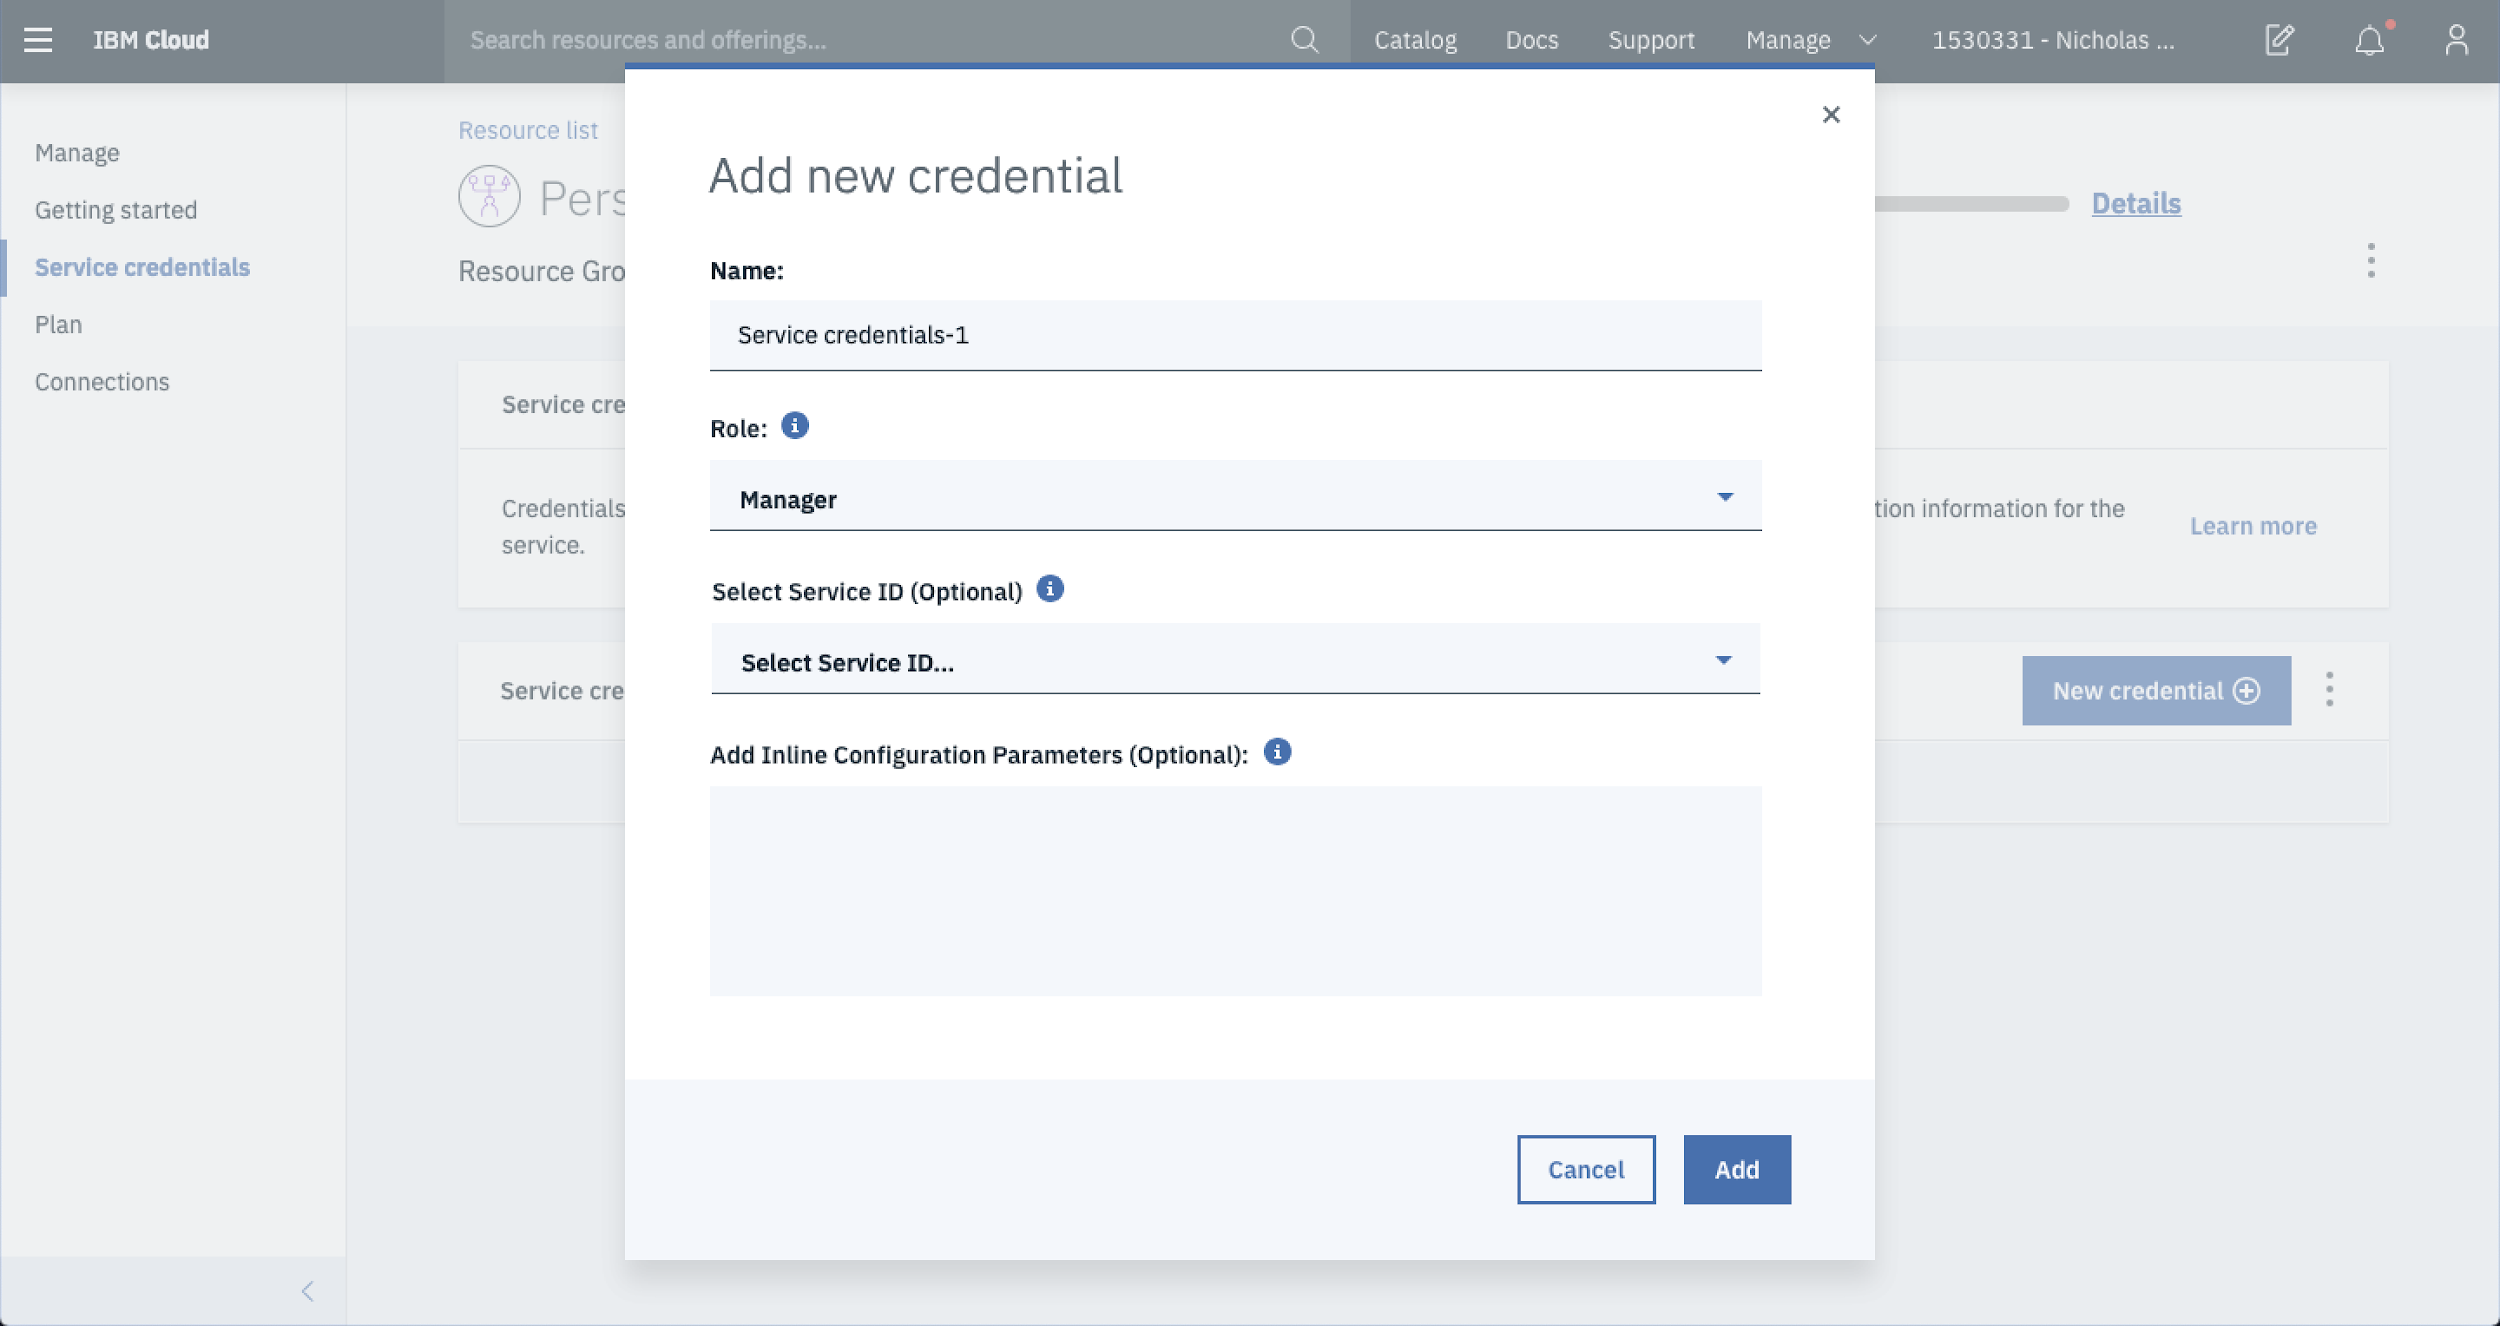
From here, you can update the Name, Role and Service ID. The defaults will work for this demo as well. If you’re happy with these, skip updating them and Hit Add.
This should add a new credential under the Service Credentials list.
In order to interact with the API using Python you’ll need the API Key. You can grab this by selecting View credentials.
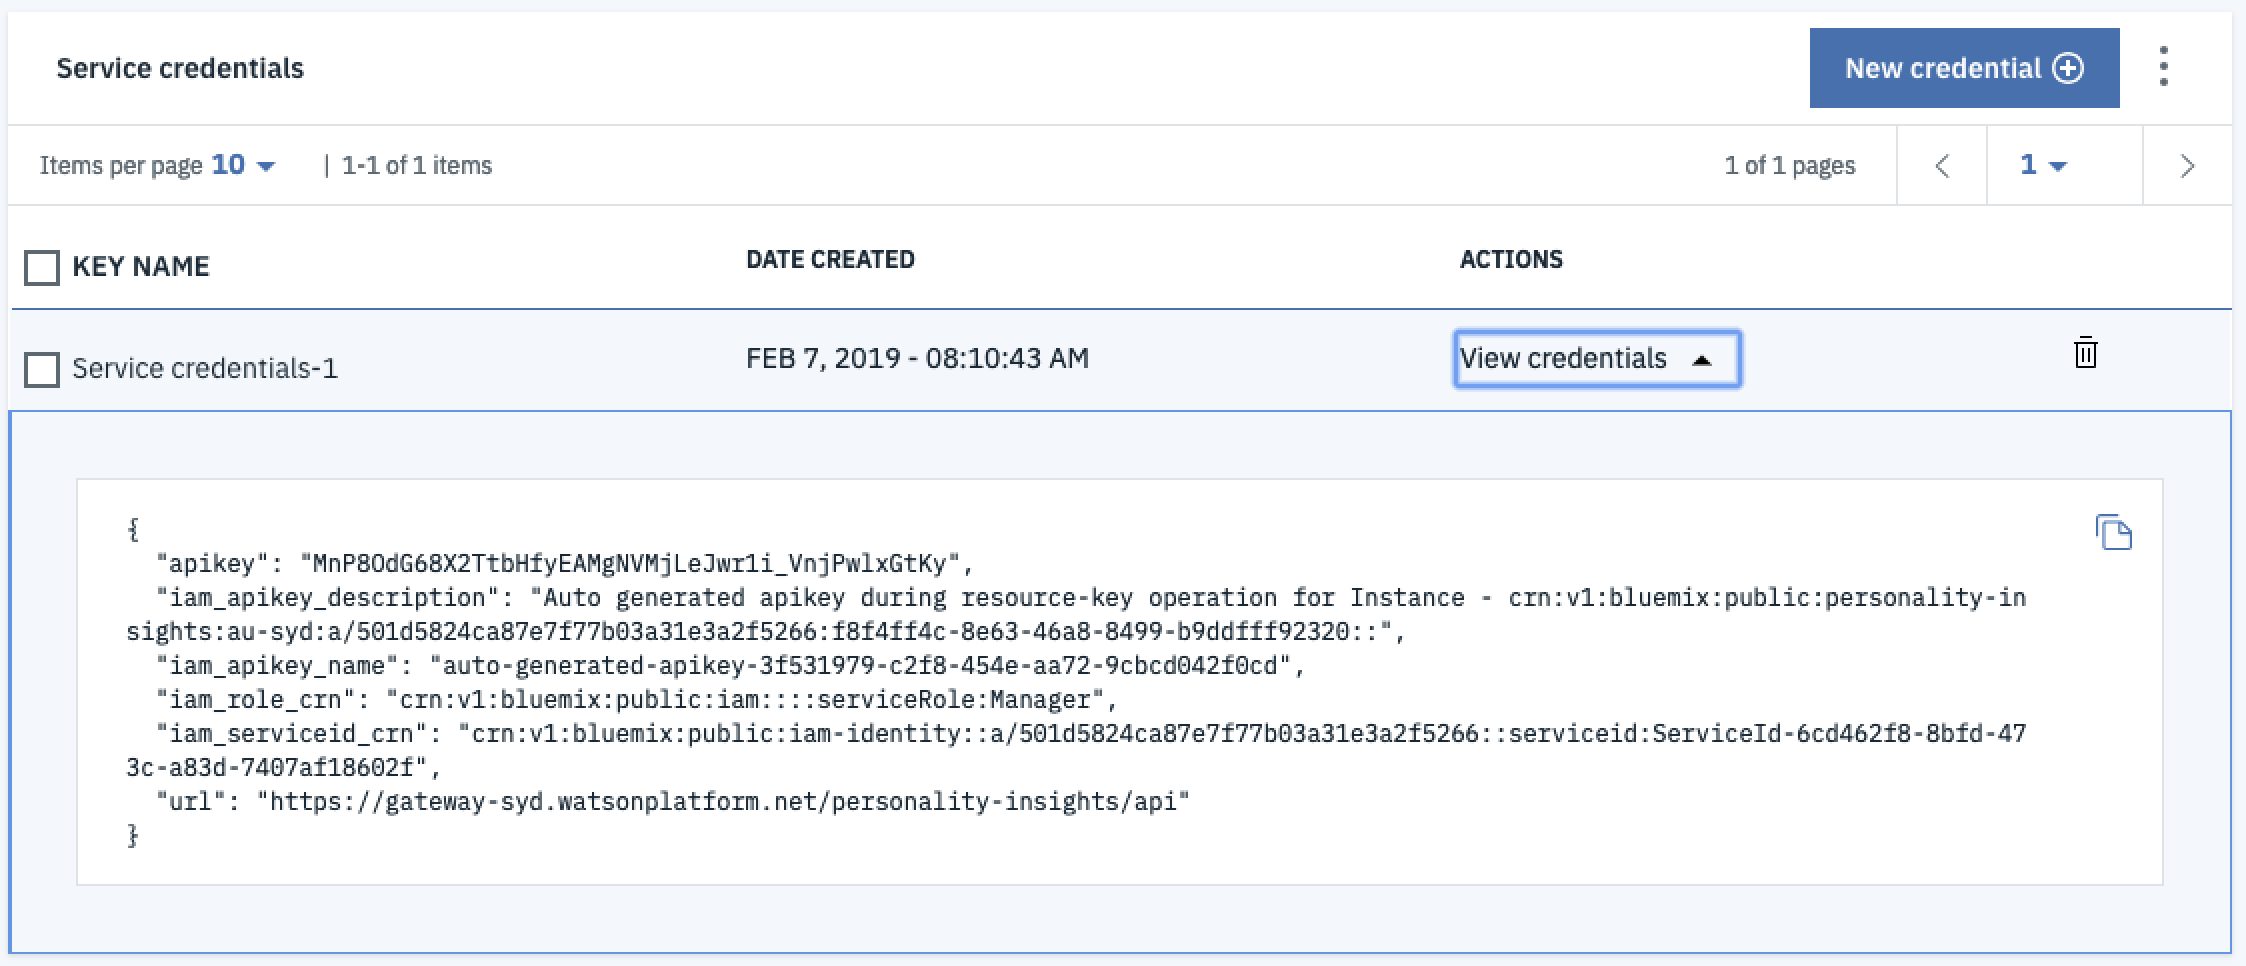
Copy down the API key. In this case, you would be copying down the following string: MnP8OdG68X2TtbHfyEAMgNVMjLeJwr1i_VnjPwlxGtKy. Copy this down and keep it in a safe place, you’re going to need it for step 3.
The final setup step is to make sure you’ve Watson Developer Cloud installed. To do this, open up a new terminal and enter the command pip install ibm_watson. Side Note: The name of the package was previously called watson-developer-cloud name of the package has now changed to ibm_watson.
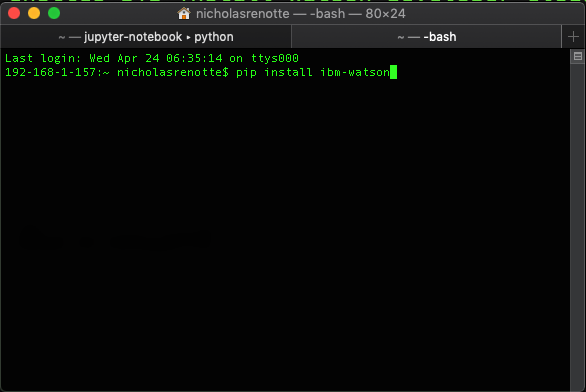
If you’ve already got it installed the process will skip through and give you a return message that’s something along the lines of “Requirement already satisfied”. If not, it will be installed. And that wraps up the setup, now…onto building these personas.
3. Creating a Profile
Now that you’ve got API credentials created and you’re all up to date with the latest watson-developer cloud module it’s time to start creating a profile.
You’ll need a block of text from the person or customer you’re looking to analyse. If you don’t have one or want to use a sample, you can download the sample attached here TK. Once, you’ve got some text, create a new notebook or python file and start powering through the code below.
You’re going to need a few modules to work through this tutorial. Two of these are the watson-developer-cloud SDK to make requests to the API and JSON to pretty print the result received.
First up, import the modules.
# Import Personality Service from watson SDK
from ibm_watson import PersonalityInsightsV3

# Import json to print output
import json
Then create a new connection to the service making sure to update the iam_apikey and url with the API key credentials you generated in Step 2.
# This url is available from the manage page of the service
url = 'https://gateway-syd.watsonplatform.net/personality-insights/api'

# Create this API Key When you create the service
apikey = 'yx1RyJ8A98UX6AdGRkOkvg8BIZW41o6OFX7lMTUU8fT1'

# Create conection to service
service = PersonalityInsightsV3(url=url, version='2017-10-13', iam_apikey=apikey)
Important Side Note
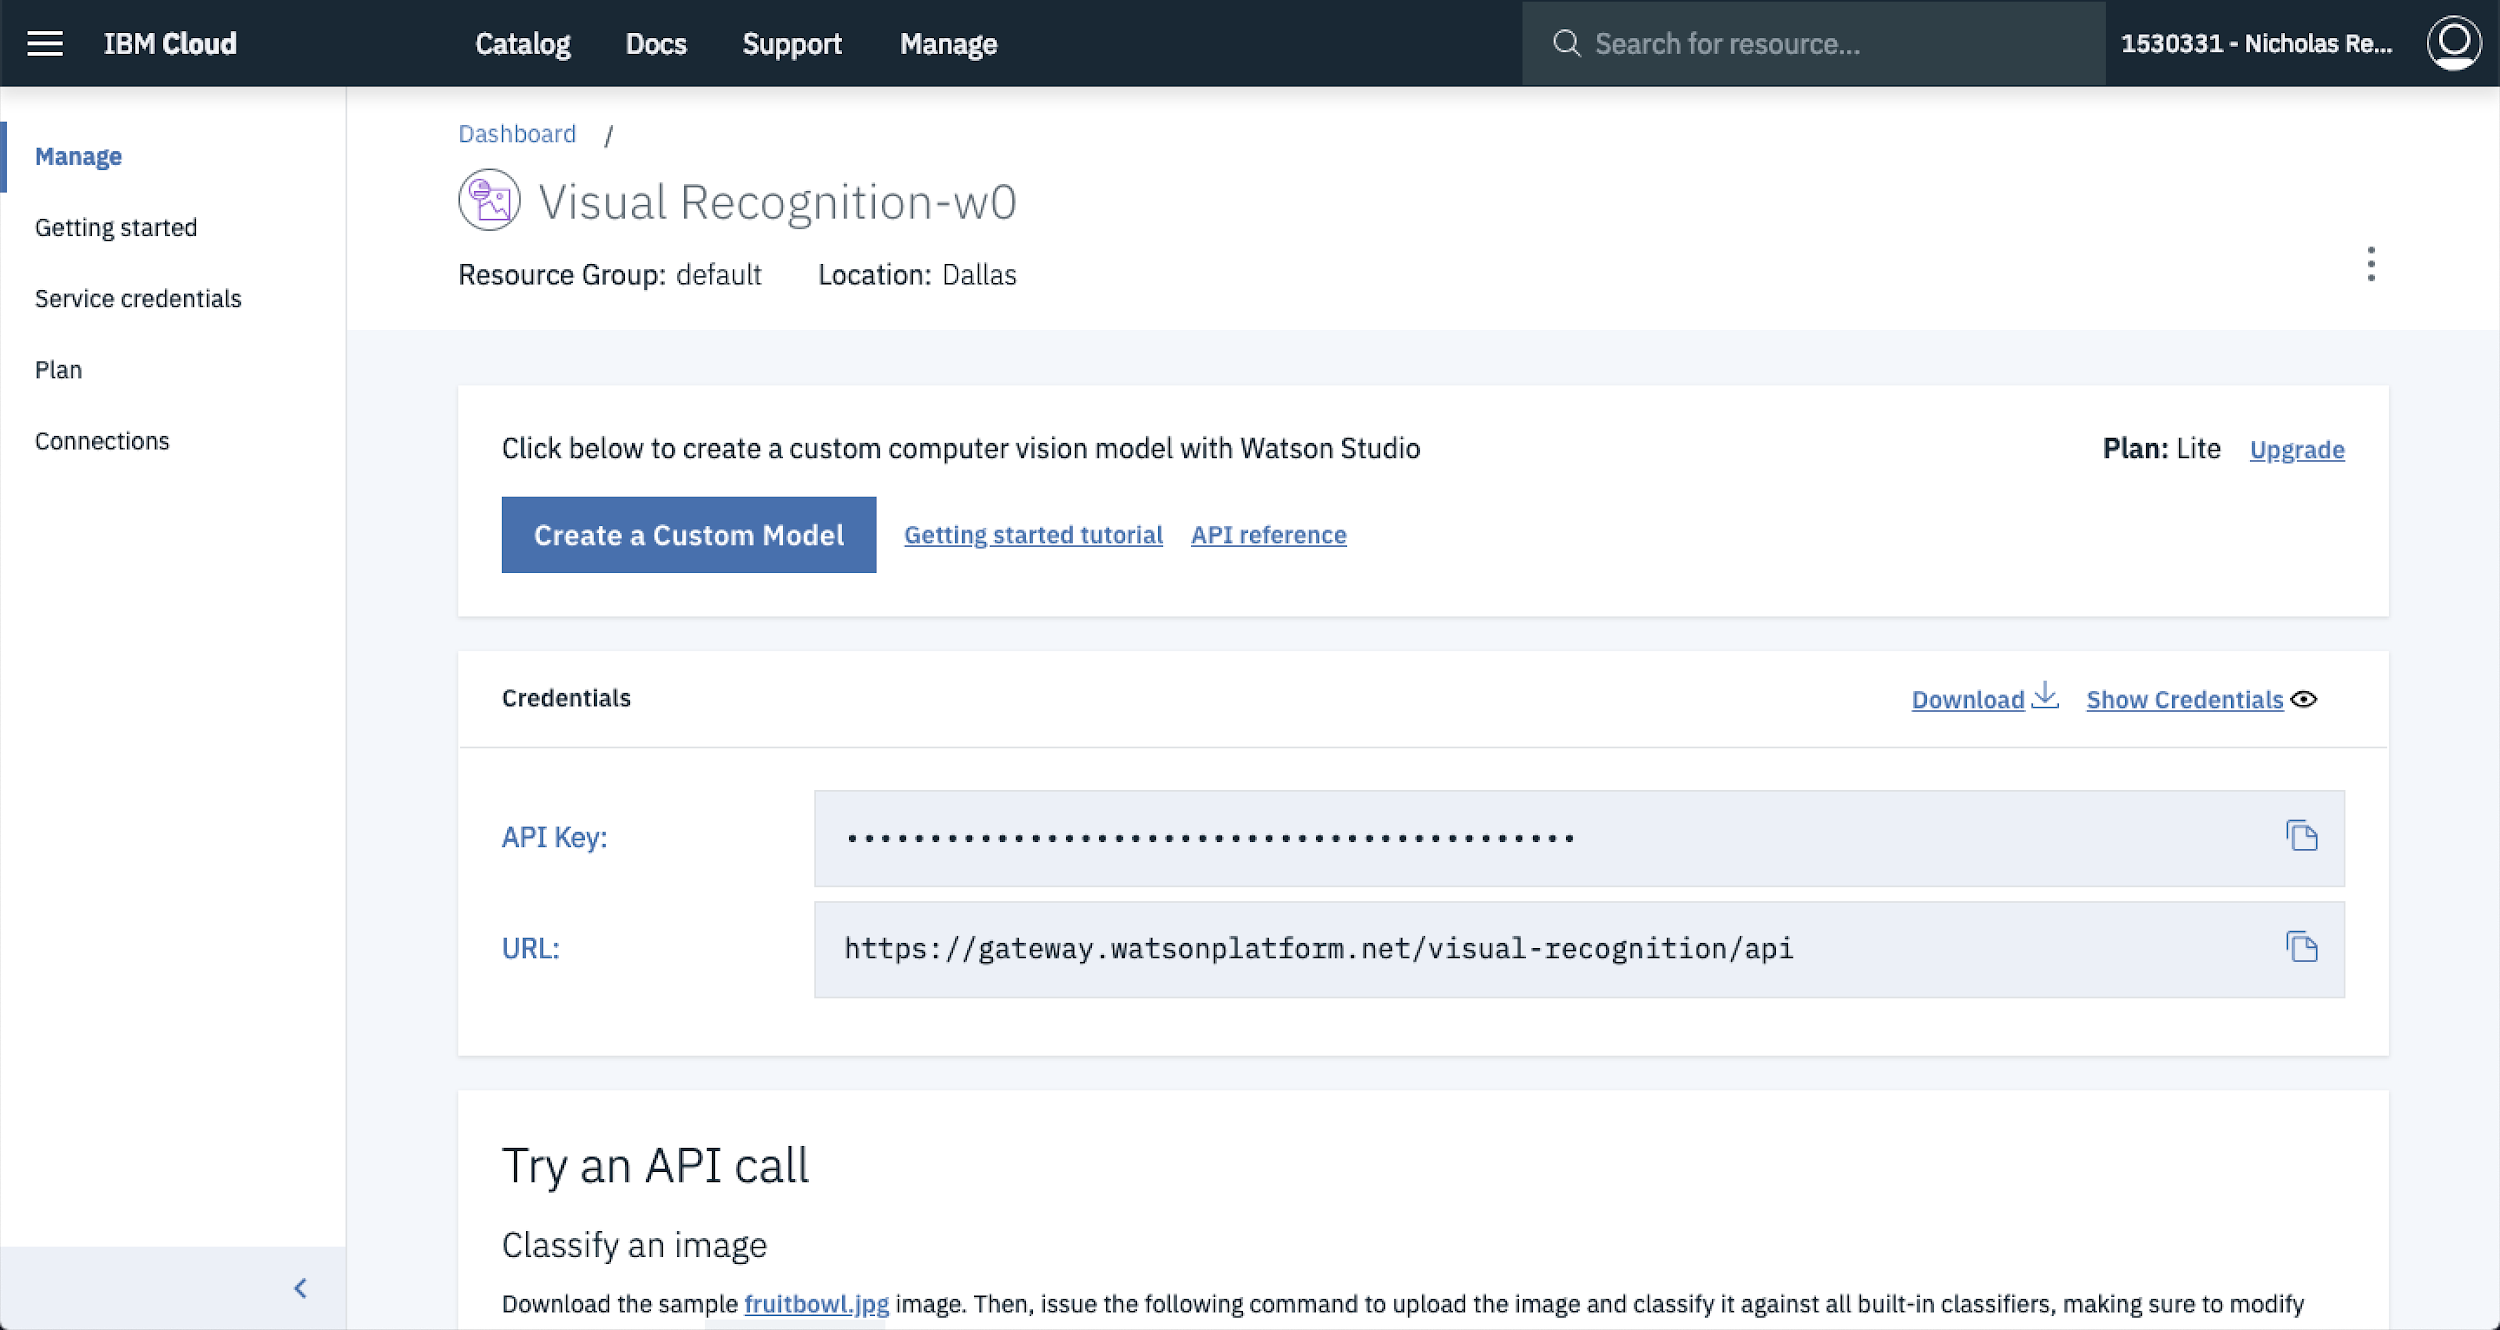
You may need to update the URL depending on the resource location you had selected in step one. If you didn’t select Sydney, which is highly likely, jump on over the the service page by selecting Manage from the IBM console and copy down the URL from the centre of the page.
To create a new profile you have to send the text profile to the Personality Insights service. This will process the data in the text file and generate a new personality.
# Send file to service and get result
with open('profile.txt') as f:
  profile = service.profile(f.read(), accept='application/json').get_result()
Check the warnings key to make sure the request ran successfully
# Check for any warnings
len(profile['warnings'])
Then you can print out the personality result.
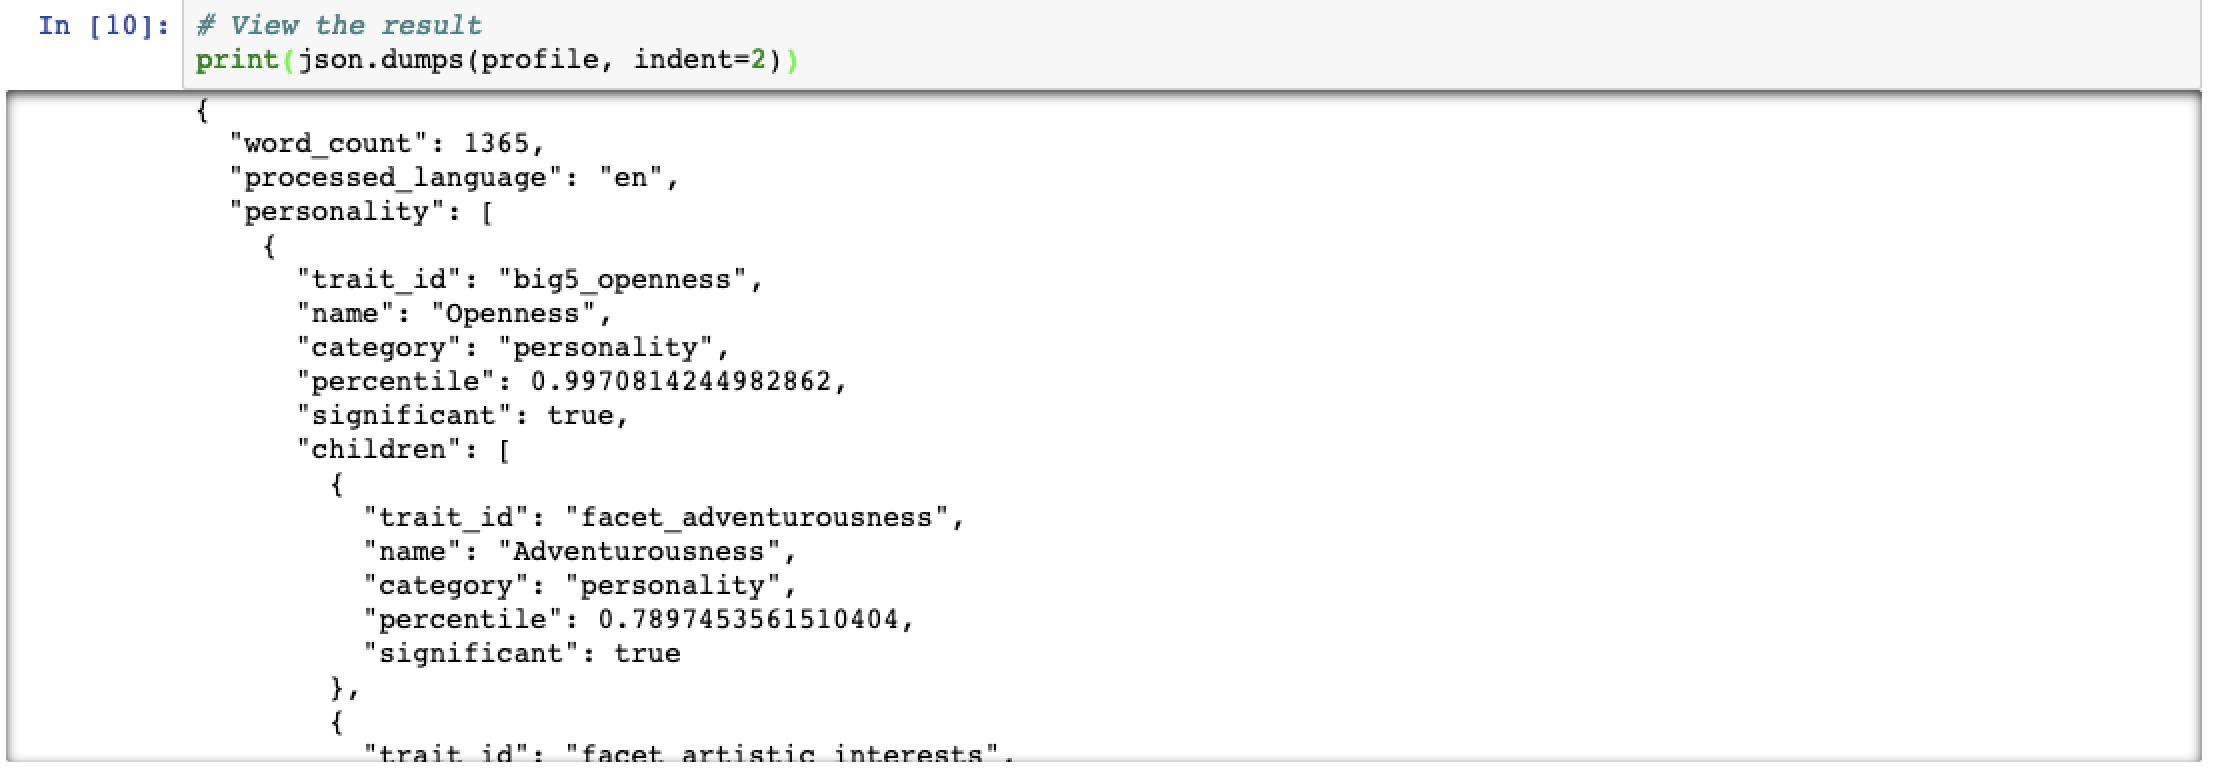
# Output result
print(json.dumps(profile, indent=2))
You should get a JSON object back that looks a little like this when printed.
4. Visualising the profile’s character traits
Ok, so you did it. But the result is…a little lacklustre.
A random dump of text isn’t really all that pleasing when trying to explain who your potential customers are and what they do. What you can do to try to get a better handle on it is to visualise the data.
This is actually relatively straightforward using matplotlib and seaborn.
First up, let’s import the libraries you’re going to need to get your visualisation on.
# Import pandas
import pandas as pd

# Import matplotlib
from matplotlib import pyplot as plt

# Import seaborn
import seaborn as sns
There are a number of features that are returned from creating a profile. The key features are needs, the big 5 personality traits and a snapshot of the person’s values.
To begin with, let’s work with the needs feature by converting the json result to a dataframe. This will make it easier to visualise using python plotting libraries later on.
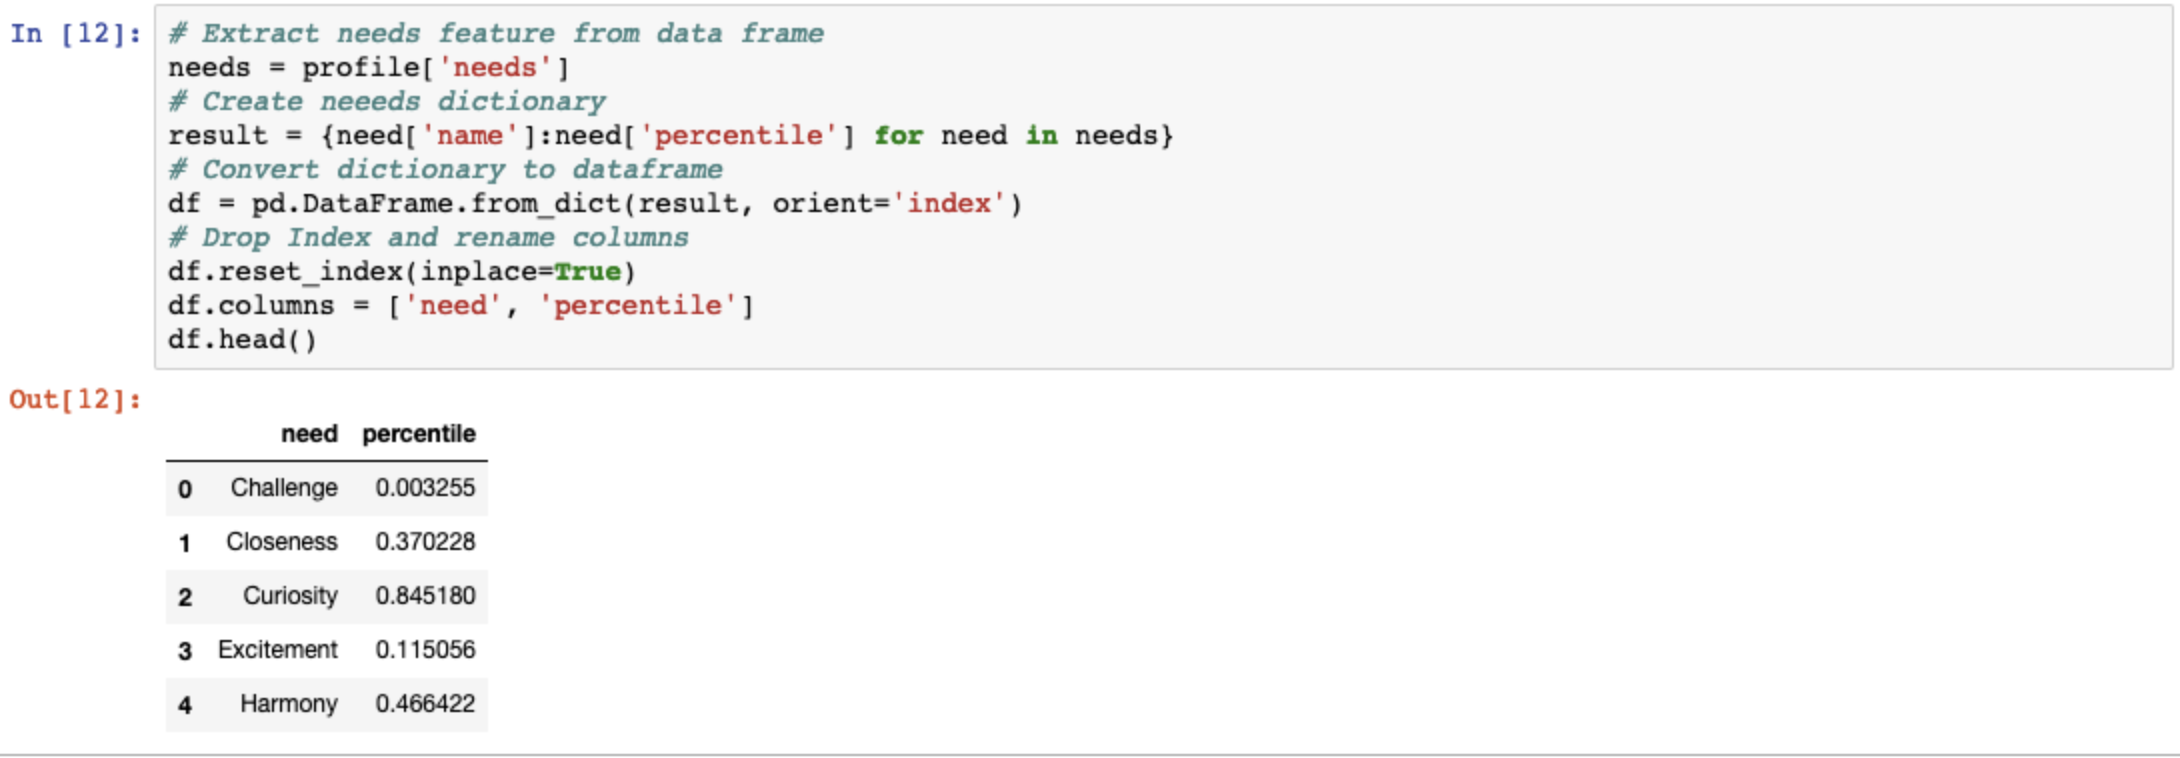
# Extract needs feature from data frame
needs = profile['needs']

# Create neeeds dictionary
result = {need['name']:need['percentile'] for need in needs}

# Convert dictionary to dataframe
df = pd.DataFrame.from_dict(result, orient='index')

# Drop Index and rename columns
df.reset_index(inplace=True)
df.columns = ['need', 'percentile']
You should now have a data frame that contains the feature in the first column and the percentile score in the second column. It should hopefully look a little like this….
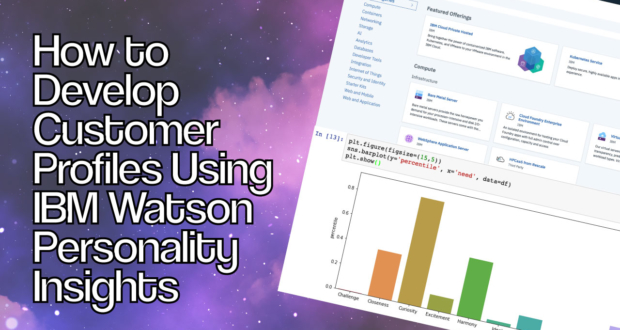
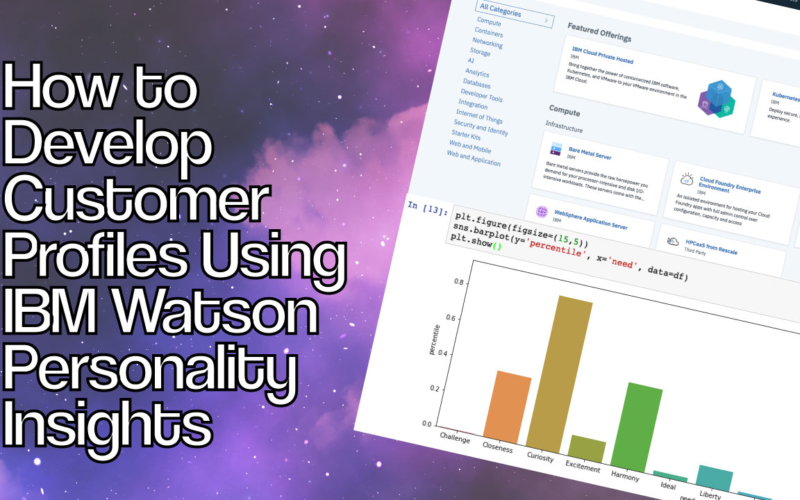
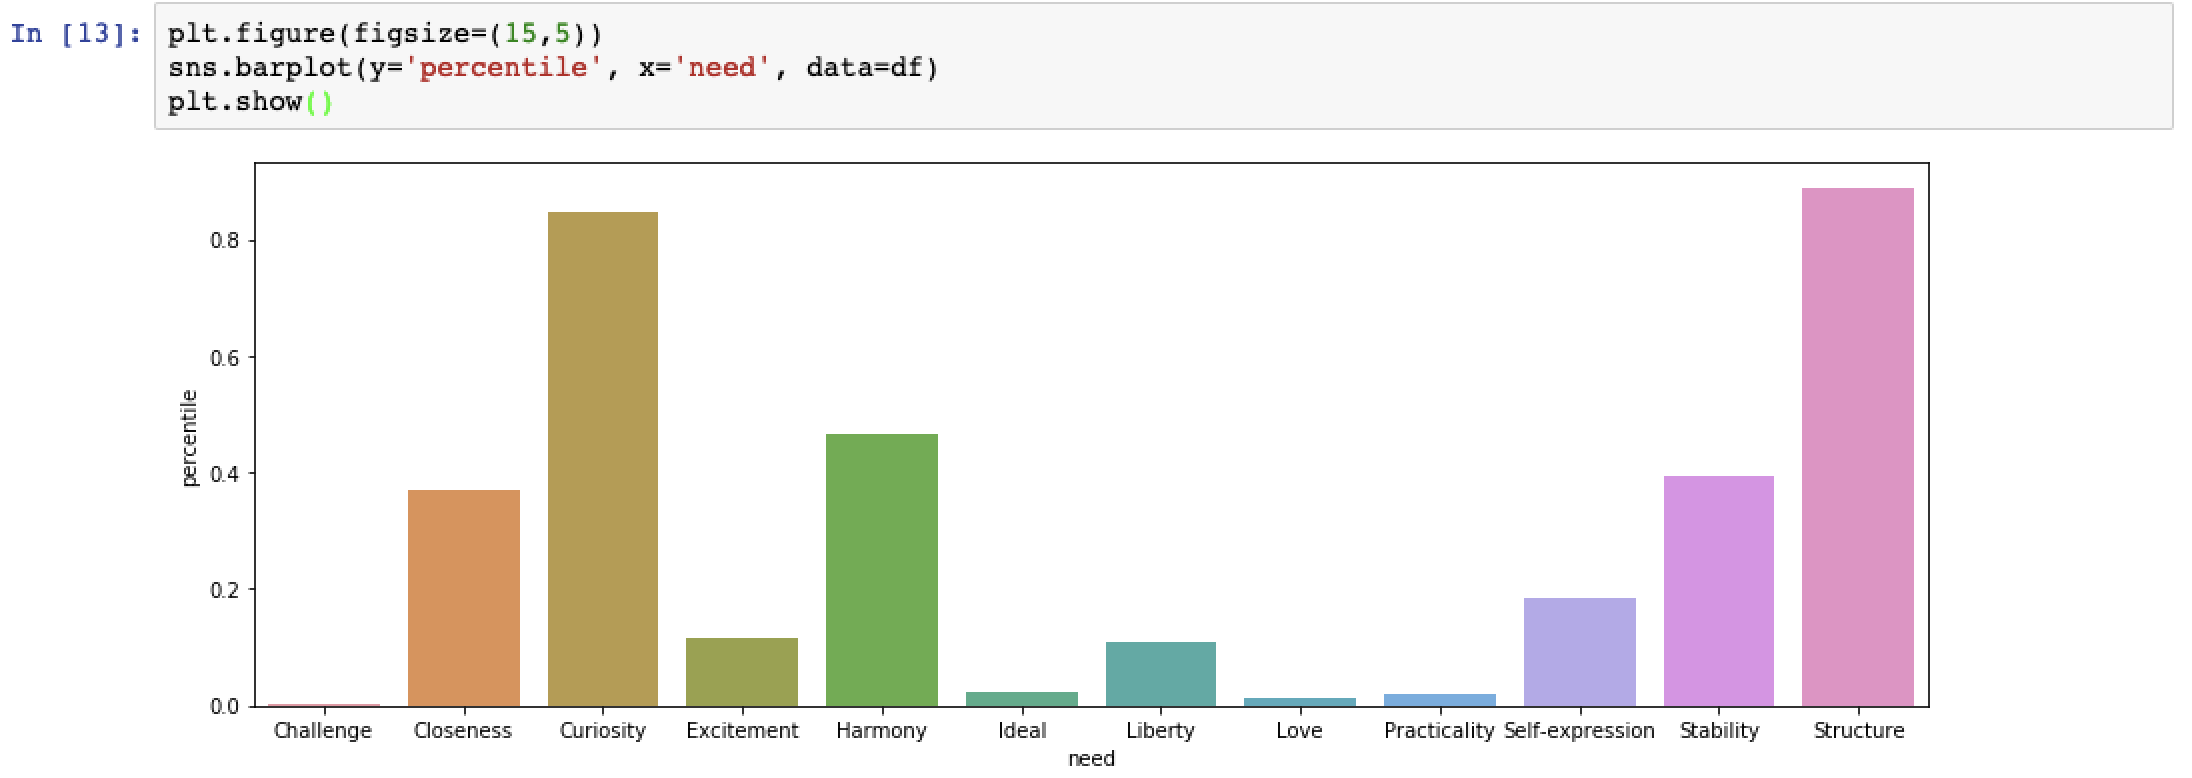
Using seaborn you can construct a simple countplot which will allow you to easily visualise the personality insight.
# Increase plot size
plt.figure(figsize=(15,5))

# Create plot
sns.barplot(y='percentile', x='need', data=df)

# Display without string text
plt.show()
If you ran this same code for the values feature it would run without issue. However the profile[‘personality’] feature actually has five additional features. Collectively these are known as the big 5 personality traits (more on this here).
These can be plotted by individually accessing each big five feature inside of the personality array.
ORRRRR…
We could write a function that will plot the feature and calling it using a list comprehension.
Let’s go with option 2.
We’ll use similar code to what was used for the needs feature to write the function.
# Plot traits function
def create_trait_plot(traits):
  result = {trait['name']:trait['percentile'] for trait in traits}
  df = pd.DataFrame.from_dict(result, orient='index')
  df.reset_index(inplace=True)
  df.columns = ['name', 'percentile']
  plt.figure(figsize=(15,5))
  sns.barplot(y='percentile', x='name', data=df)
  plt.show()
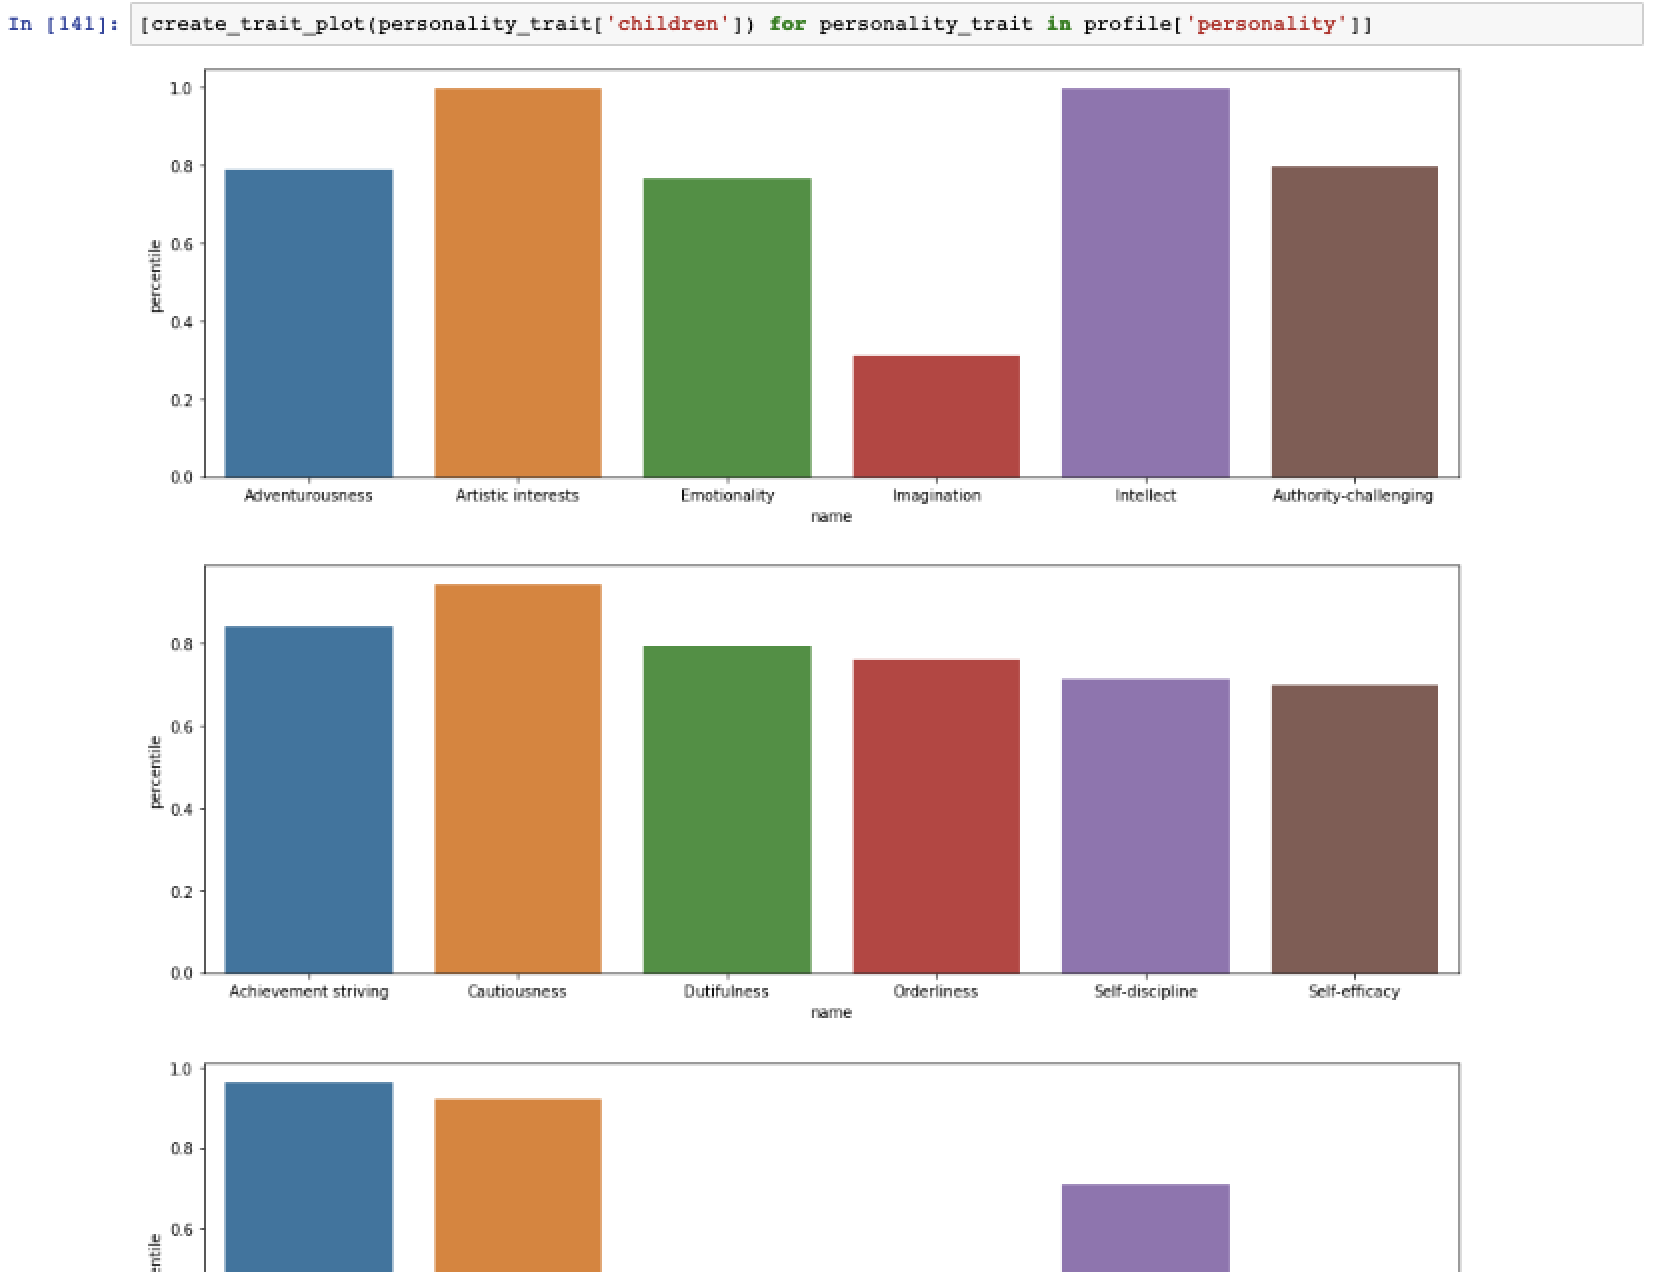
Then we can loop through each trait using a list comprehension.
# Loop through each of the big 5 personality traits.
[create_trait_plot(personality_trait['children']) for personality_trait in profile['personality']]
Which will give you awesome visualisations that breakdown a the customer profile. They show everything from the customer’s adventurousness to their self discipline and more.
And voila you have all the insights you need. To build up a customer profile. This is just a start, using the same service you could connect to twitter using Tweepy to analyse customer tweets or even profile up your competitors by profiling competition executives.
If you found this post useful, be sure to subscribe to the list where you can get the latest in data science, engineering and cutting edge analytics! Oh and share it with a friend if you think it would help them out! Do it…you know you want to!
Happy Coding!