You’ve been looking at them for hours.
Staring.
Searching.
Desperately trying to work out what’s changed.
There are contracts strewn all across your desk.
Some of them bear the crescent shaped scar from all the double shot espressos.
Trying to compare contracts at 2am is…
Just.
Not.
Fun.
There’s got to be a better way.
Yeah.
There is!
This is a hidden gem that’s going to change the way you work with contracts. It’ll help you analyse contracts using smart filtering and allows you to compare contract terms in seconds.
Say hello to Watson Compare and Comply.
You’re probably thinking
“Oh, it’s just another document comparison tool.”
That’s where you’re wrong, it’s so much more than that. Watson Compare and Comply uses natural language processing to tag clauses and classify them into different components.
What does this mean for you?
Well, for example, you’ll be able to quickly and easily filter on clauses within a contract that deal with indemnity or highlight the different people mentioned in the contract. It also means that you’re able to easily compare these clauses between contracts.
Want to give it a try?
Follow on with the tutorial below to get going with a crash start guide to using Compare and Comply.
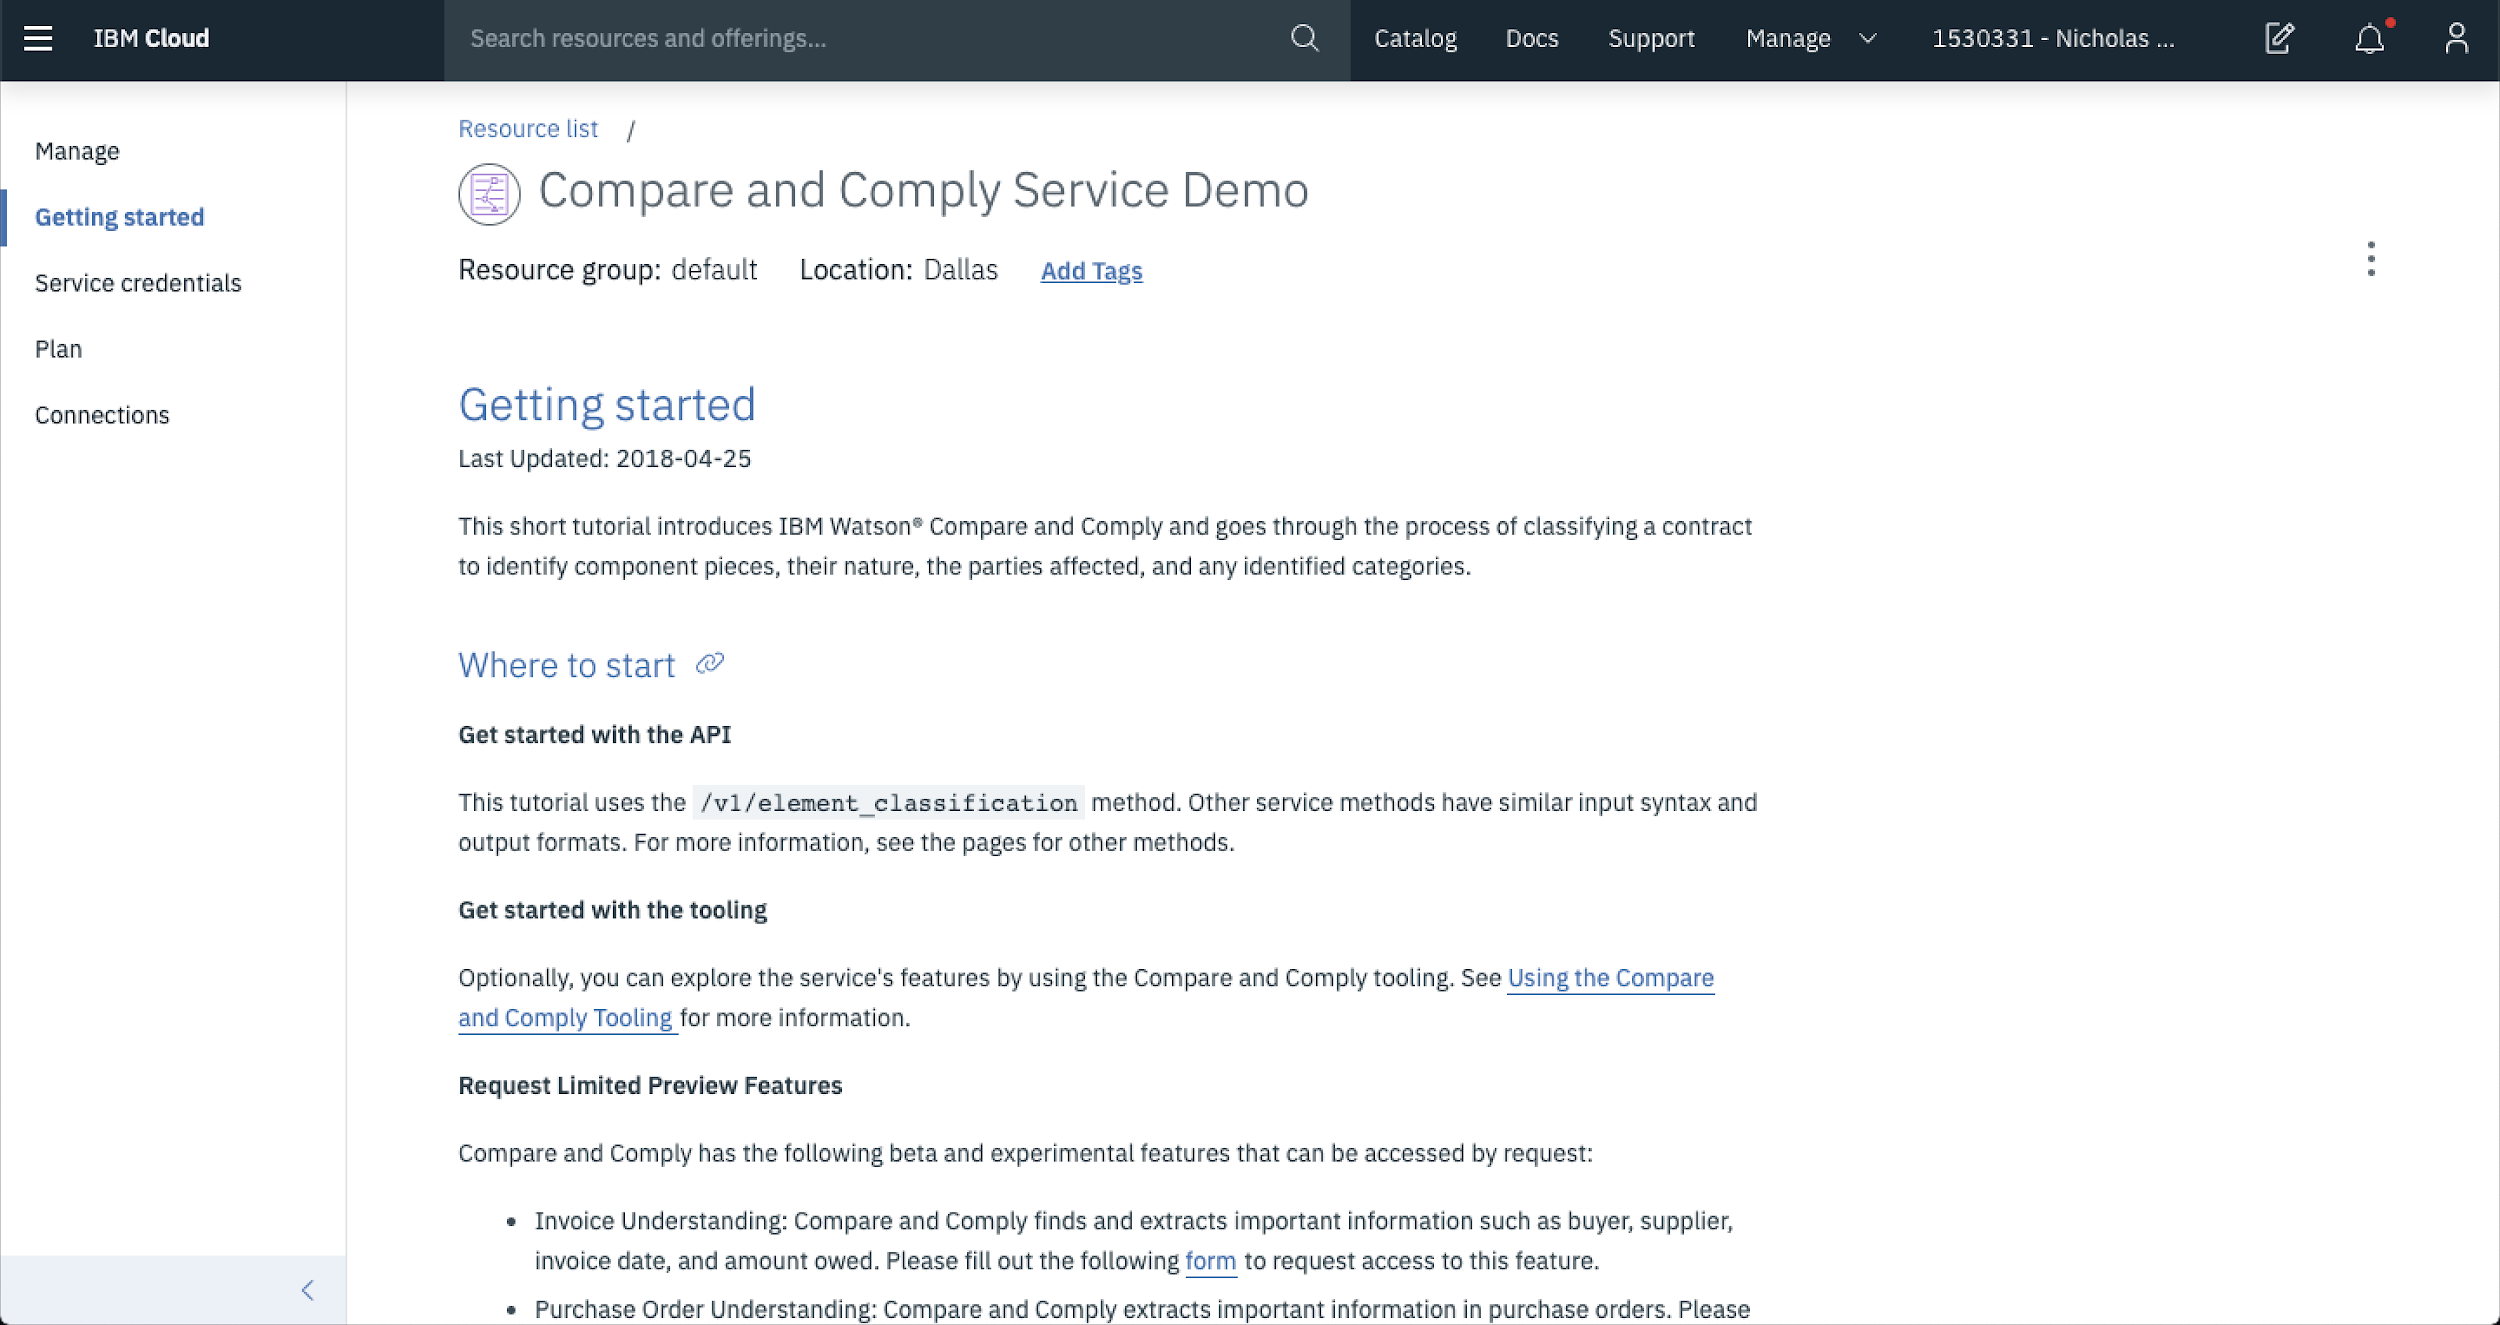
1. Create a Compare and Comply Service
As with all good things in life, they start out by heading over the IBM Cloud Catalog. From here, click the AI menu to display all of the AI based services.
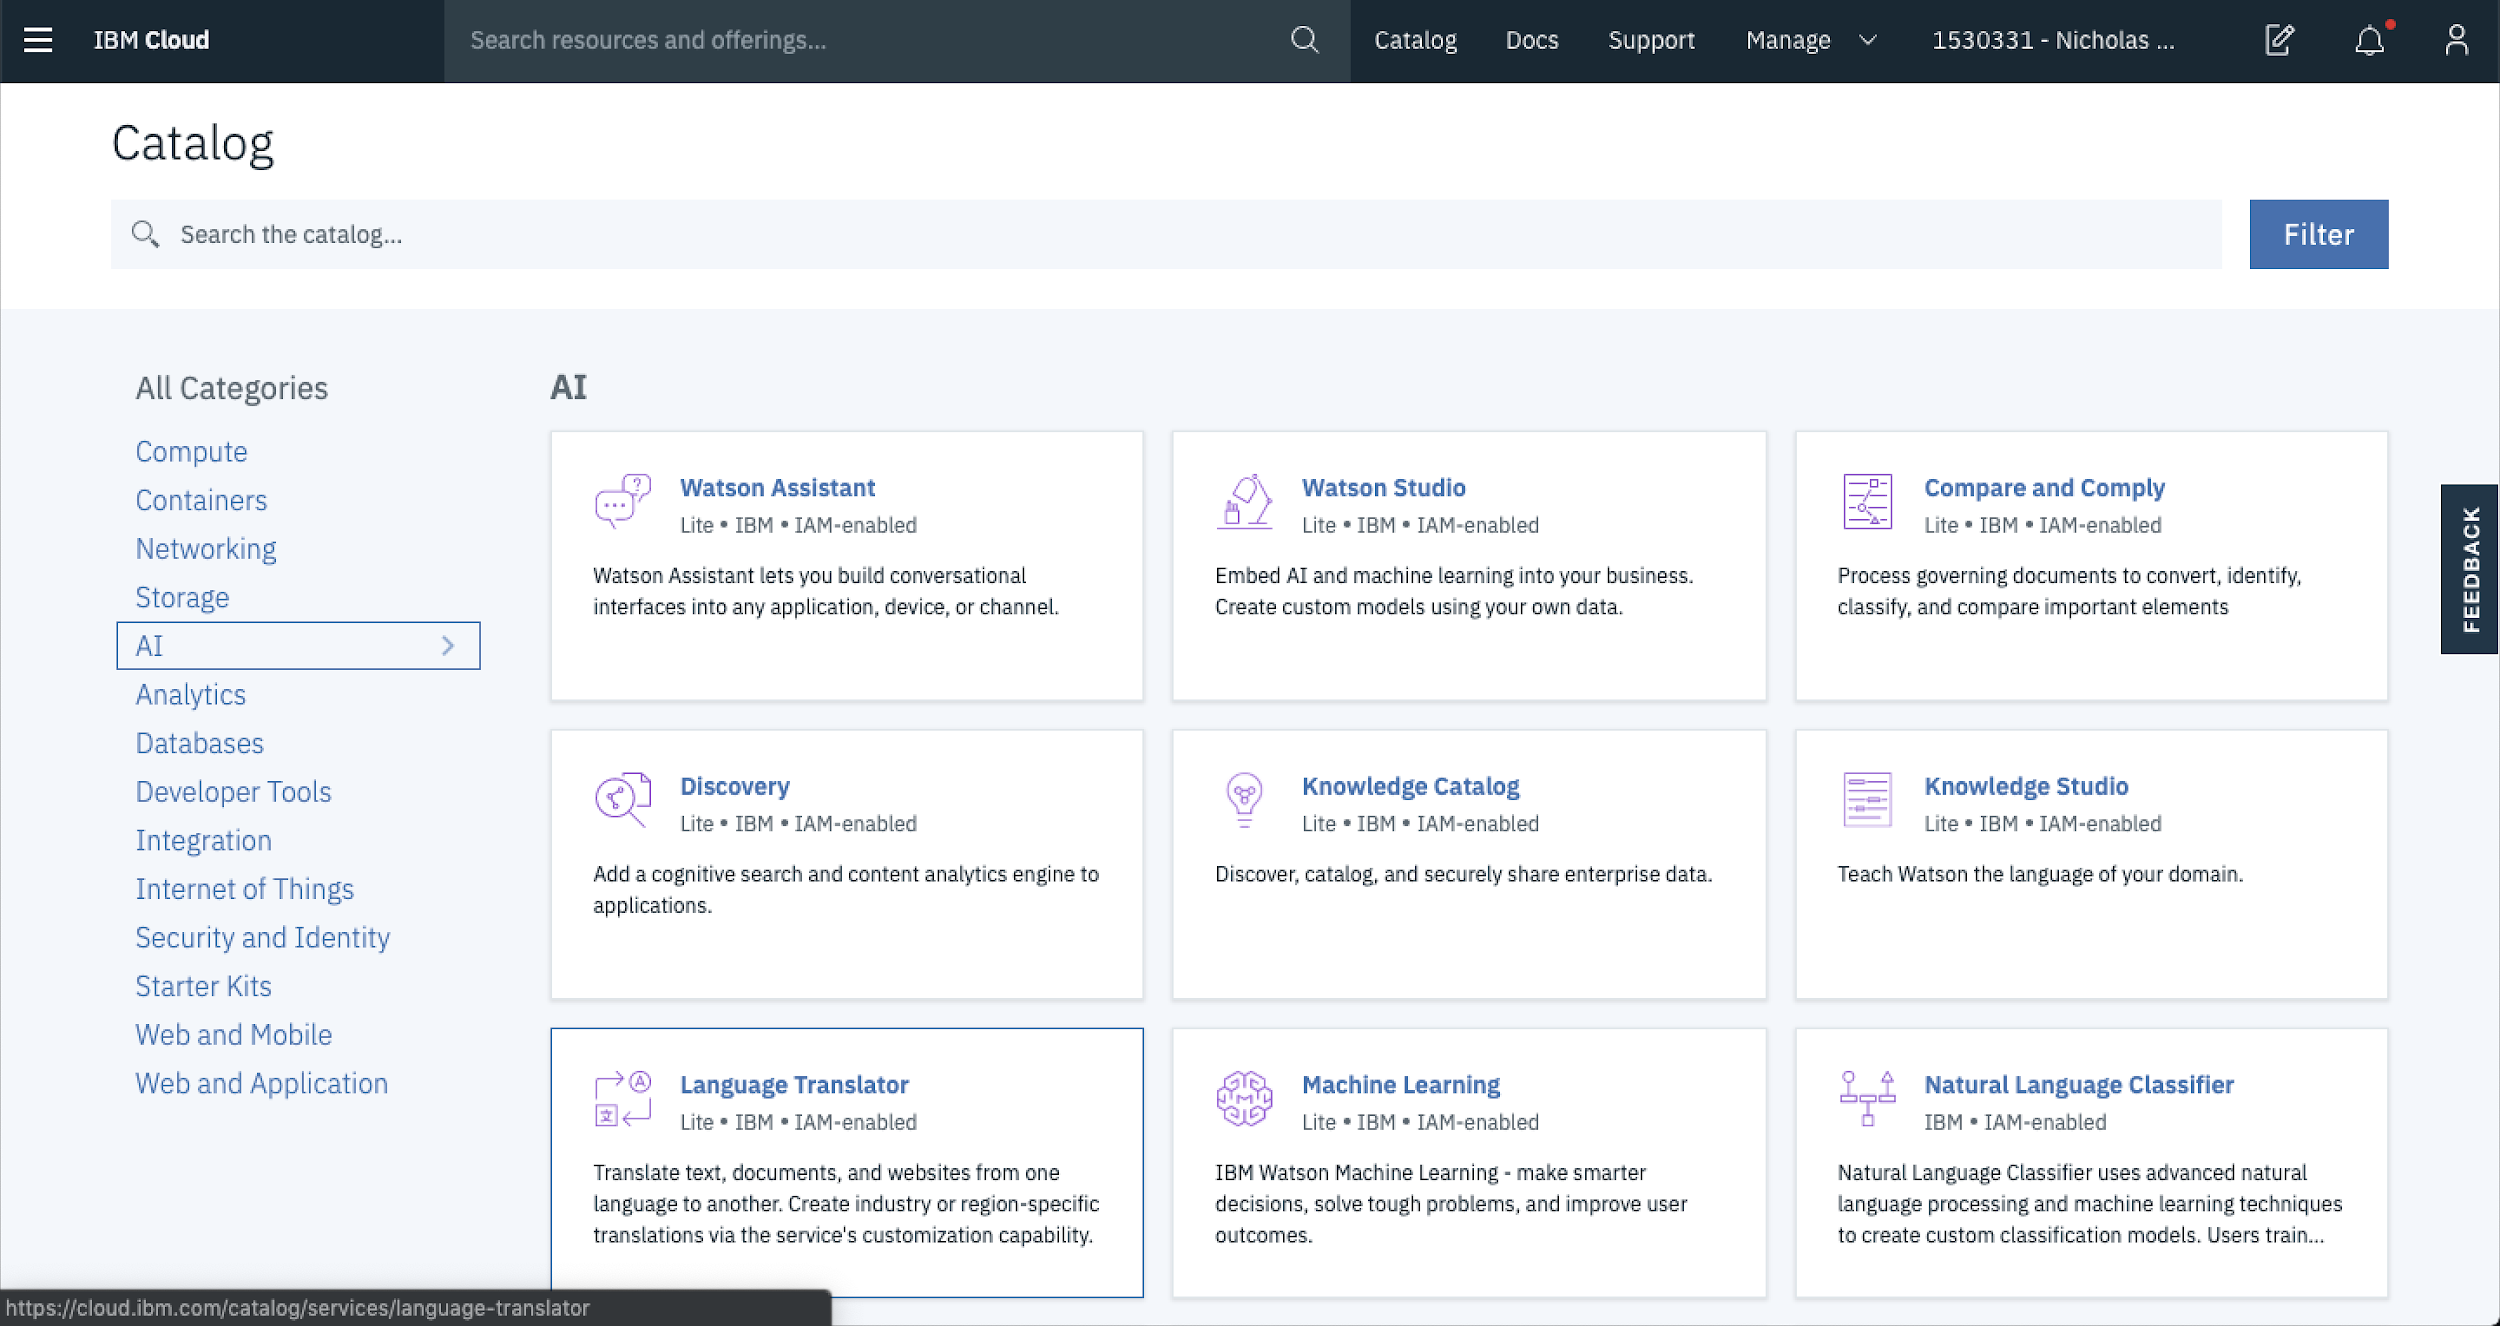
Then select Compare and Comply. This will open up the Compare and Comply service setup page. From here you can rename your service, setup the region to spin up from and select the service plan you want to use.
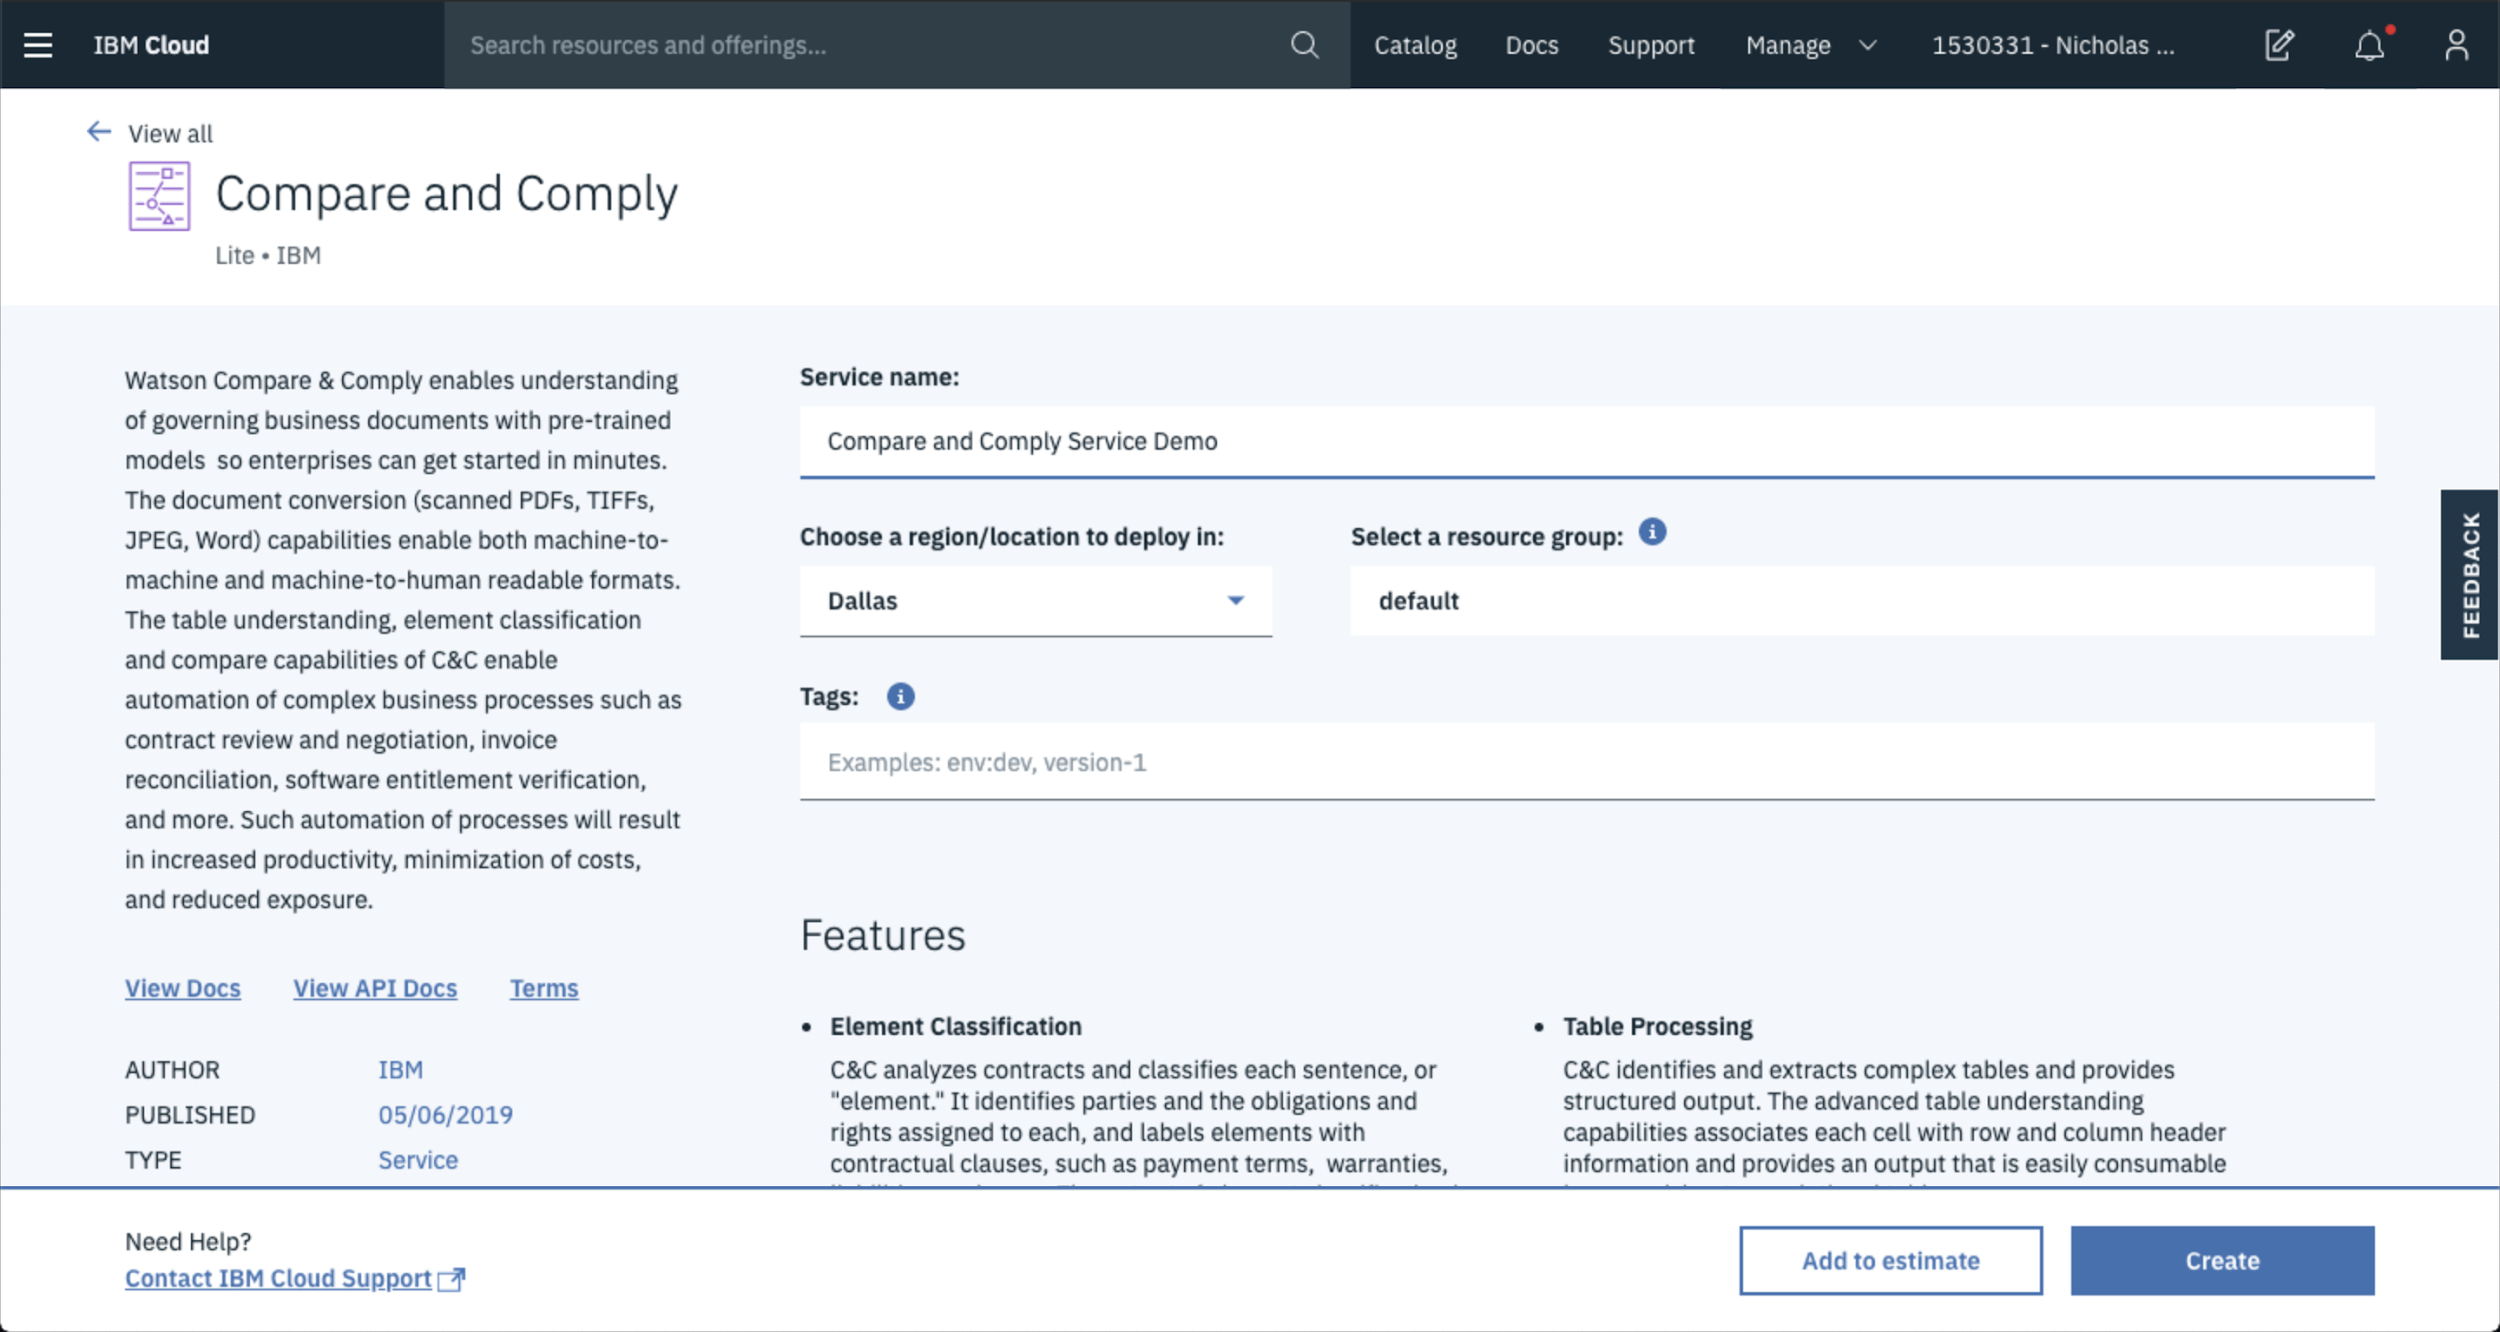
In this case the service has been called Compare and Comply Service Demo and the Lite Plan has been selected. Once you’re happy with all of your selections, hit the Create button to spin up the service. This will take you to the Getting Started page.
This page walks you through how to use the Compare and Comply service using basic cURL. You’re not going to run through this now (we’ll run through how to do this with Python in a future post).
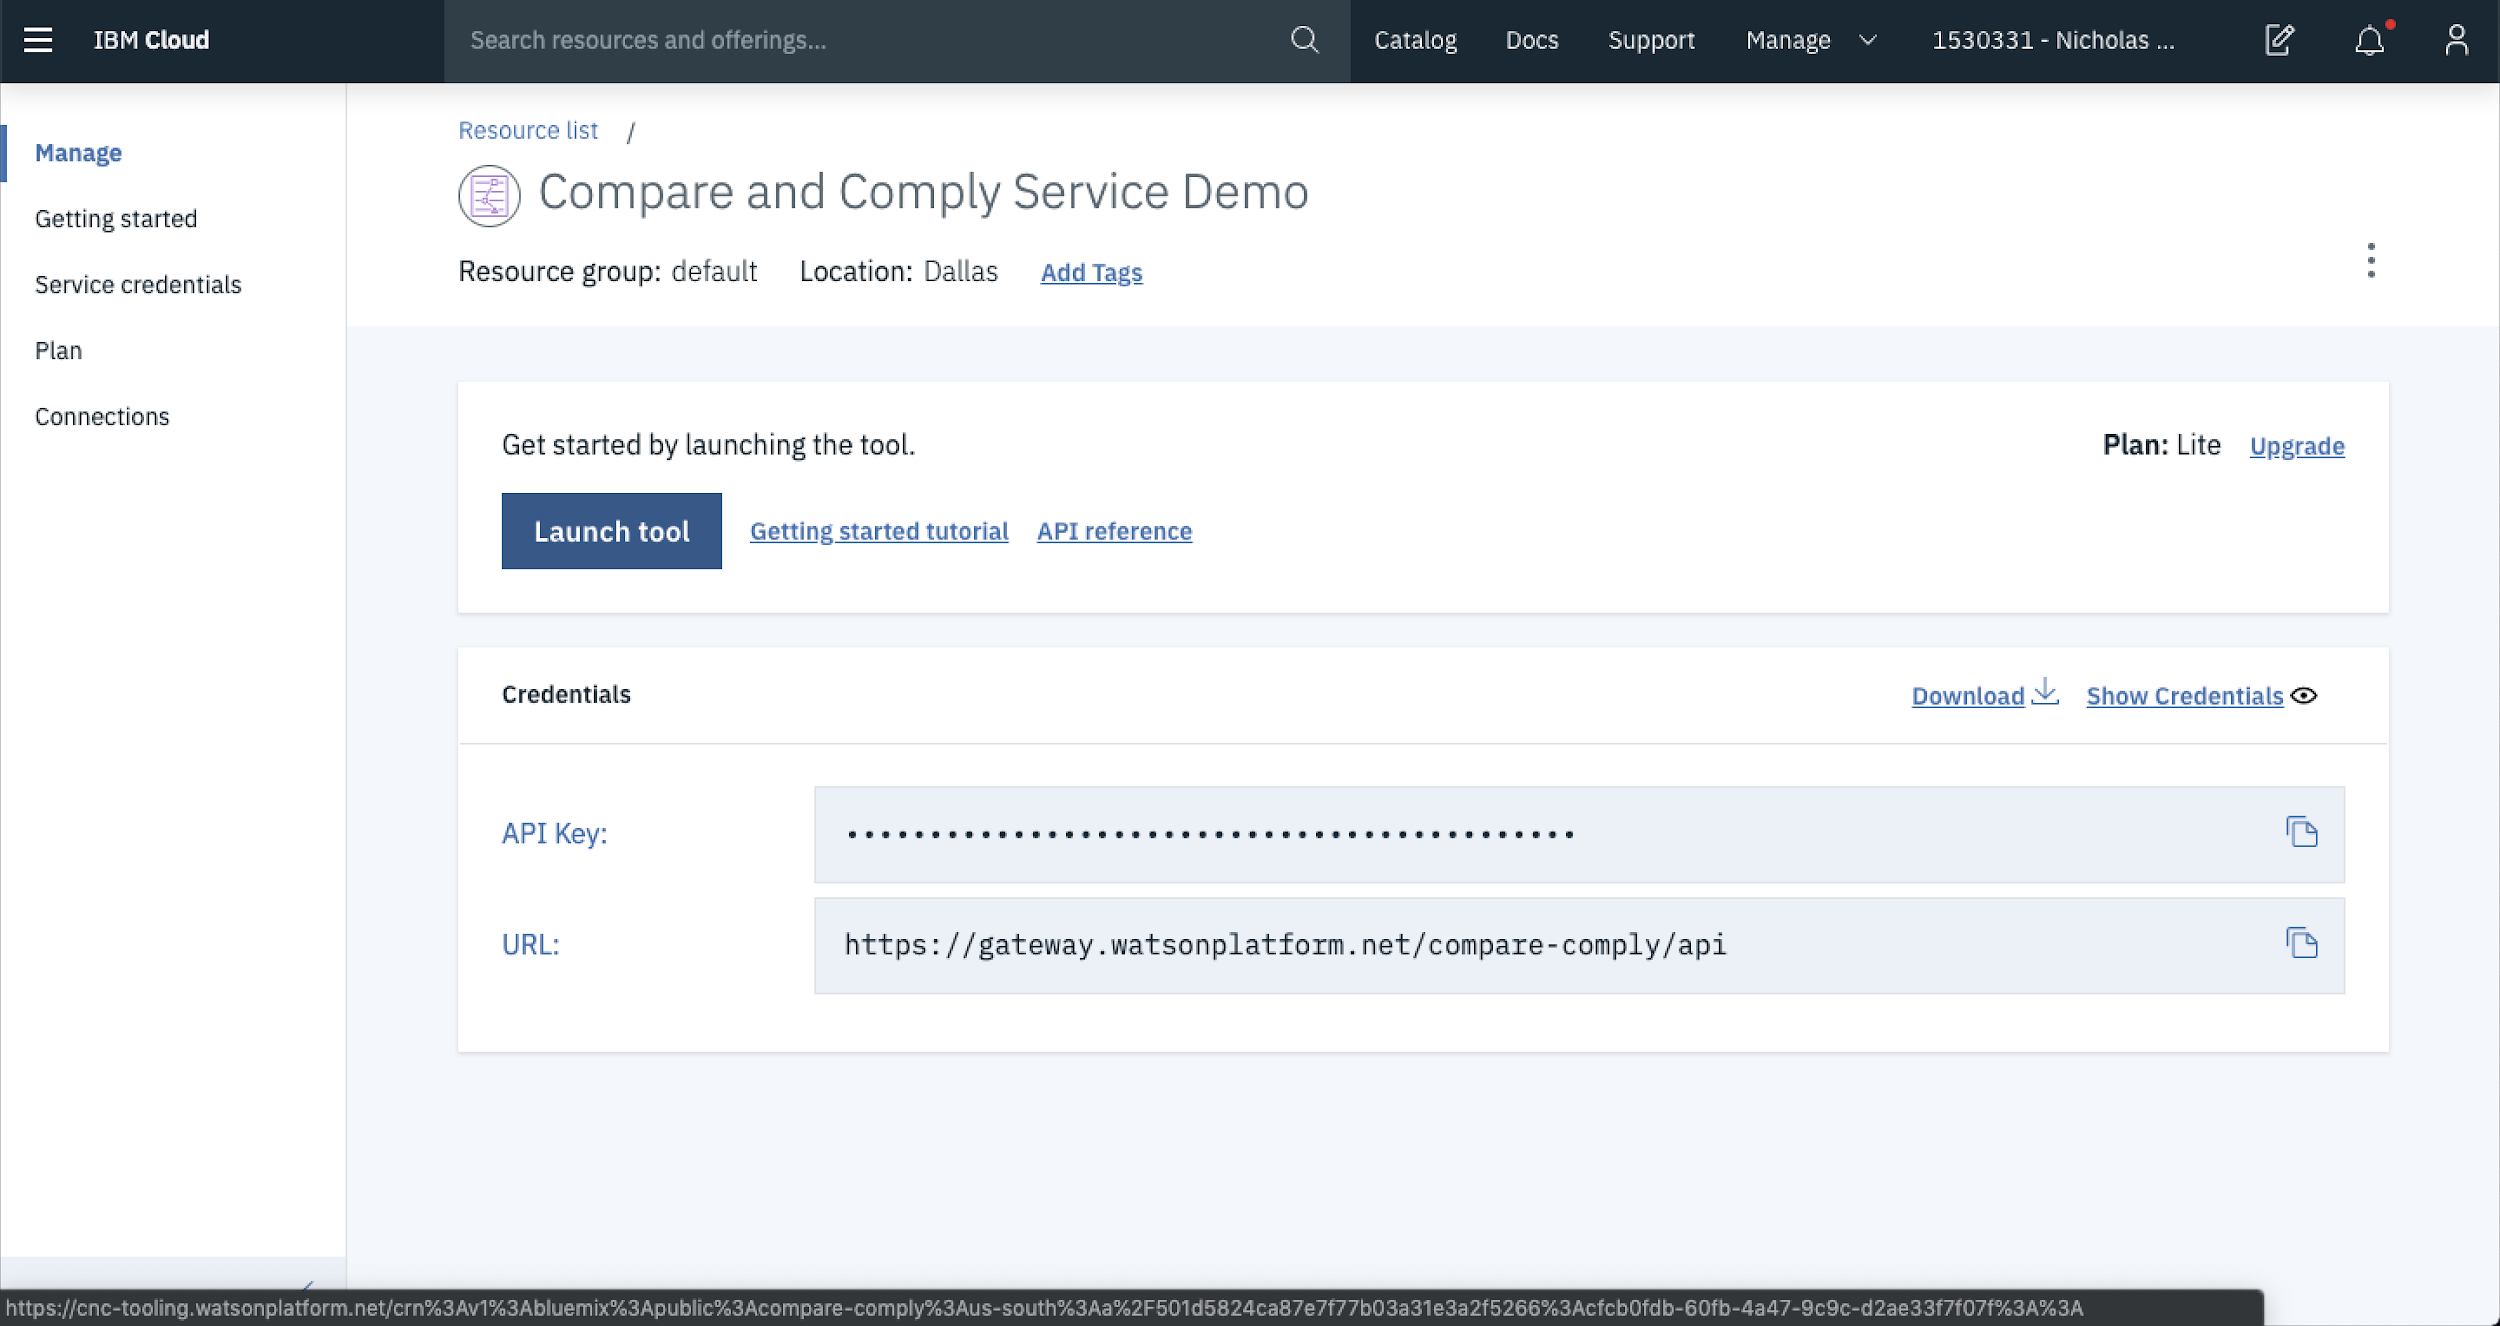
Instead, let’s take a look at how to use the GUI based version of Compare and Comply by selecting Manage from the left hand side menu.
Then select Launch Tool to get into the GUI.
2. Upload your documents for analysis
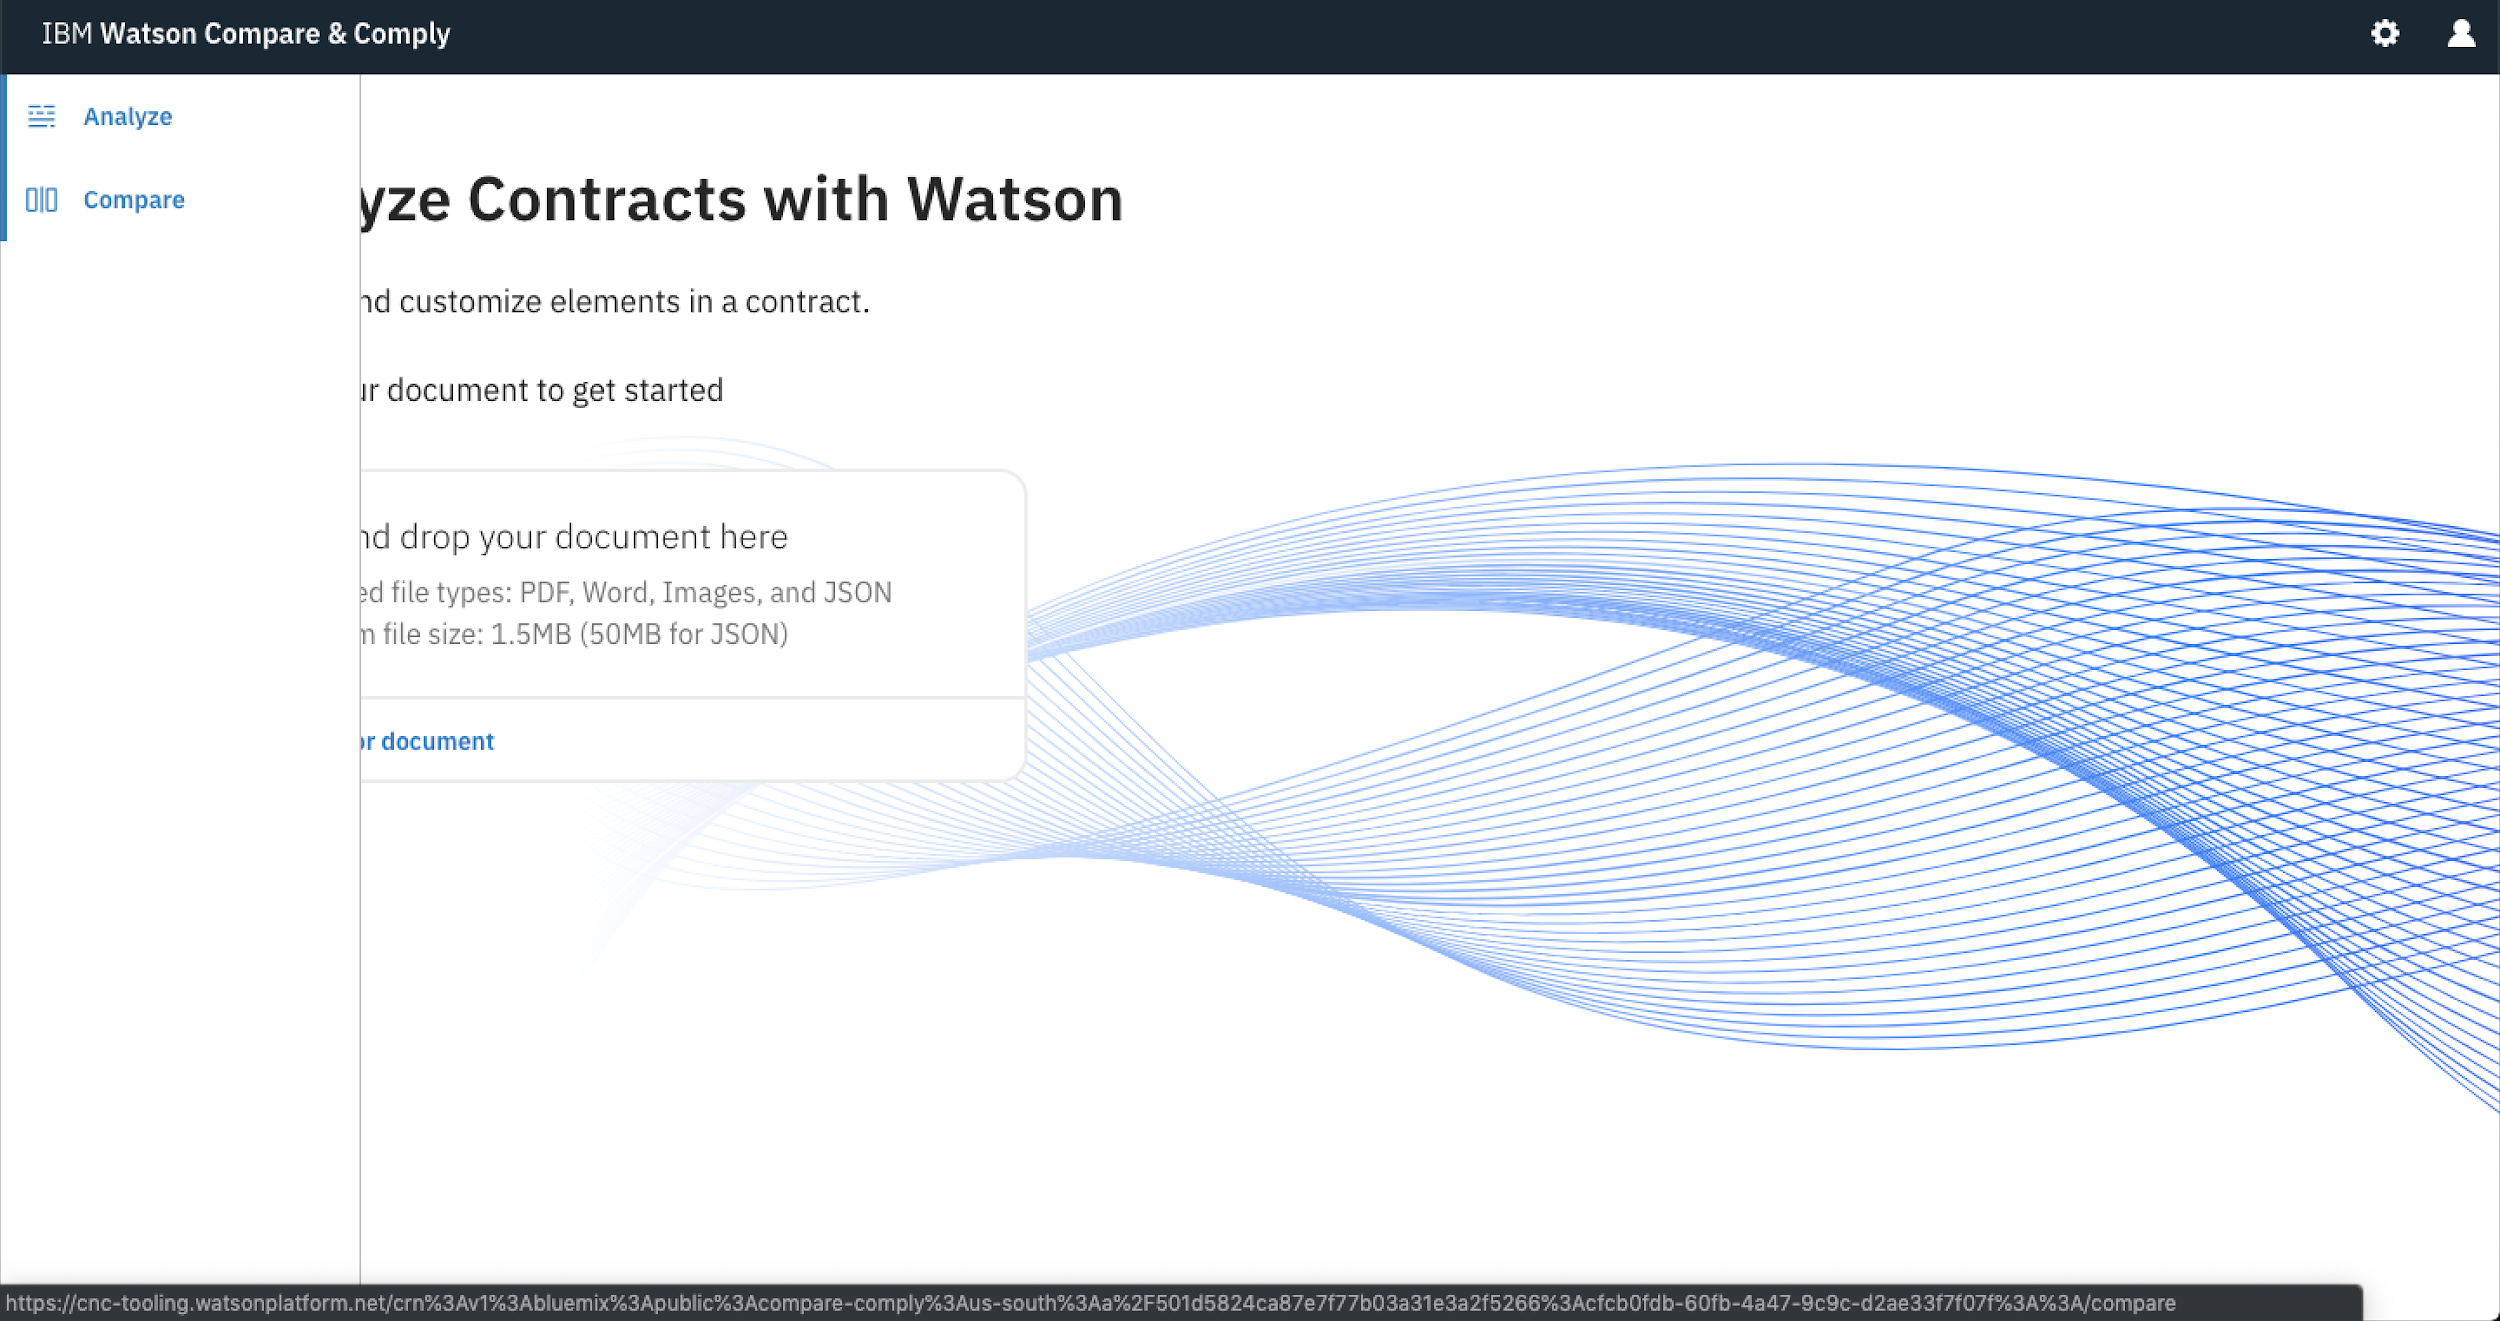
Once the tool has launched you’ll have the ability to start using the interface that comes with Compare and Comply. This landing page gives you two options, Analyse or Compare.
This walkthrough will go through both.
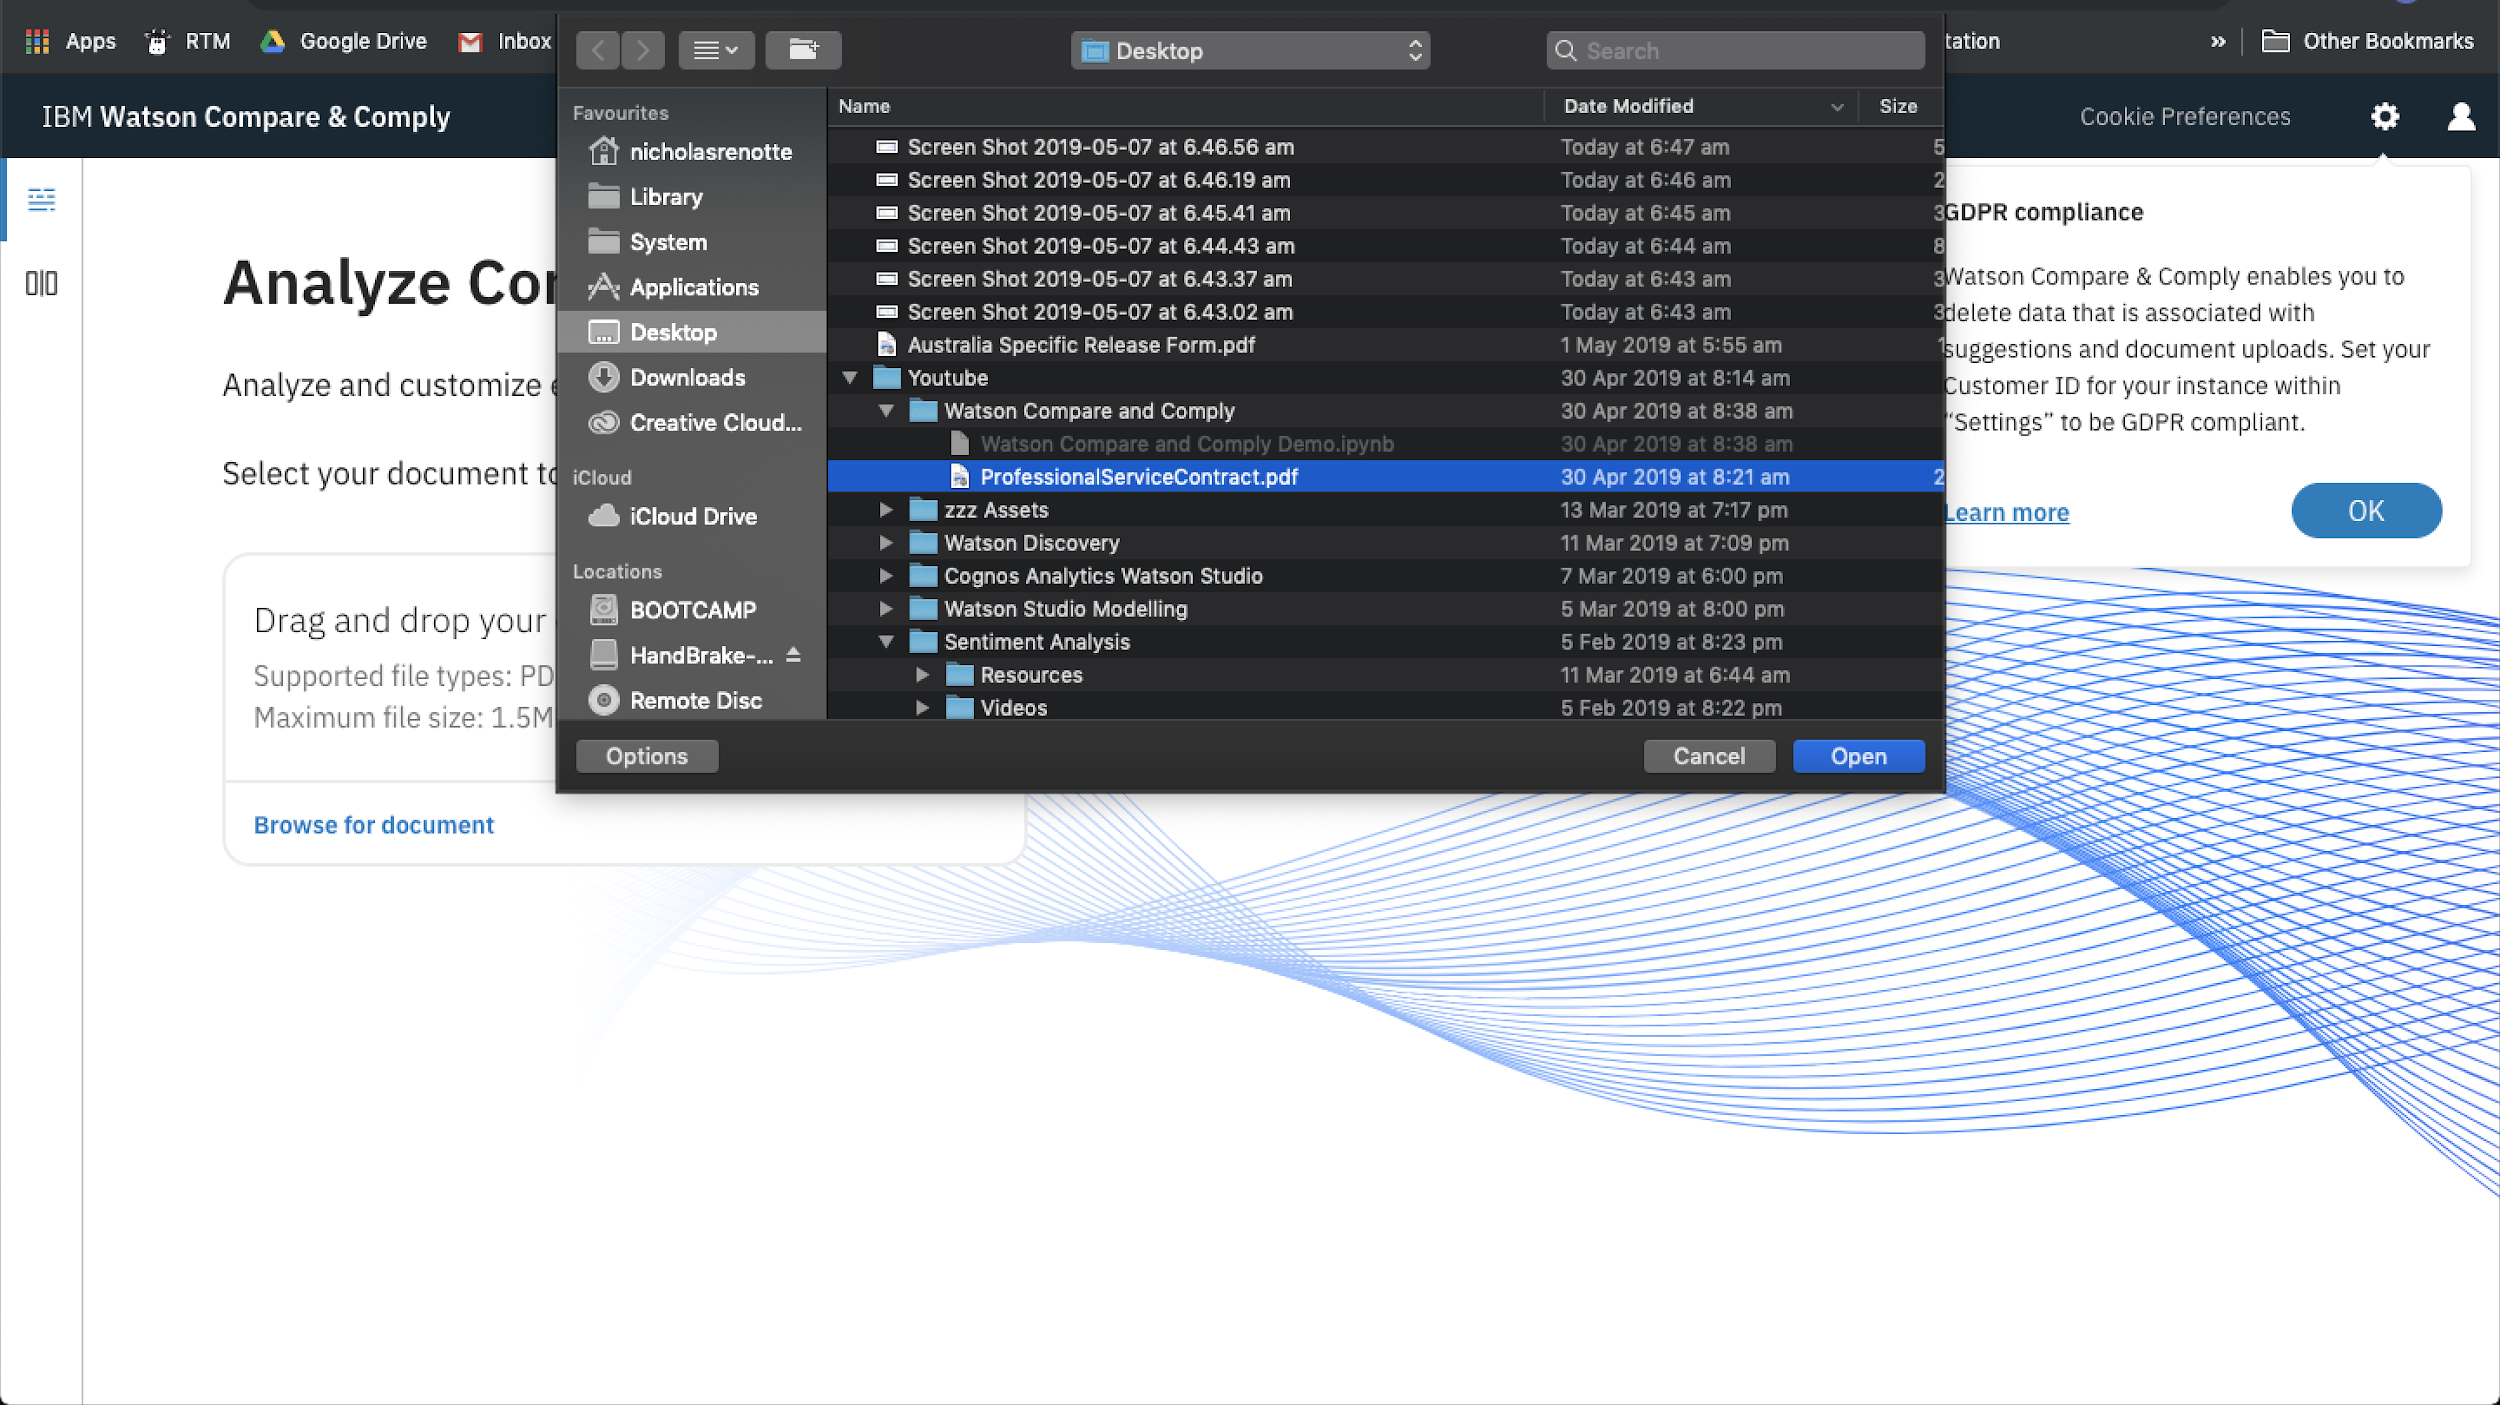
The first service that appears when you arrive at the landing page is the Analyse service. So we’ll start there. In the middle of the page there’s a button which says browse for document. If you select that you’ll have the ability to upload a contract and have it automatically analysed for its component parts.
So, click on Browse For Document.
Then select the contract you want to Analyse.
And hit Open, this will upload your contract to the IBM document store so that it can be analysed.
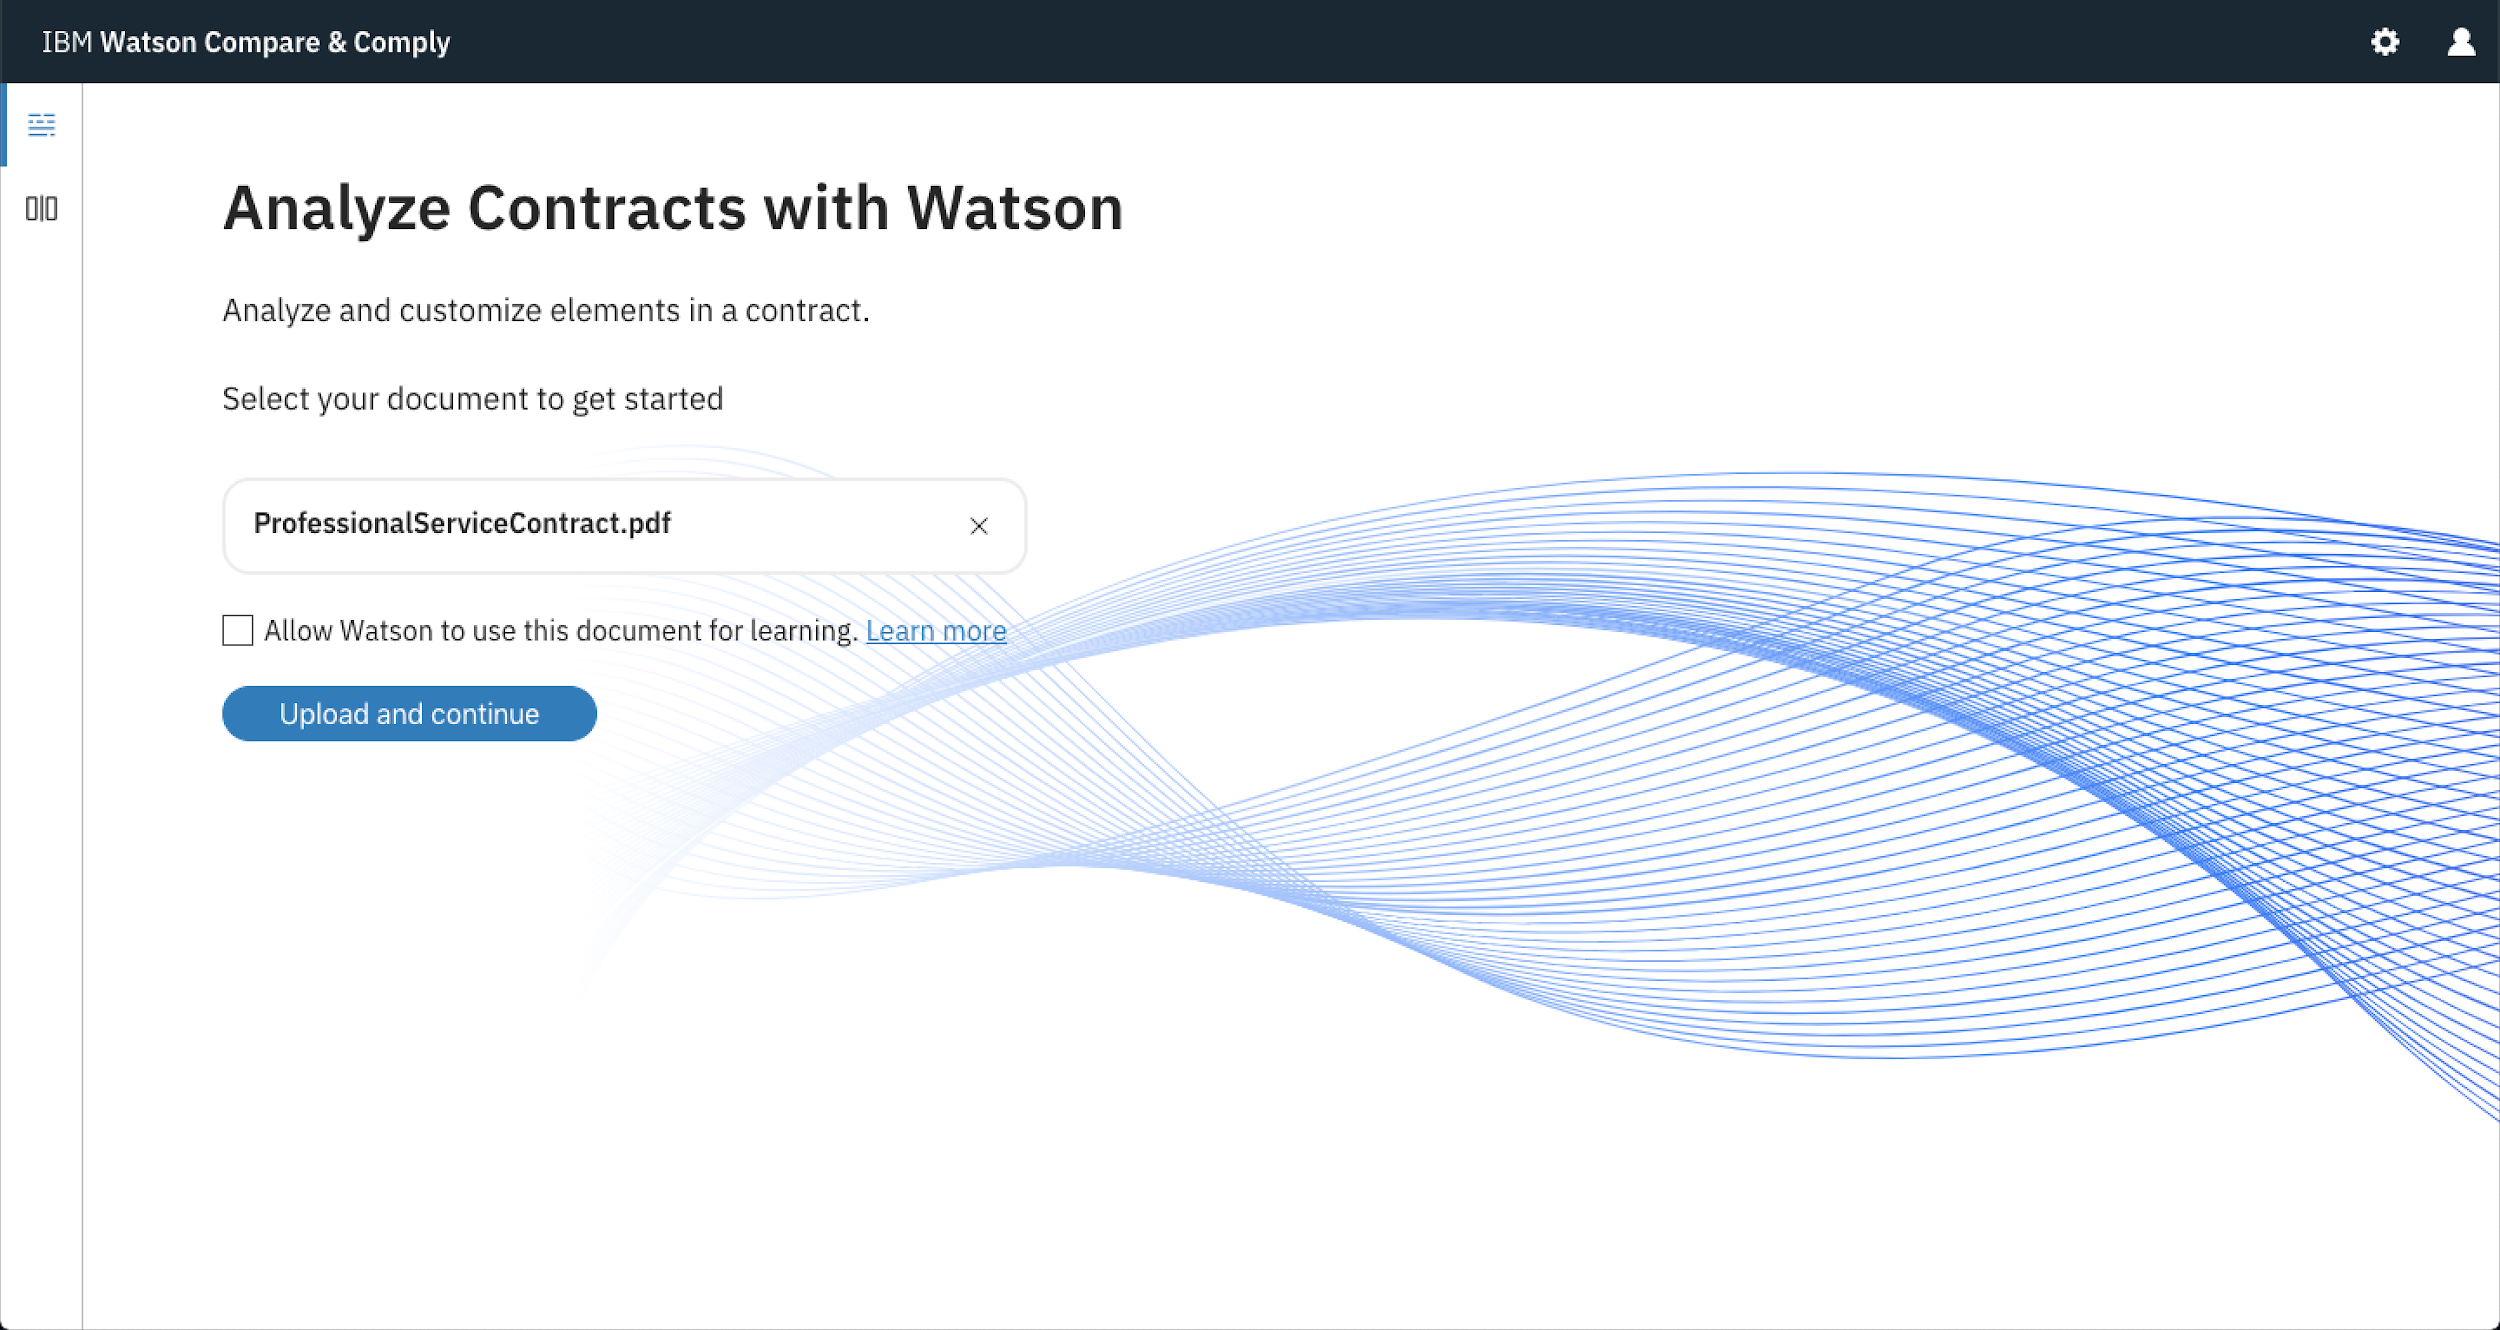
From here, you’ve got a choice of whether to allow Watson to use your contract for expanding its deep learning algorithm. If you don’t want to opt-in, make sure you leave the checkbox deselected.
Then select Upload and Continue to start the analysis.
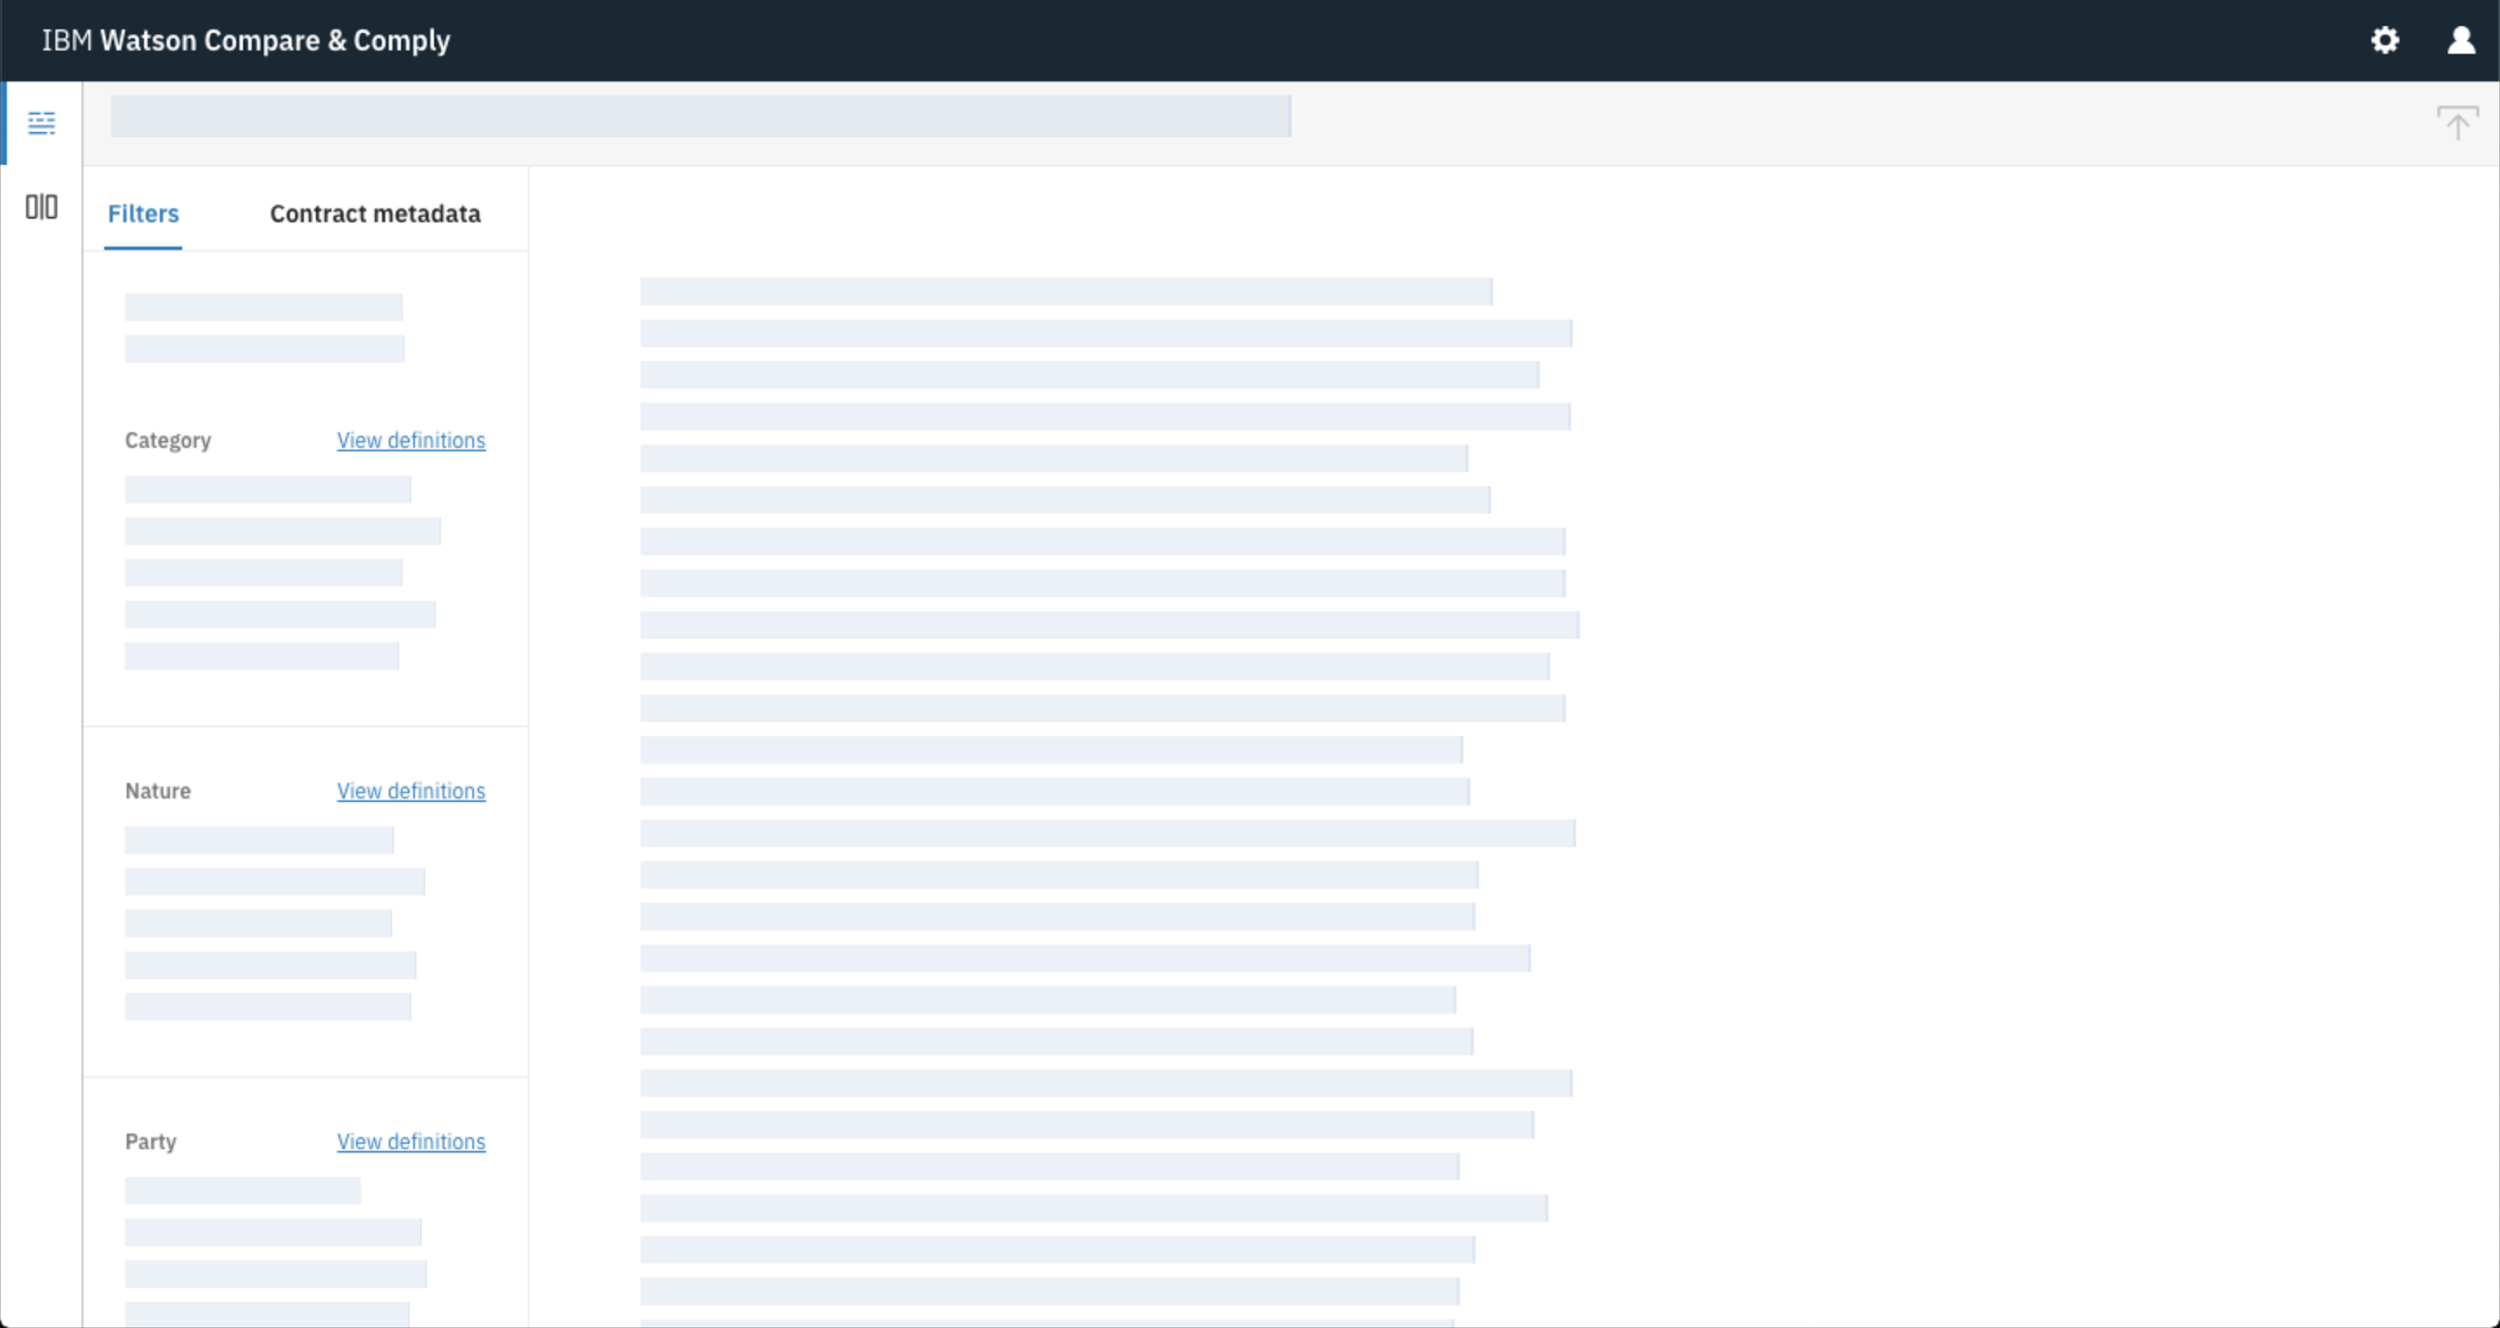
This might take a few moments to complete so kick back with a Pina Colada and think about all the time you’re about to save. It should hopefully look a little like this whilst the document is being analysed.
3. Filtering through the contract
Once it’s done you’ll be able to filter through the document and analyse different components by using the filters on the left hand side of the page.
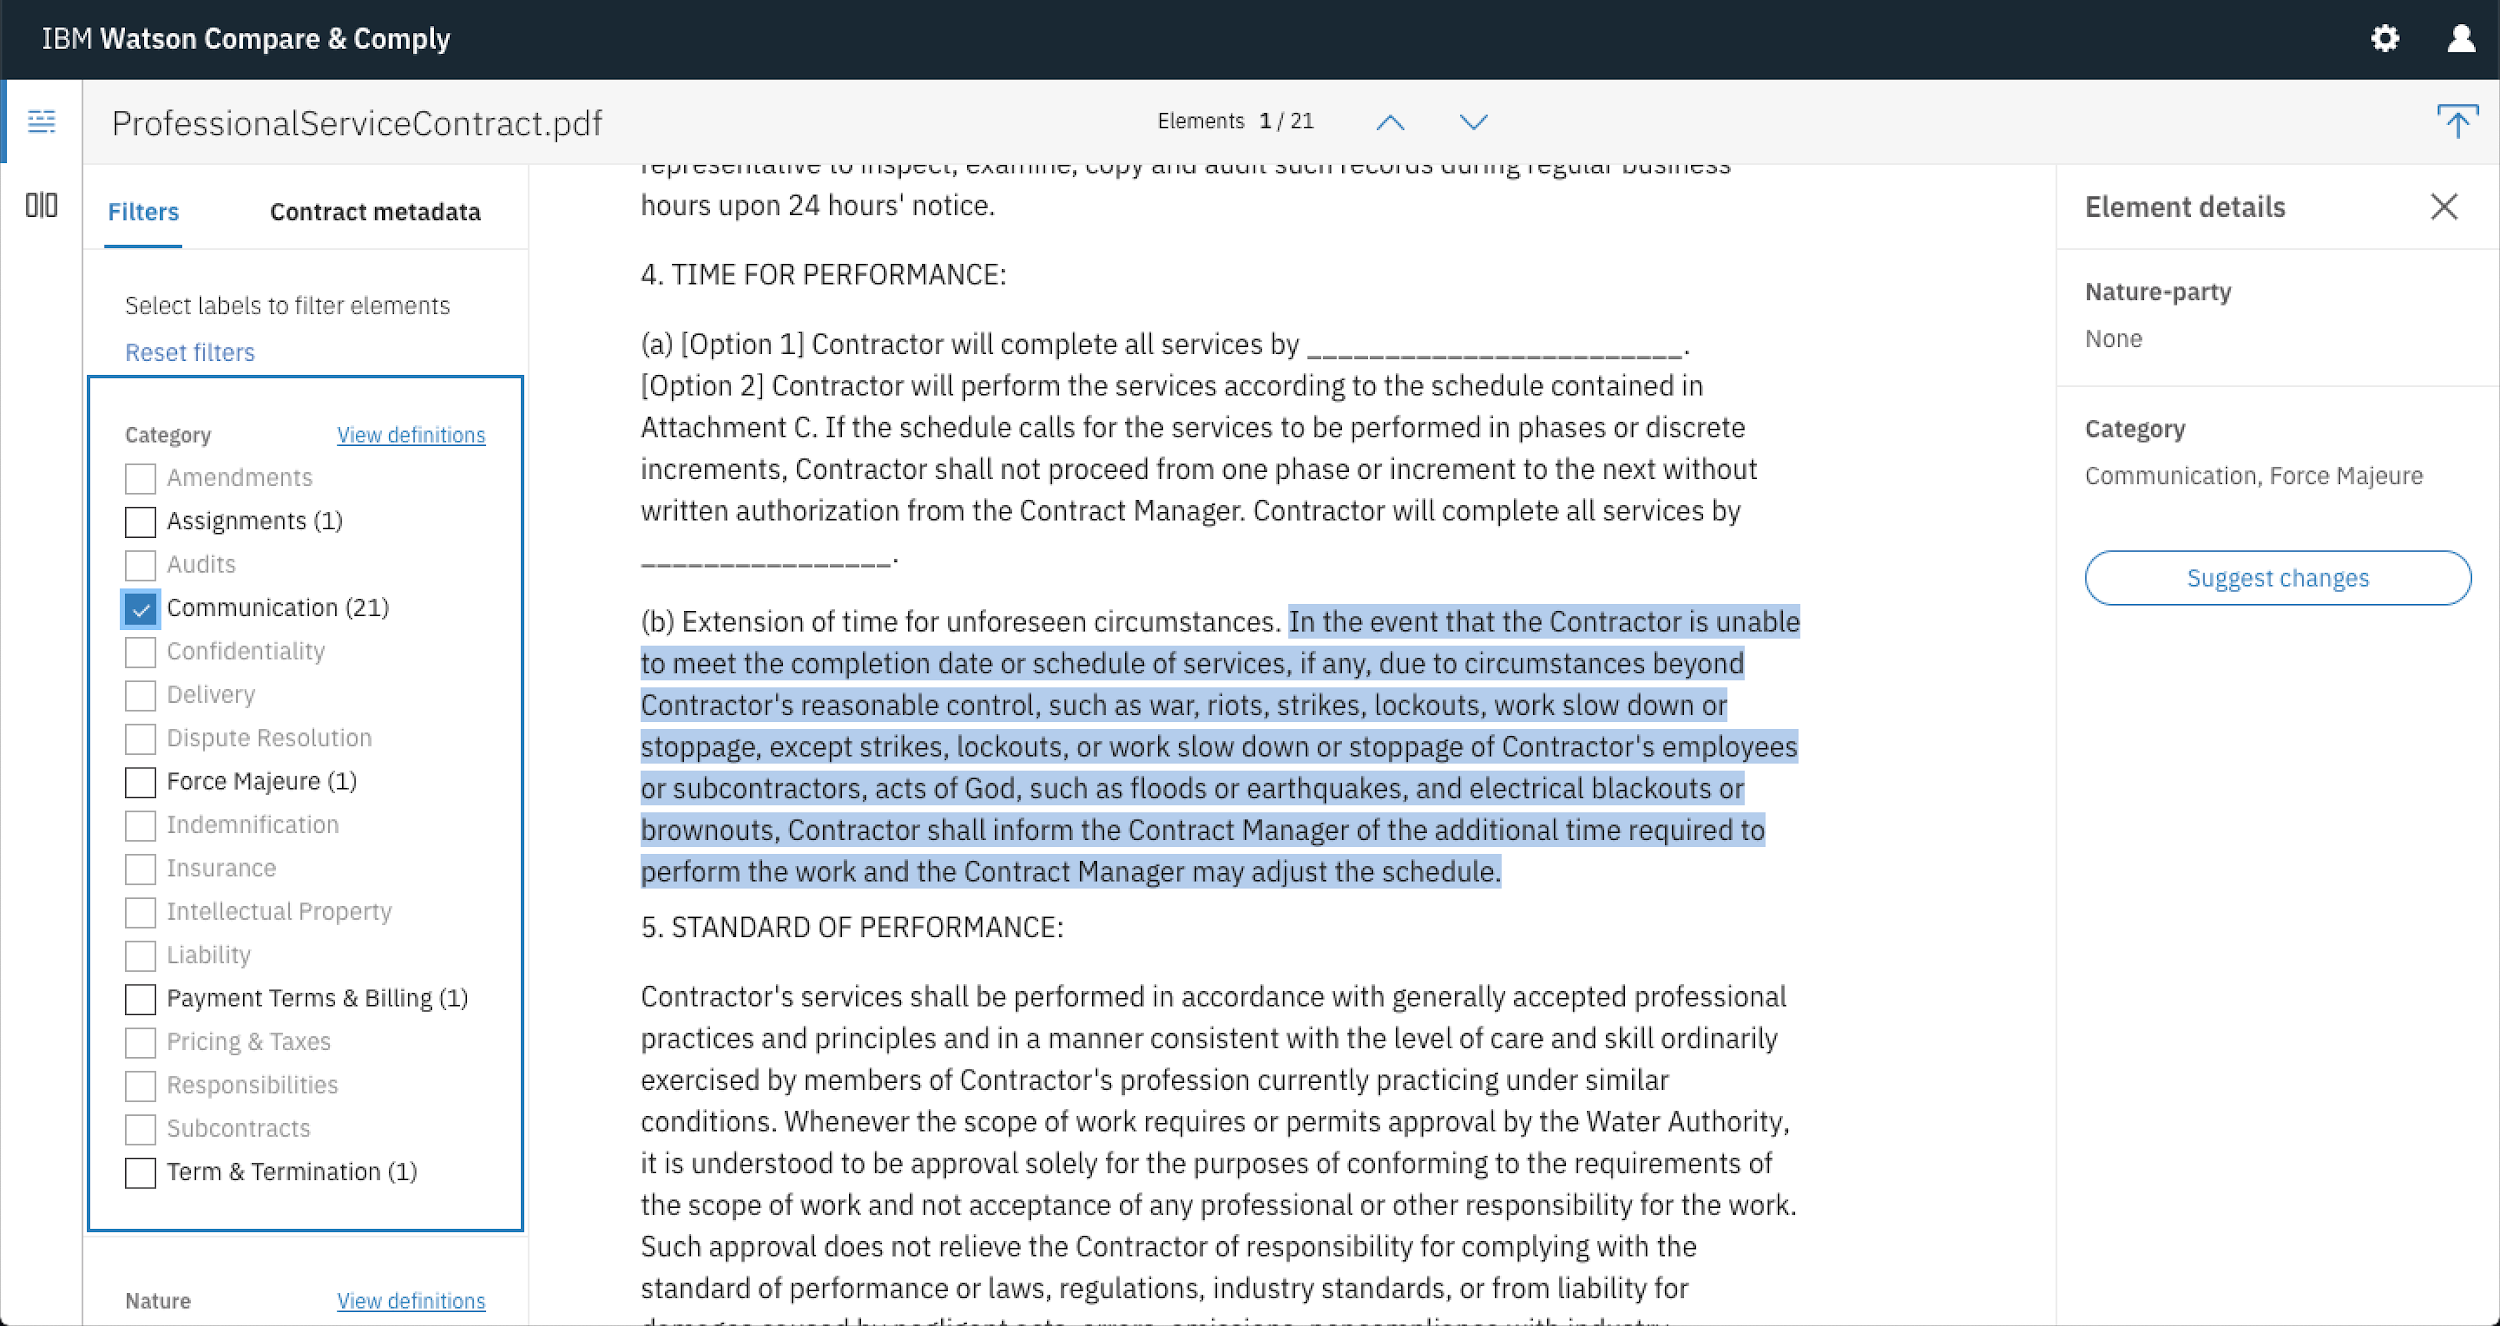
There are four key groupings that you can use to analyse the contract, these are categories, nature, parties and attributes.
- Category – defines the subject matter of the sentence within contract e.g. details regarding Amendments, Payment Terms and those surrounding liabilities
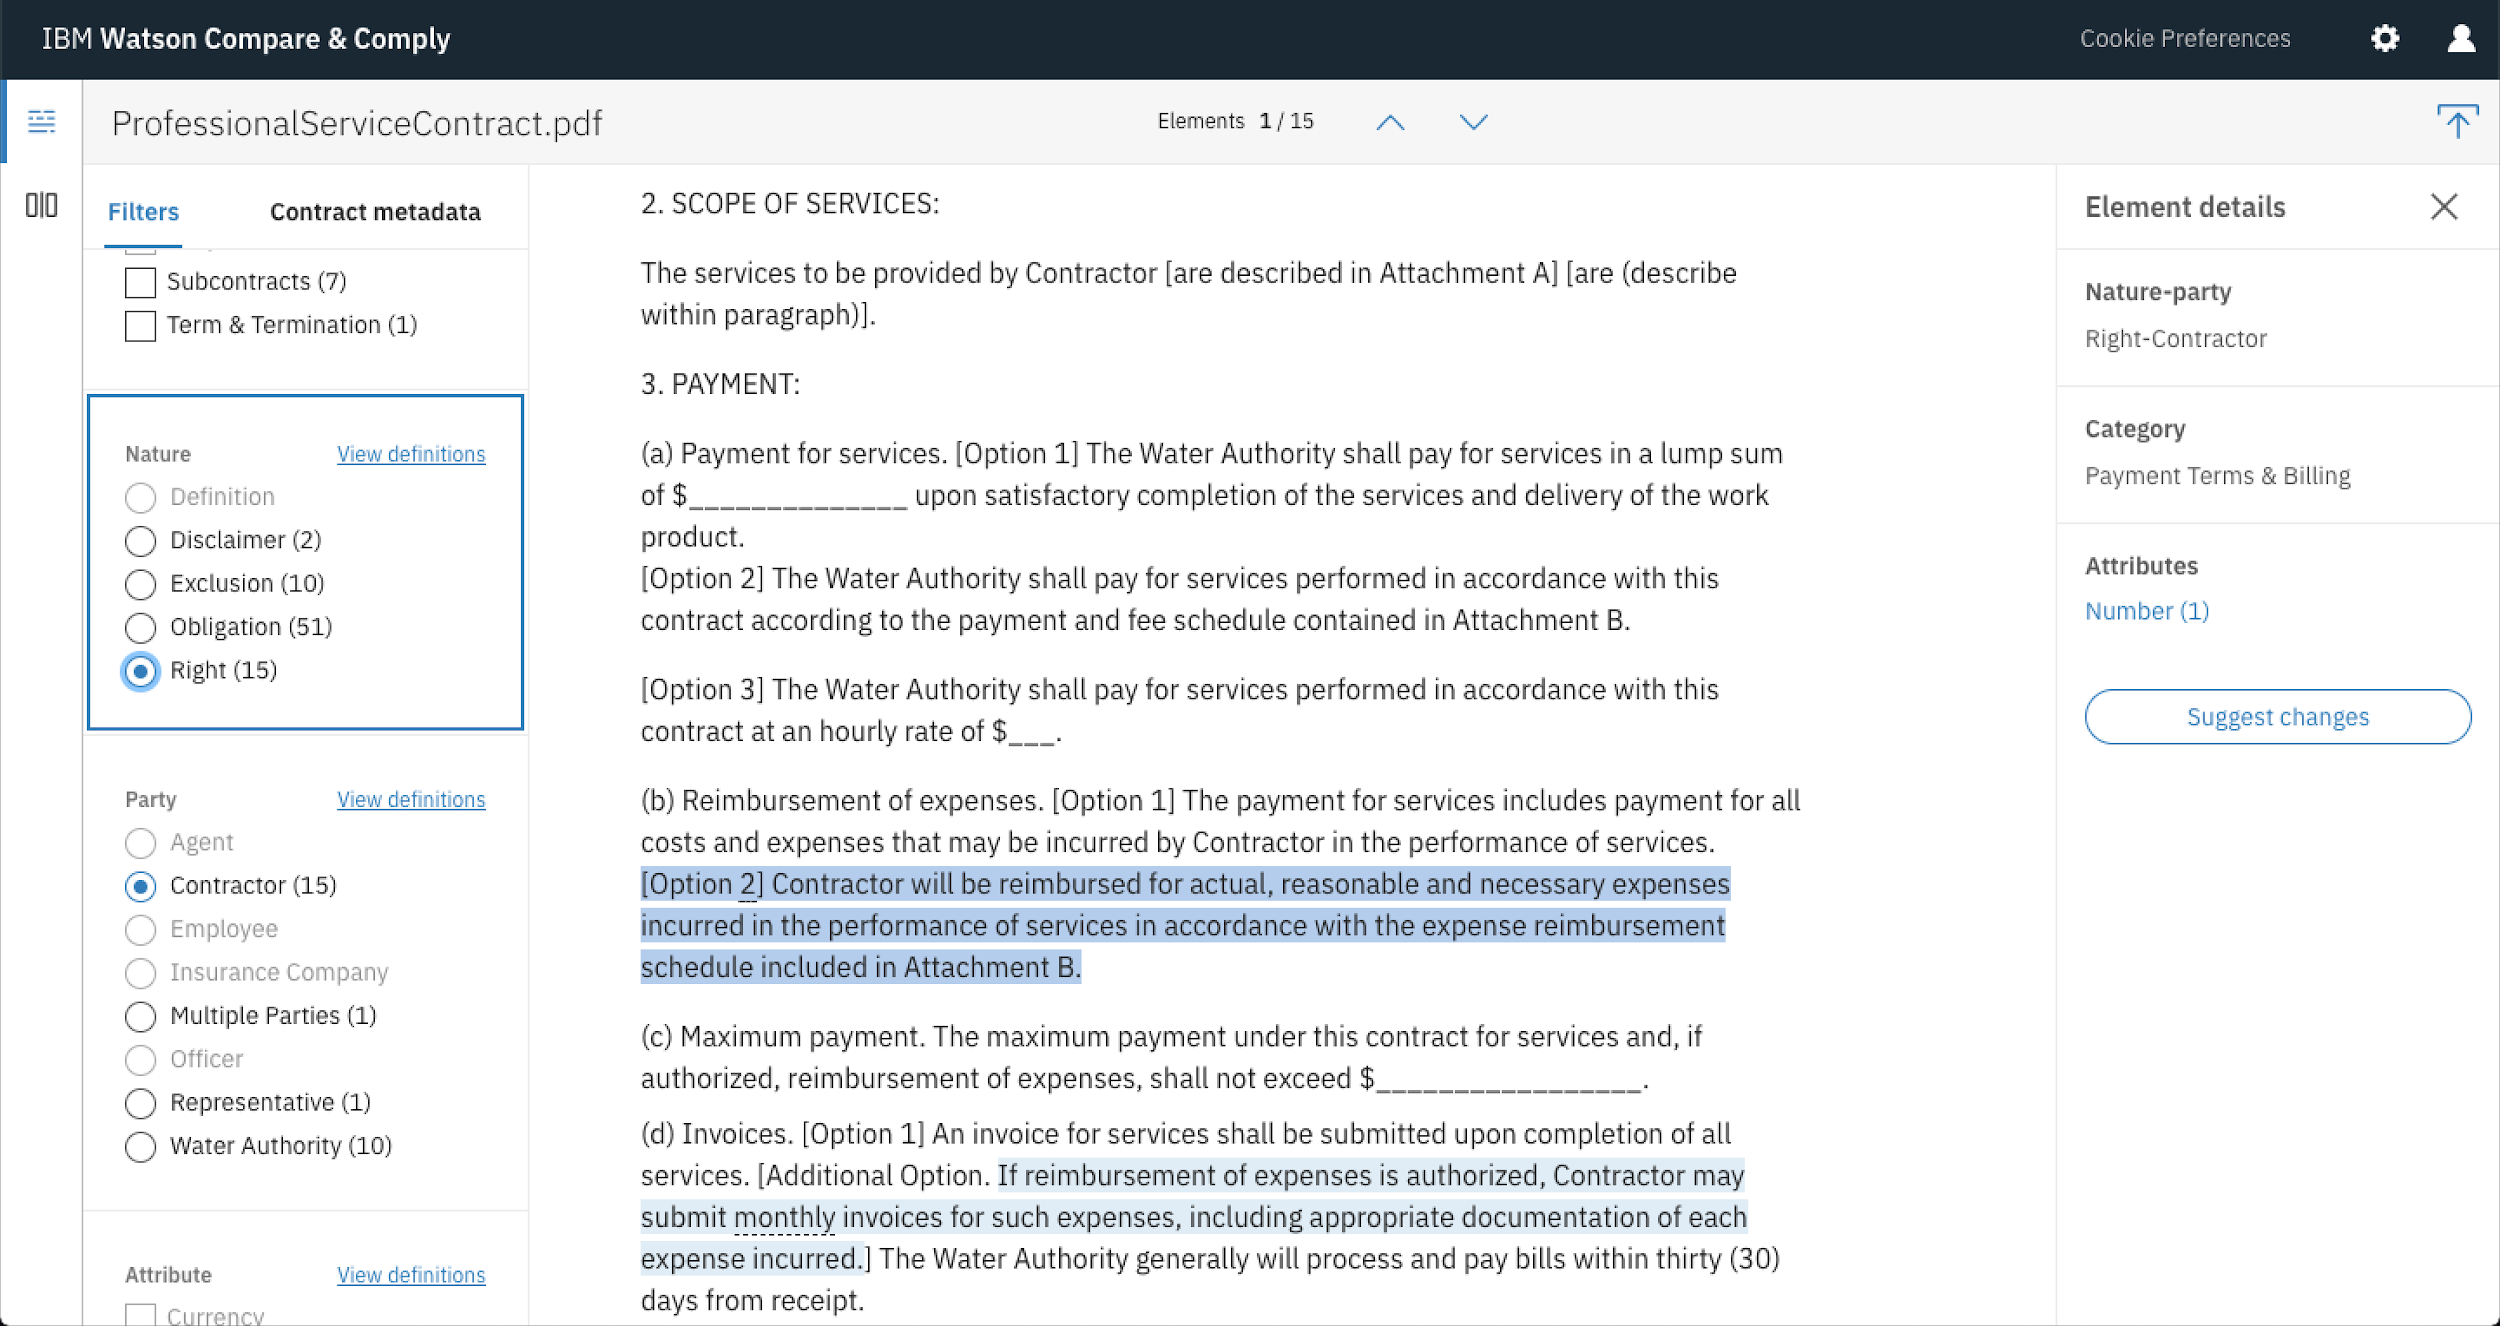
- Nature – categorises sentences within the contract into five distinct buckets; Definition, Disclaimer, Exclusion, Obligation and Right
- Party – defines participants listed in the sentence e.g. Agent or Contractor
- Attribute – defines any feature attributes attached to a sentence e.g. Currency or Location
Using these filters you’re able to quickly break down the contract into relevant components.
For example, you might choose to focus on the rights of the contractor by selecting Right under Nature and Contractor under party.
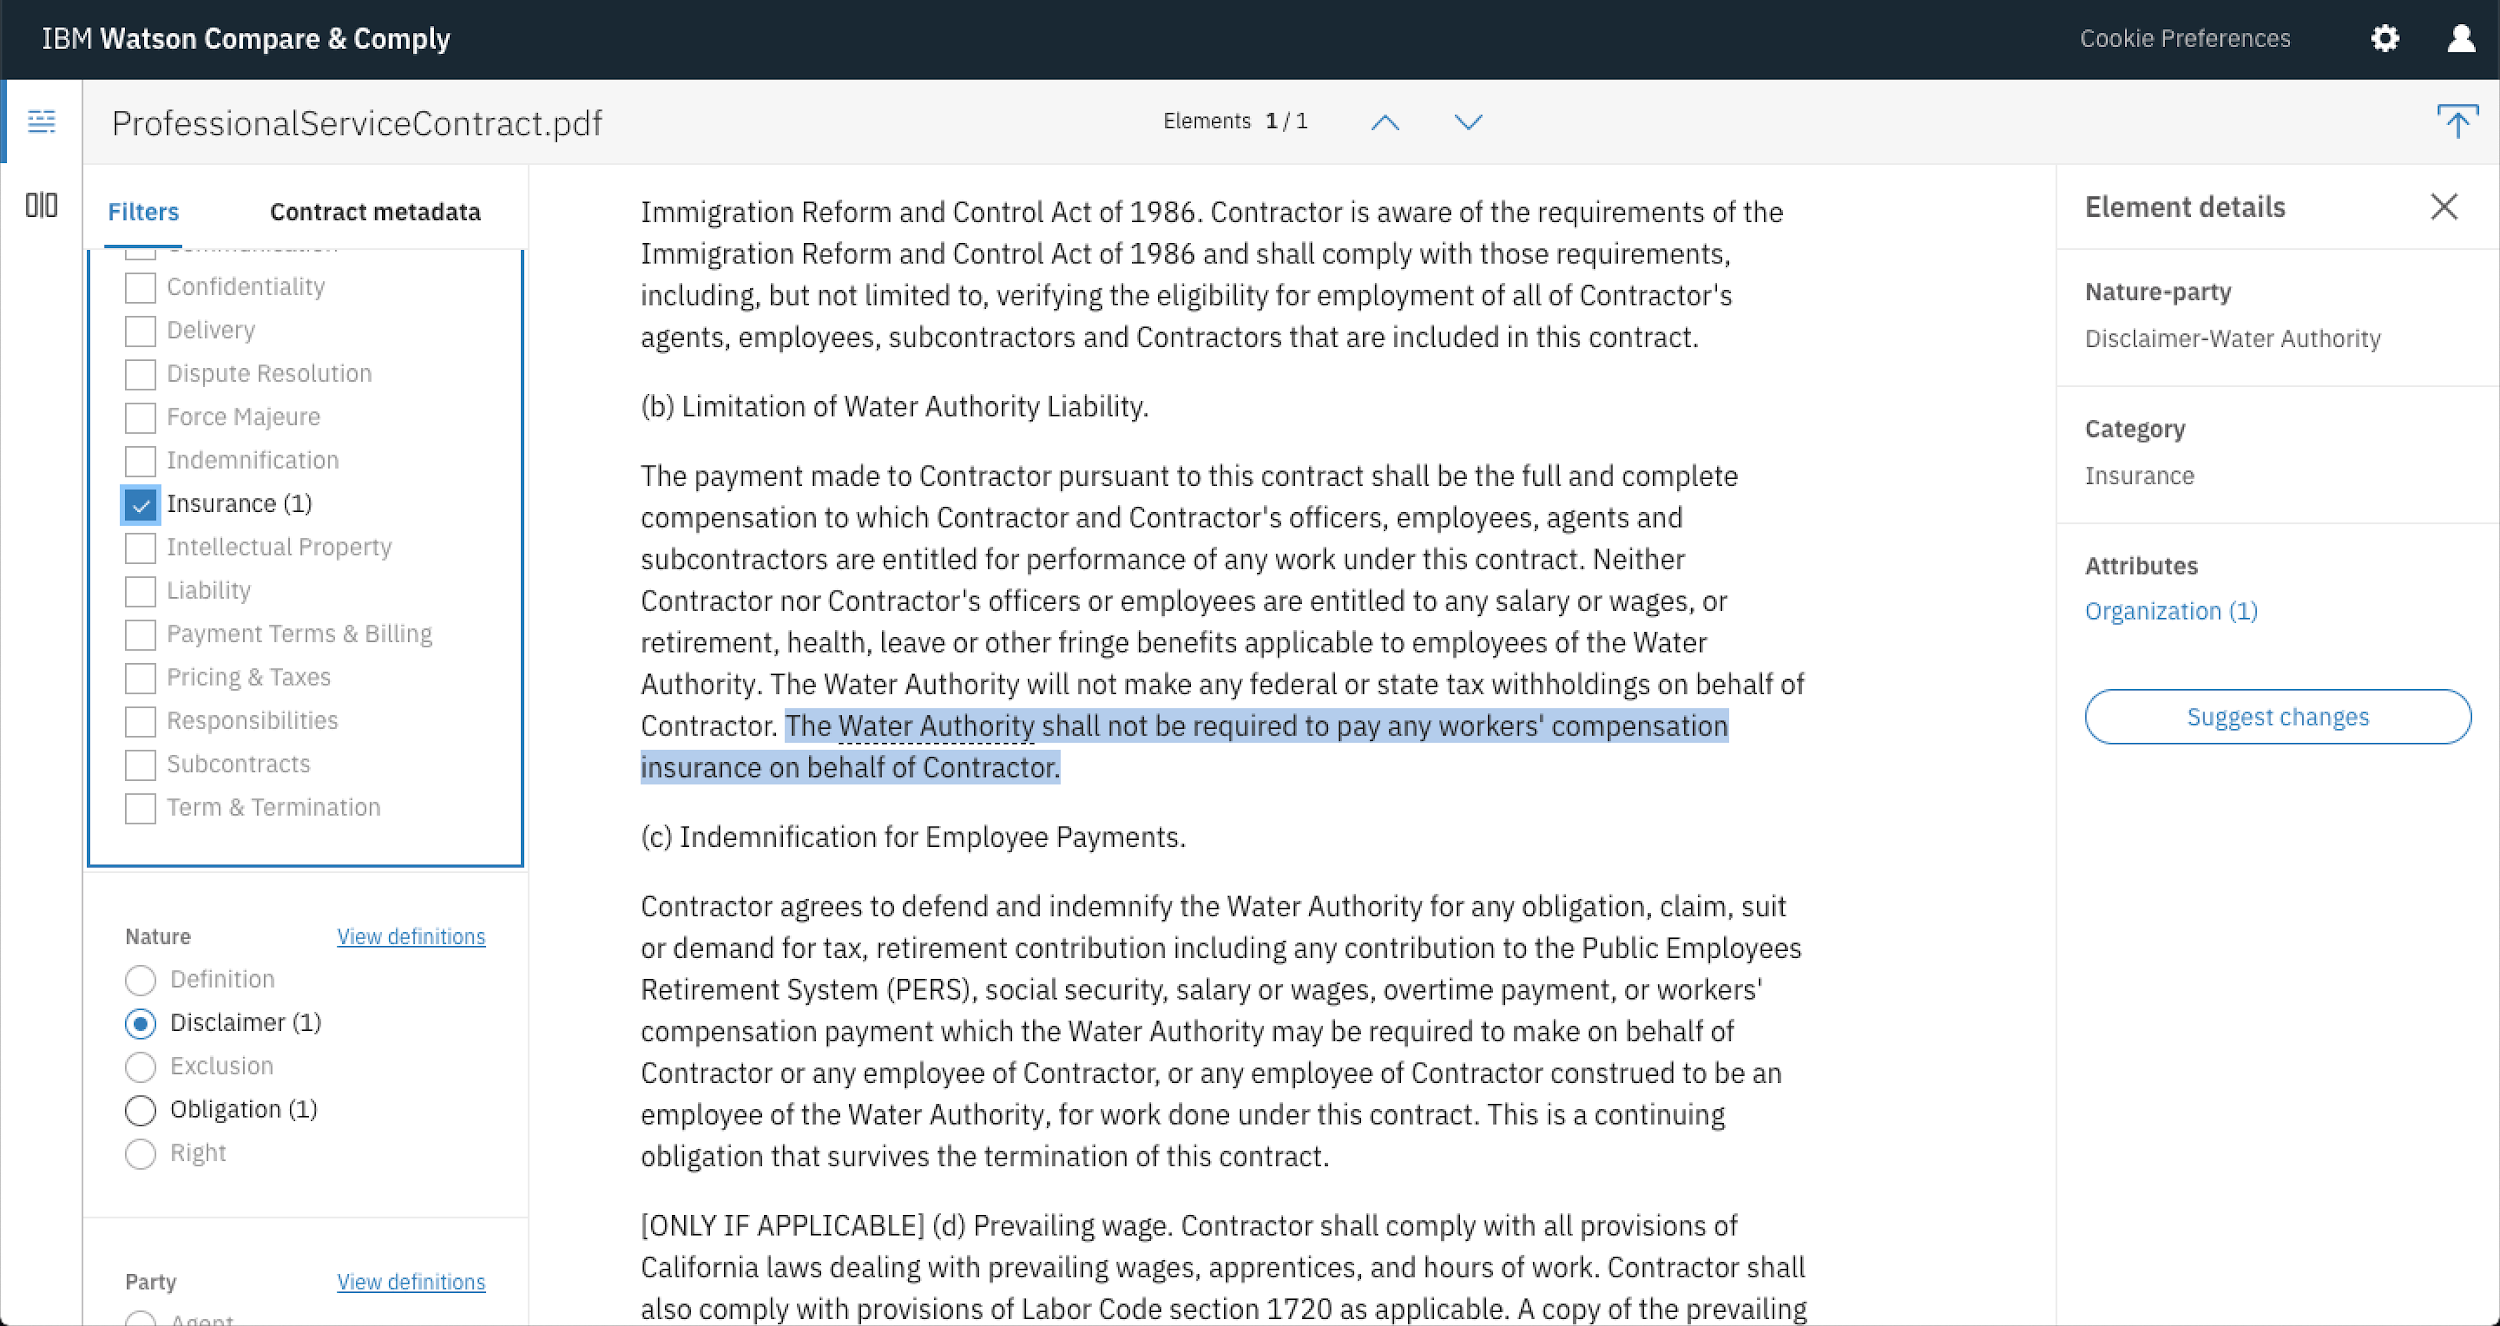
Or focus on Disclaimers applied to Insurance by filtering on Insurance under Categories and Disclaimers under Nature.
This doesn’t replace the need to read the contract in its entirety but it does give you a fast and reliable way to understand the components of the contract.
4. Uploading contracts for comparison
That about wraps up how to use the Analysis side of compare and comply. The other feature that you’re able to leverage is the Compare functionality. This gives you the same detail and text tagging that Analysis does but it also allows you to compare similar components between contracts.
This is SUPER useful if you’re working through contract amendments.
To do this, select the menu on the left hand side of the page and select Compare.
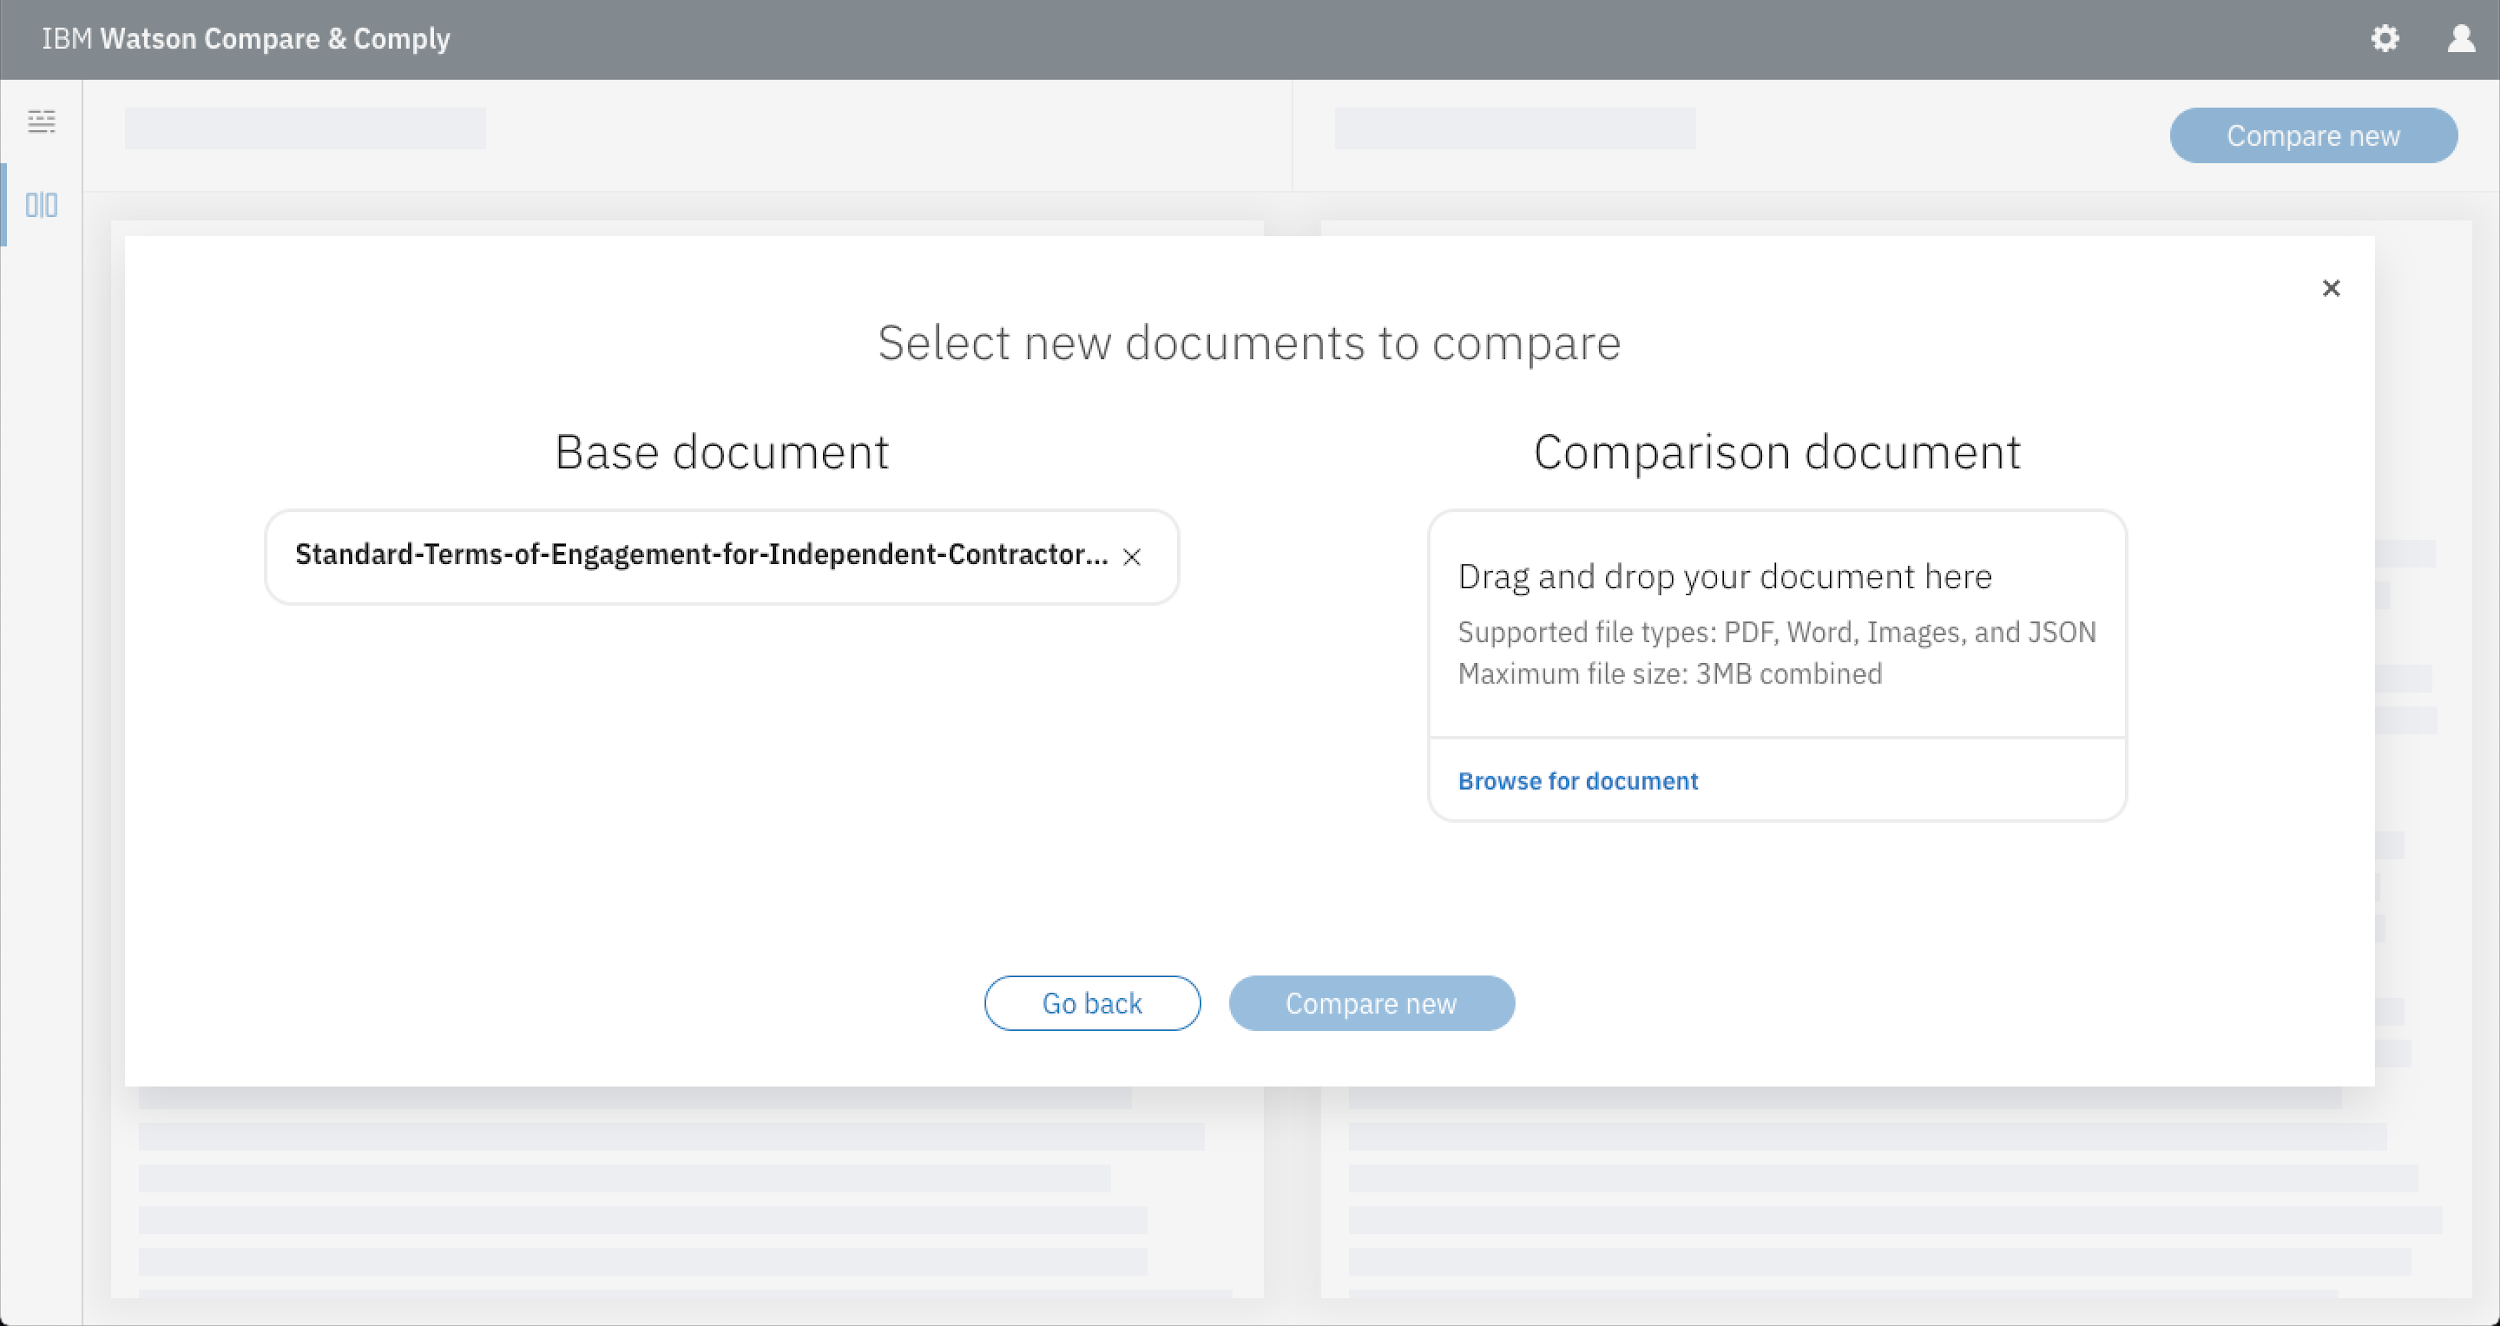
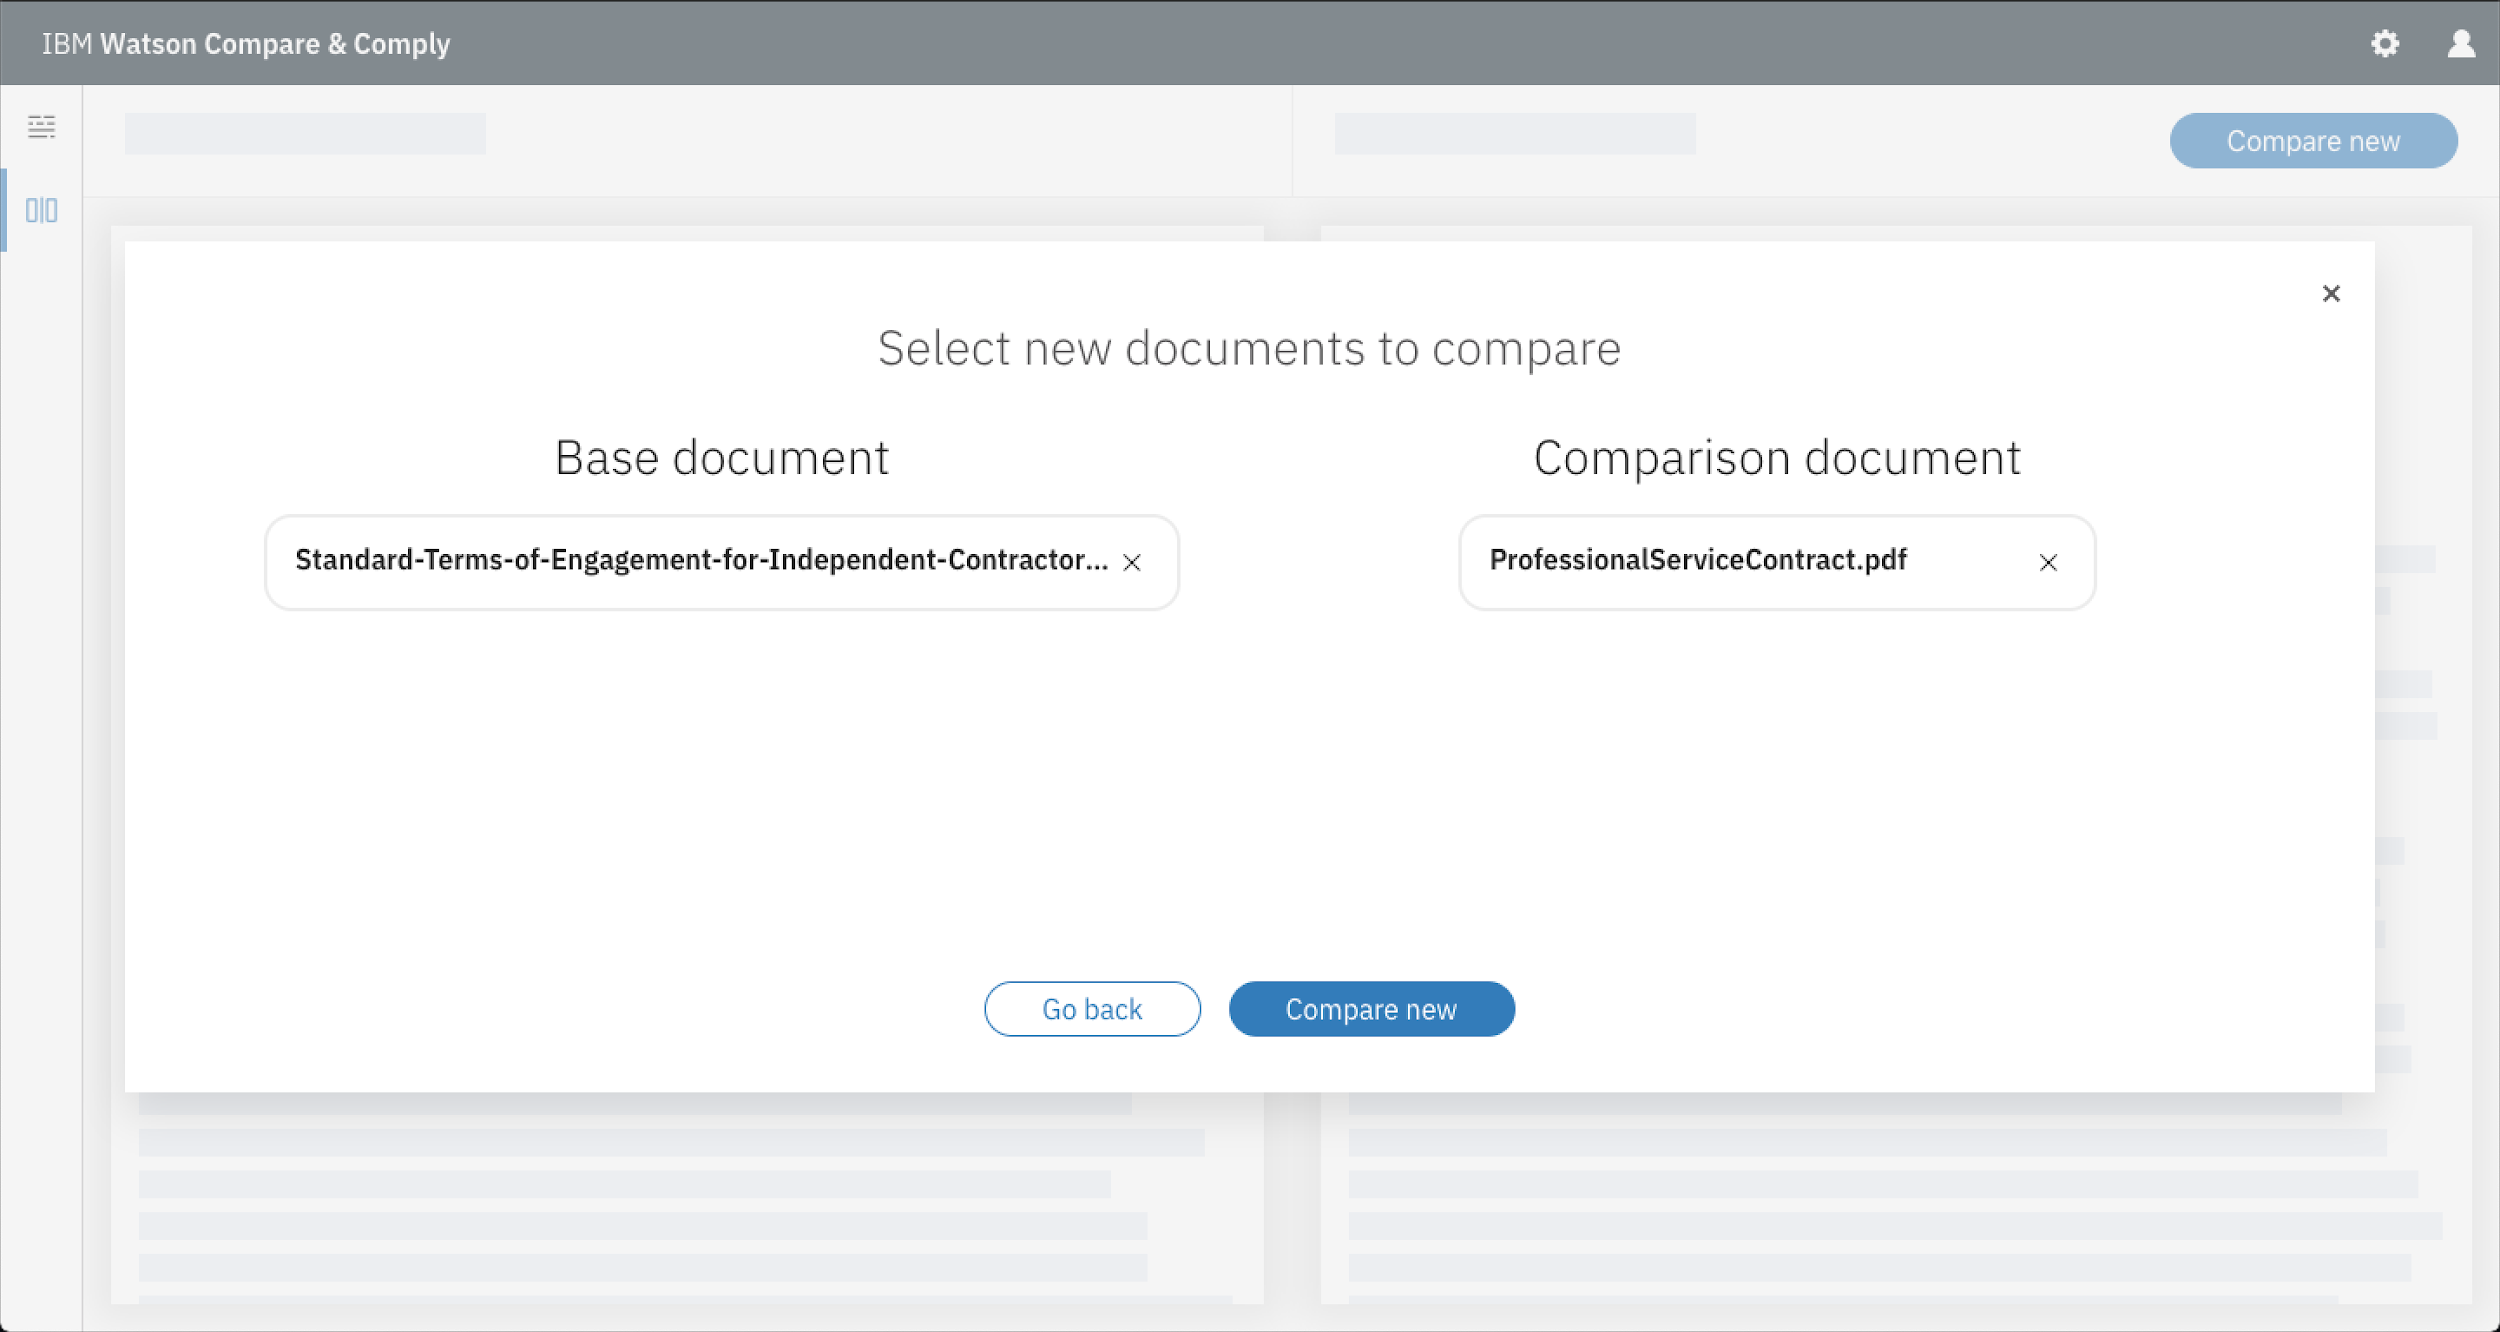
A prompt box will then appear where you’re able to select the two contracts you’d like to compare. Select Browse for document and upload the first file.
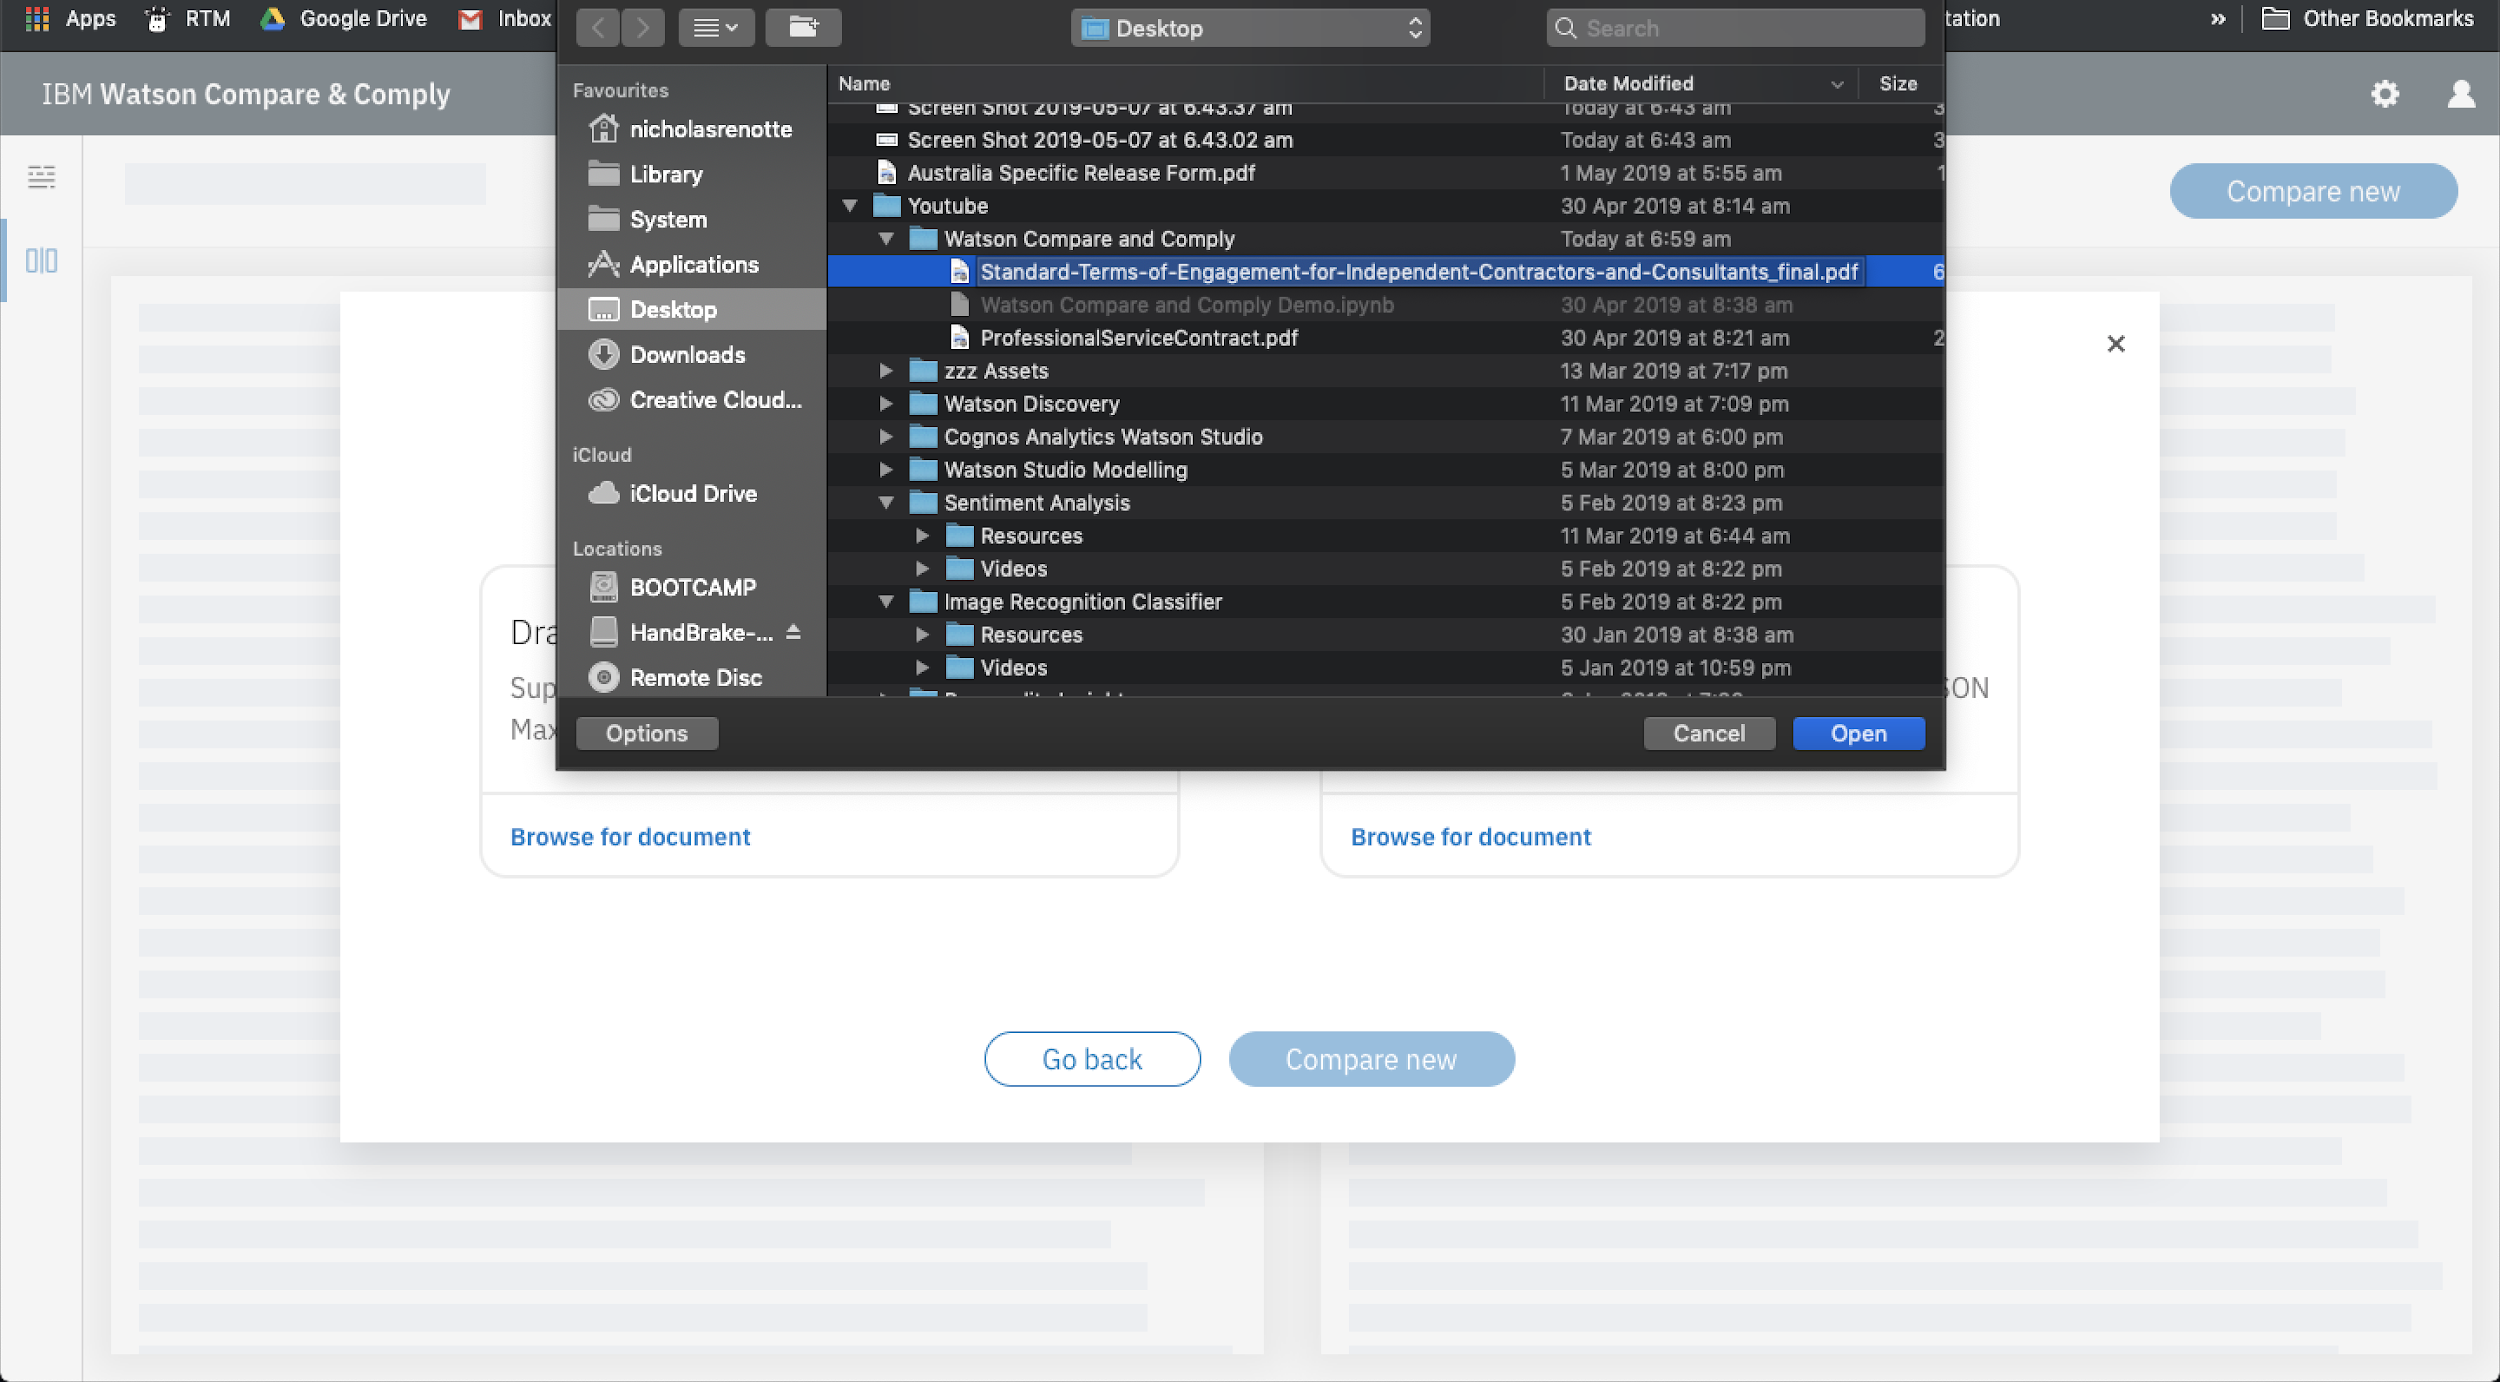
And select Browse for document again to select the second file you’d like to upload.
N.B. In the screenshot above I’ve uploaded two completely different contracts and expect there to be a large number of differences between each of the documents uploaded. In reality you’re more likely to select contracts which are relatively similar or bear vaguely similar structures.
Onwards!
Once both files are uploaded the final step is to select Compare New.
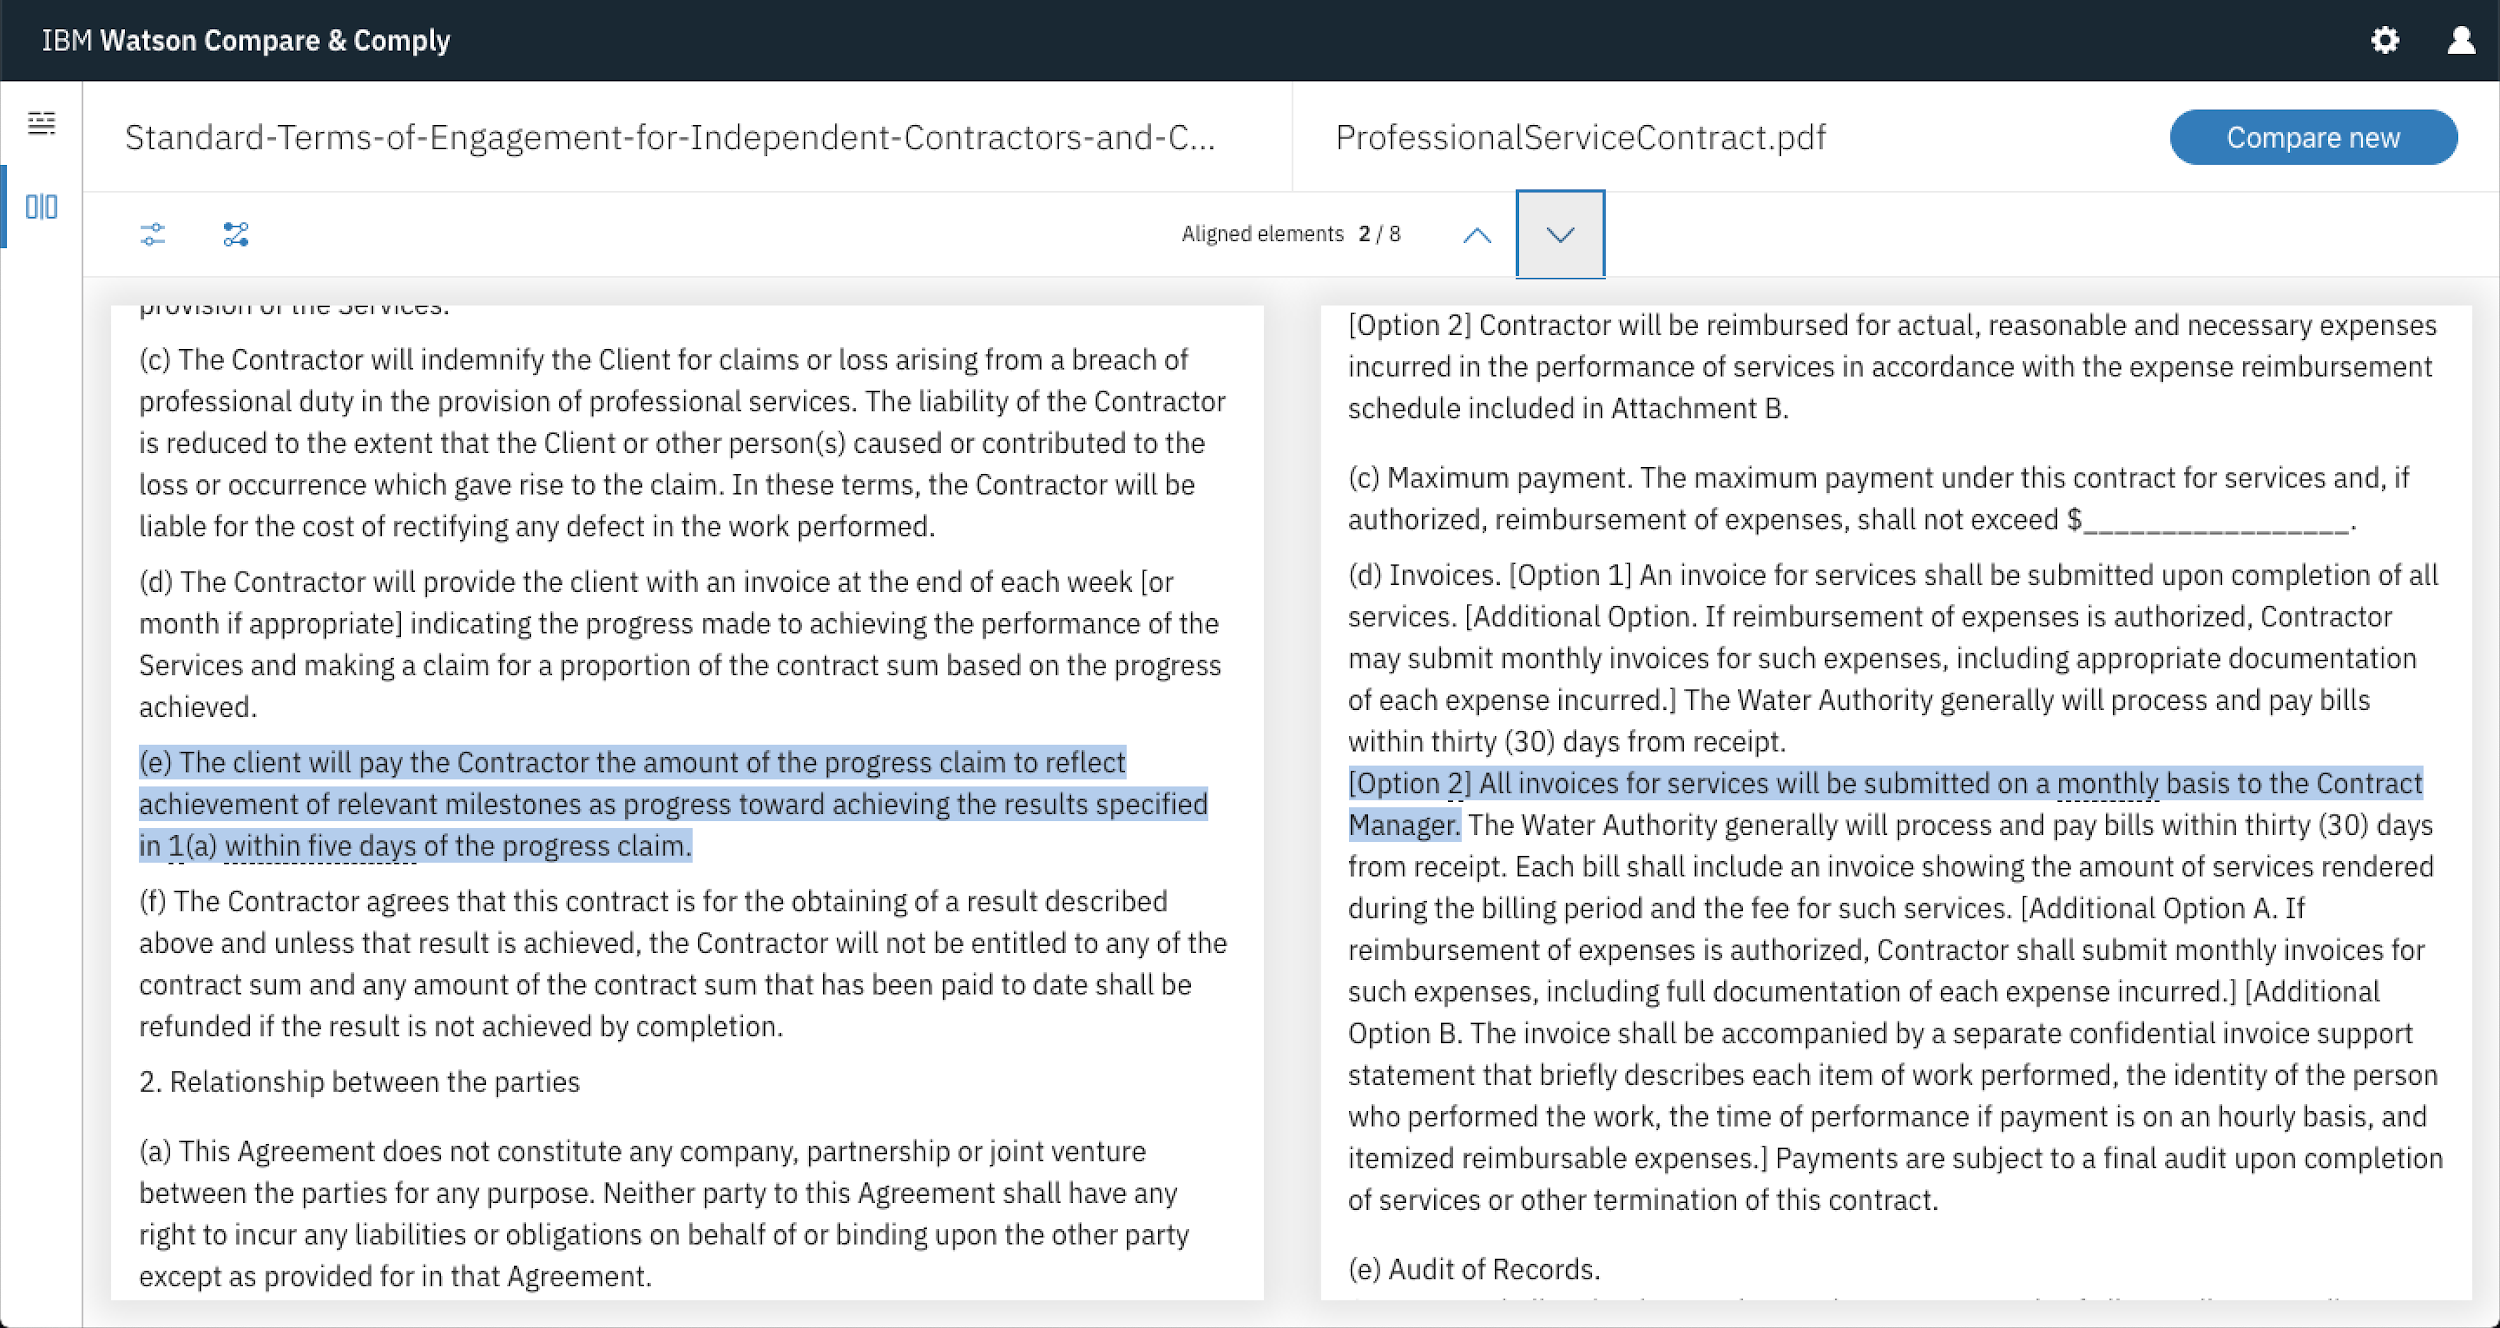
5. Comparing Contract Aligned Terms
Once the comparison is completed the documents will appear with a list of Aligned terms. These are terms of the contract that the model has deemed to be similar in nature.
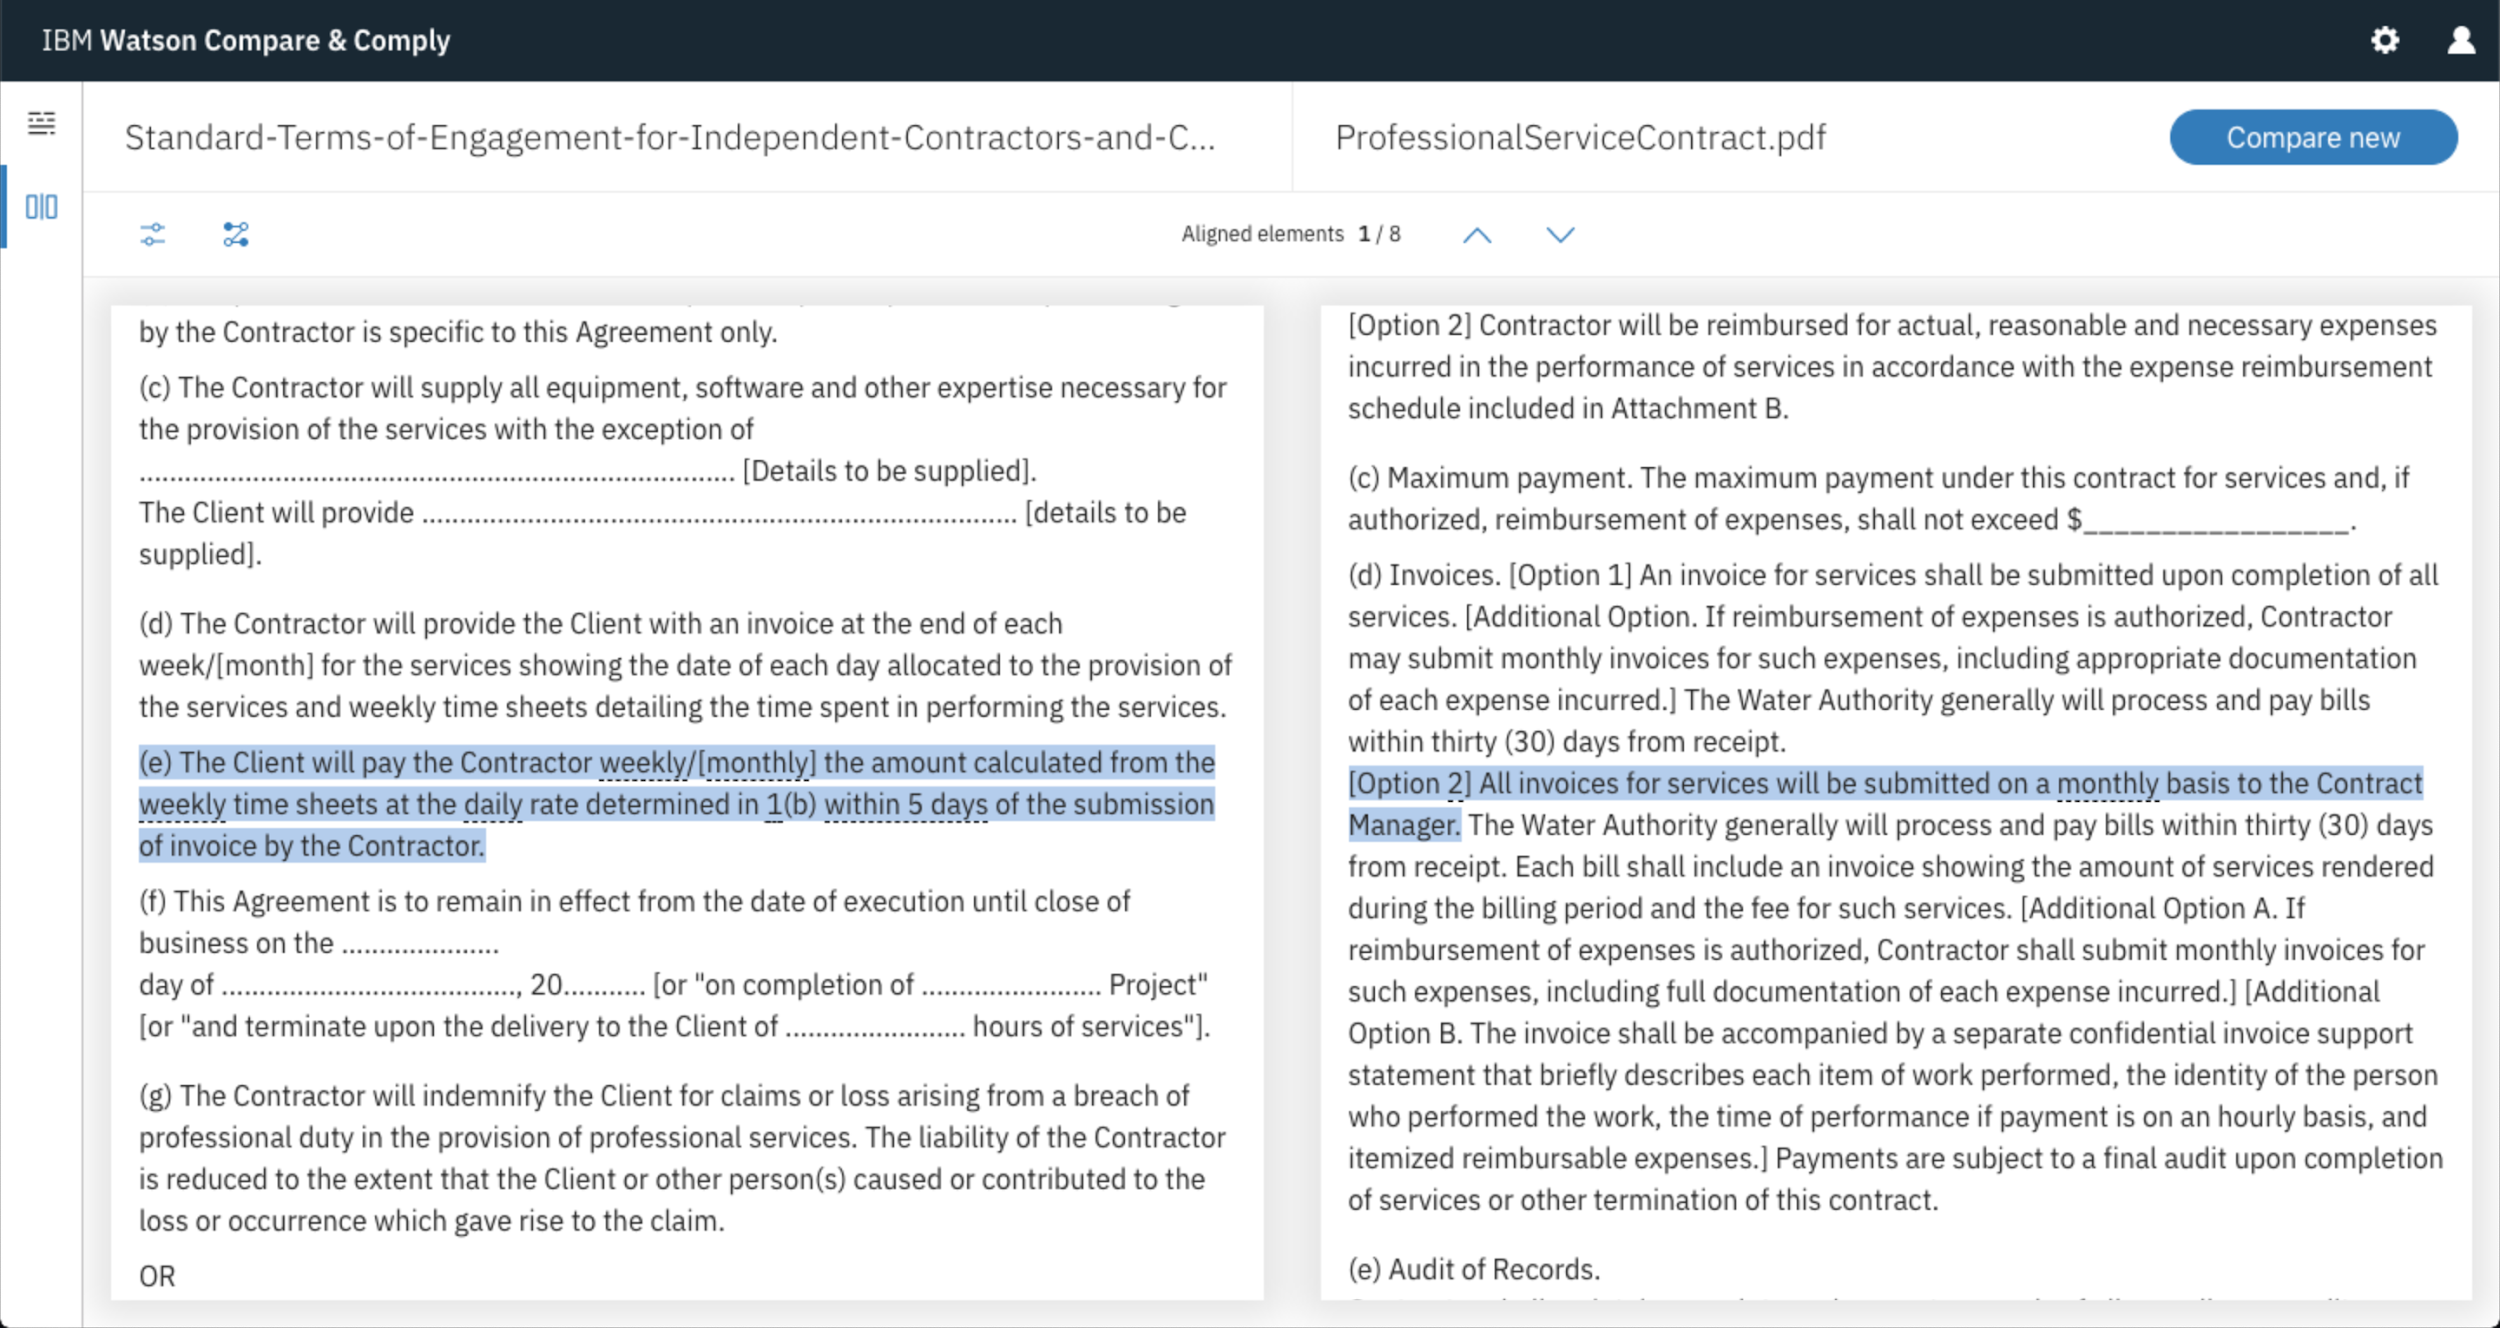
You can browse through the aligned terms using the arrows within the middle of the page.
6. Comparing Non-Aligned Terms
You can also view unaligned components by selecting the unaligned checkbox. This allows you to review where there have been changes and edits made between two contracts.
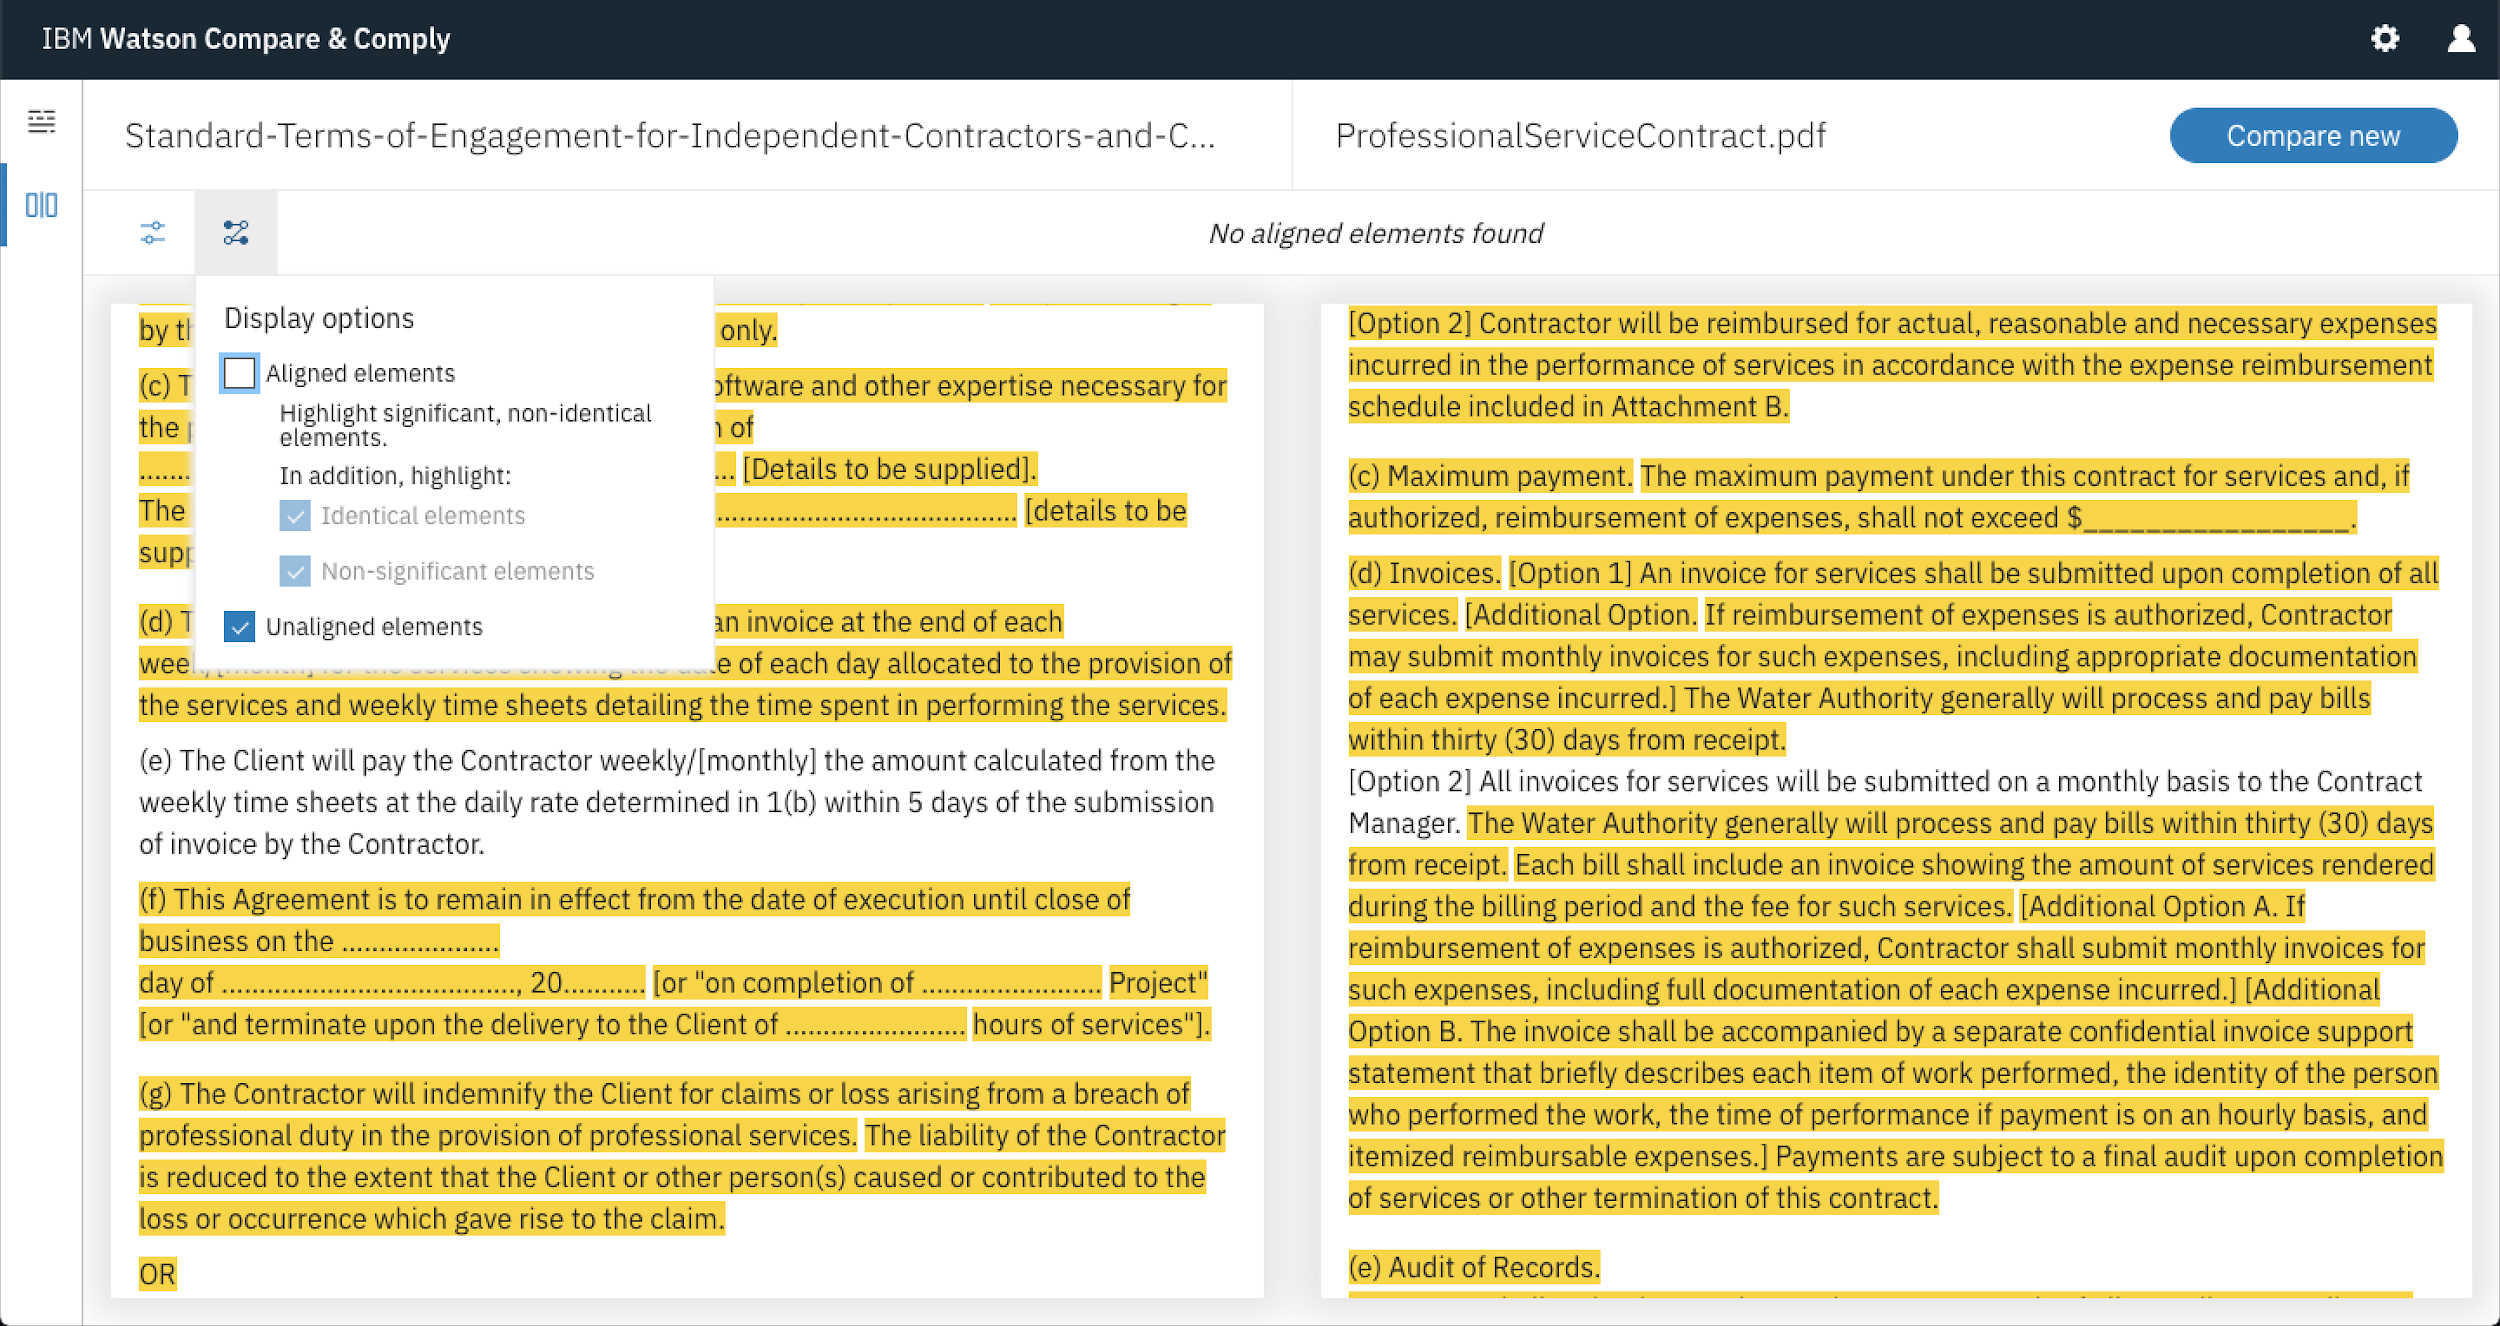
The good news is that you’re able to all of the analysis functionality that comes with Compare and Comply to highlight different components of the contracts side by side. This is all accessible by pressing the toggle filter list button.

And that about wraps up how to use Compare and Comply. This walkthrough is relatively on the light side but starts to showcase just what can be done with the tool. So what are you waiting for…head on over and test it out.
P.s. Both compare and comply can also be used via REST API. If you’re more of a tech head and like to get into the code, here is extensive documentation on how to do this within service documentation.