It was hard work. Long, dark hours hunched over the keyboard. Typing frantically into RStudio trying to get code to compile. Throwing random words into a Google doc in an attempt to write a barely comprehensible report. Towering spires of Red Bull and coffee cups stacked around my desk…but it was finally over.
First semester of university…DONE!
That’s not the end. Oh no, we are so far from that. But I figured while I have a little break I’d skill up on some of the other fun parts of data science and engineering. I’ve been wanting to get my hands on Tensorflow for ages. Full Disclosure: I’m a sucker for buzzword named technology e.g. Tensorflow, Hadoop, Spark, Hive…you get the idea. Tensorflow was first on the hitlist after pressing Submit Assessment for the last time this semester.
Why Tensorflow? Well (aside from the buzzword factor), it gives you a whole heap of control over the neural network you’re building. I don’t go into that much detail here, but safe to say it’s super powerful. Learn more about it here >> Get Started
And where better to start than image classification. Tensorflow was used to build Inception v3. One of the best, if not the best, performing neural networks for image recognition. It achieved a top-5 error rate of 3.4% (which is ridiculously low) based on the data from the ImageNet Large Visual Recognition Challenge in 2012. TL;DR; Tensorflow classifies images really well.
This post goes over how to build your own Tensorflow classifier using different classes. There’s surprisingly little coding involved. Come on, give it a try! Just take the first step!
Right, onwards.
1. Install Tensorflow
I plan on writing up a separate post on this but for now, use these steps. (Docker also seemed like an easier option, but enough on that for now.) This is the way I did it…and it seems to work! (Nick:1, Tensorflow:0)
Step 1. Install Anaconda
Step 2. Install Tensorflow using the applicable steps for Anaconda
Step 3: Test your installation is working by running the first three cells in this jupyter notebook.
After running the second and third cells you should get the following output:
Cell 1: Tensor("Mul:0", shape=(4,), dtype=int32)
Cell 2: [ 5 12 21 32]
2. Download the repo
Onto the fun bit. Once, you’ve installed Tensorflow successfully the next step is to grab the Google Code Labs repo. This contains all of the python scripts you’ll need for this exercise plus the pre-existing trained layers.
To download the package, open terminal and run the following line:
git clone https://github.com/googlecodelabs/tensorflow-for-poets-2

Then, Navigate into the directory
cd tensorflow-for-poets-2
3. Collect your training data
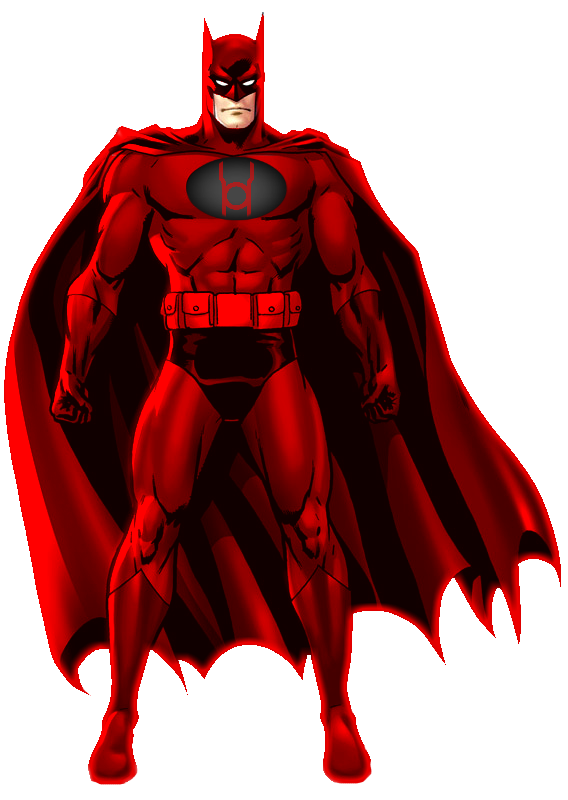
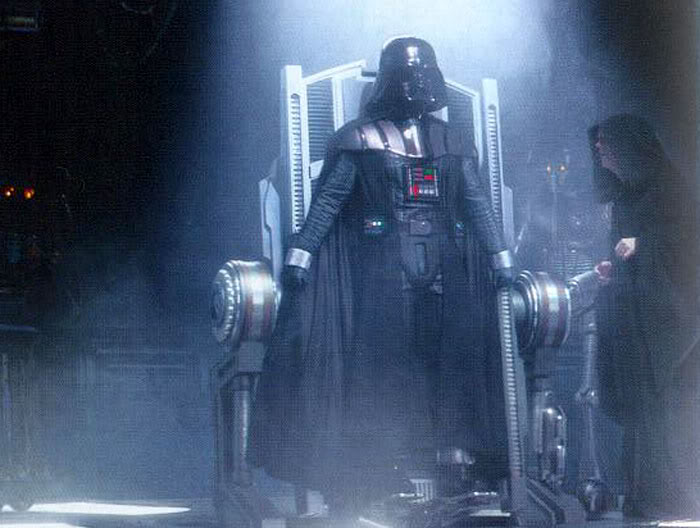
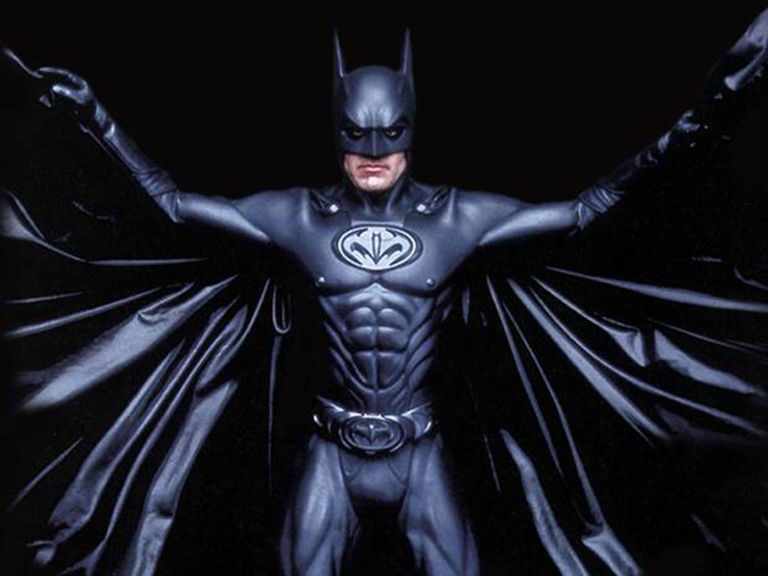
Nobody wants to classify flowers…so…we’re going to retrain the final layer of the model to classify images of Big Bad Batman and Mr.Vader himself. I was struggling to come up with ideas so ended up with these classes. But really, you could retrain the final layer on just about anything.
Getting images for this can be a little tricky. I used the Firefox DownThemAll extension to grab a whole bunch of images in bulk then placed them into separate folders. One folder for Batman and another set for Vader. I then placed both folders inside another folder called hero_photos.
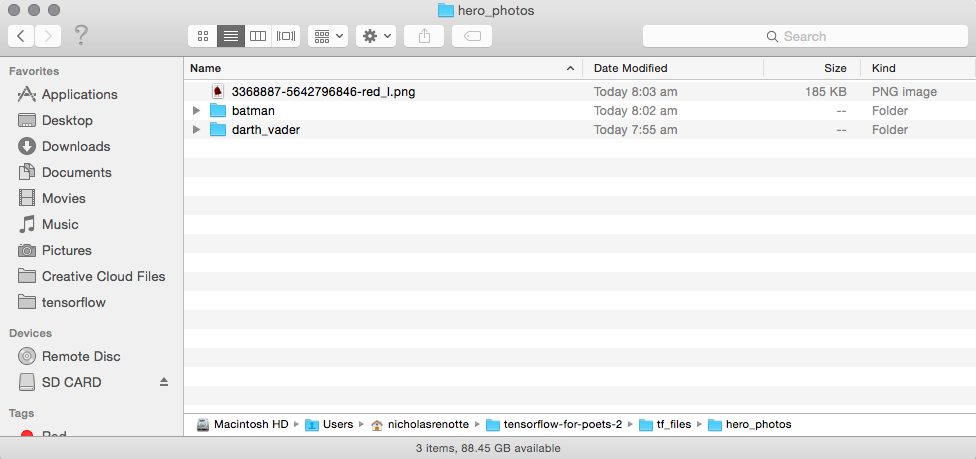
Make sure you separate your images into their respective folders. So, images for Batman, go inside the Batman folder. And, as you might have guessed, images for Vader go in the darth_vader folder.
Powering ahead.
4. Retrain the final layer
The next step is to train the final layer of the neural net. This allows us to take full advantage of the pre-existing layers that have been trained as part of Google’s MobileNet and Inception v3 models. This is a huge time saver as it can take a ridiculous amount of time and computing power to train a model as powerful from scratch.
Before training you’ll need to specify a few settings that will be used when training. The first is image size and the second is the type of pre-existing model you’ll want to use. Increasing the image size parameter generally means that you’ll get higher accuracy but training time will be increased.
IMAGE_SIZE=224
The same goes for the architecture. As part of the Code Labs repo you’ll have access to two pre-trained models; MobileNet and inception v3. Inception v3 will perform better but will also take a whole lot longer to run. I used MobileNet for this post using 500 steps and it took 21 seconds to train on 911 images with reasonably high accuracy.
By default, the model will retrain the final layer of Inception v3. If you want to override this option (which is significantly faster) then enter the following command on your terminal straight after passing through the IMAGE_SIZE variable.
ARCHITECTURE="mobilenet_0.50_${IMAGE_SIZE}"
And finally set the log directory for tensorboard. This will allow you to visualise training progress and the layers within the model.
tensorboard --logdir tf_files/training_summaries &
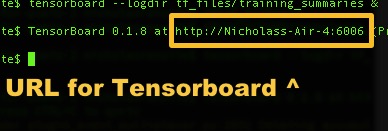
Your terminal should now look something like this
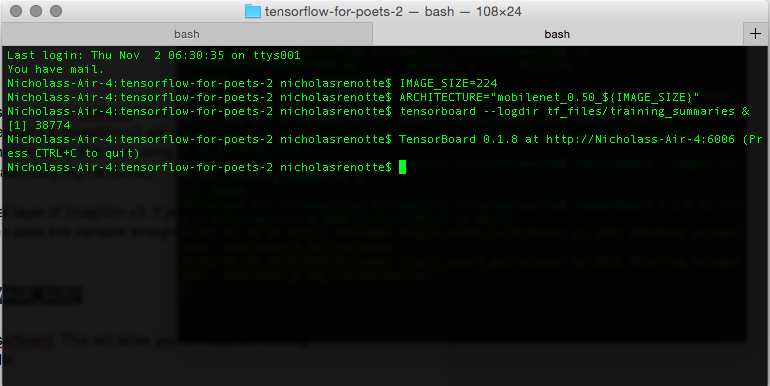
To access Tensorboard just plug in the URL that’s displayed in your terminal into Chrome.
Finally, run the training script.
This will retrain the final layer using the parameters you’ve passed through. To run the training script just paste the entire command below (or type or it out if you must) into terminal and hit enter.
python -m scripts.retrain \
  --bottleneck_dir=tf_files/bottlenecks \
  --how_many_training_steps=500 \
  --model_dir=tf_files/models/ \
  --summaries_dir=tf_files/training_summaries/"${ARCHITECTURE}" \
  --output_graph=tf_files/retrained_graph.pb \
  --output_labels=tf_files/retrained_labels.txt \
  --architecture="${ARCHITECTURE}" \
  --image_dir=tf_files/hero_photos
This will train the final layer using 500 training steps based on the images in your image folder. You might need to change the image directory if you’ve named differently. In this case just change the last line of the command above to point to the location your images are stored. For example, if your images are stored in a folder called training_images inside the tf_files directory. The last line should read:
--image_dir=tf_files/training_images
5. Batman or Vader? Test the Classifier
Now the bit you’ve been waiting for.
*Drumroll please*
Testing the classifier.
I grabbed a bunch of random images of Batman and Vader to test out the model then ran these lines of code against each image to classify them:
python -m scripts.label_image \
    --graph=tf_files/retrained_graph.pb  \
    --image=tf_files/hero_photos/[YOUR IMAGE NAME]
After running the command, the probability of the image falling into either class will be displayed.
FYI: It usually takes a few seconds to come up with a result.
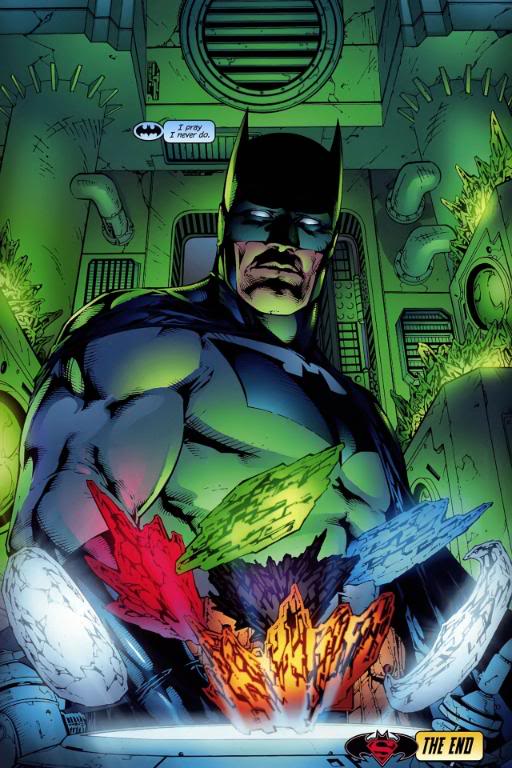
I ran it on six different images with ridiculous accuracy. The model was able to pick the right class every time. Even when the images were abstractions or representations of the model was still able to determine the right class. Mind. Blown.
Class Predictions
 Prediction batman 0.999992 darth vader 8.05661e-06 |

Prediction |
Prediction |
Prediction |
 Prediction Predictionbatman 0.99965 darth vader 0.000350009 |

Prediction |
Now that you’ve read about it…time to give it a go. Follow each step sequentially and start classifying. Just think of the possibilities!